Friday, December 30, 2011

Cute Digi Coffee Mug

Hello Everybody!

Here is the 2nd post of the night and my 2nd card.  This is really cool.  At Market Street Stamps they are hosting a challenge with CAS-ual Fridays.  There is still time.  Head over there-check 'em out and get their free digi stamp.

I am entering this card in the following challenges:  Market Street Stamps-Kraft, Baker's Twine, and Market Street Stamps


CAS-ual Fridays CFC#33


City Crafter Challenge Blog: Make the Cut CCCB #89

So here is my card: Kraft, Twine, the free awesome digi stamp-the coffee cup which I cut out of white cardstock.  Scroll down,  and I'll show you what I did!


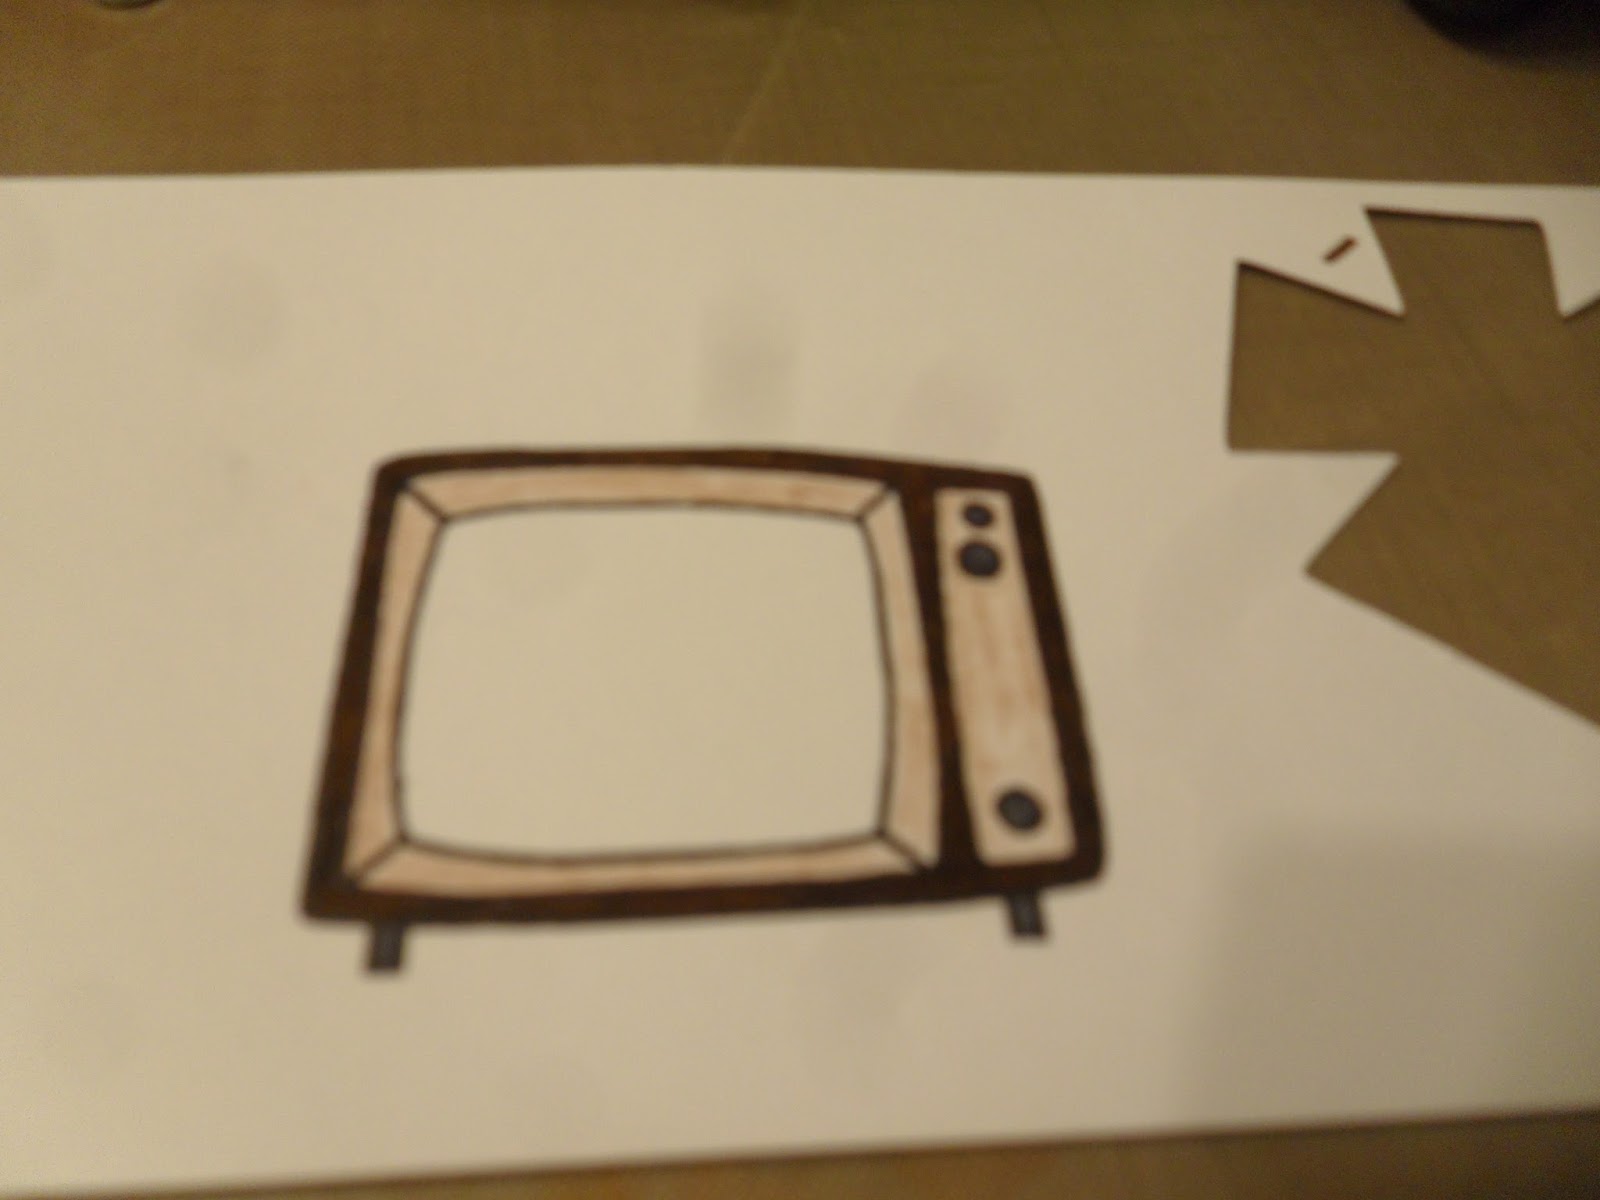
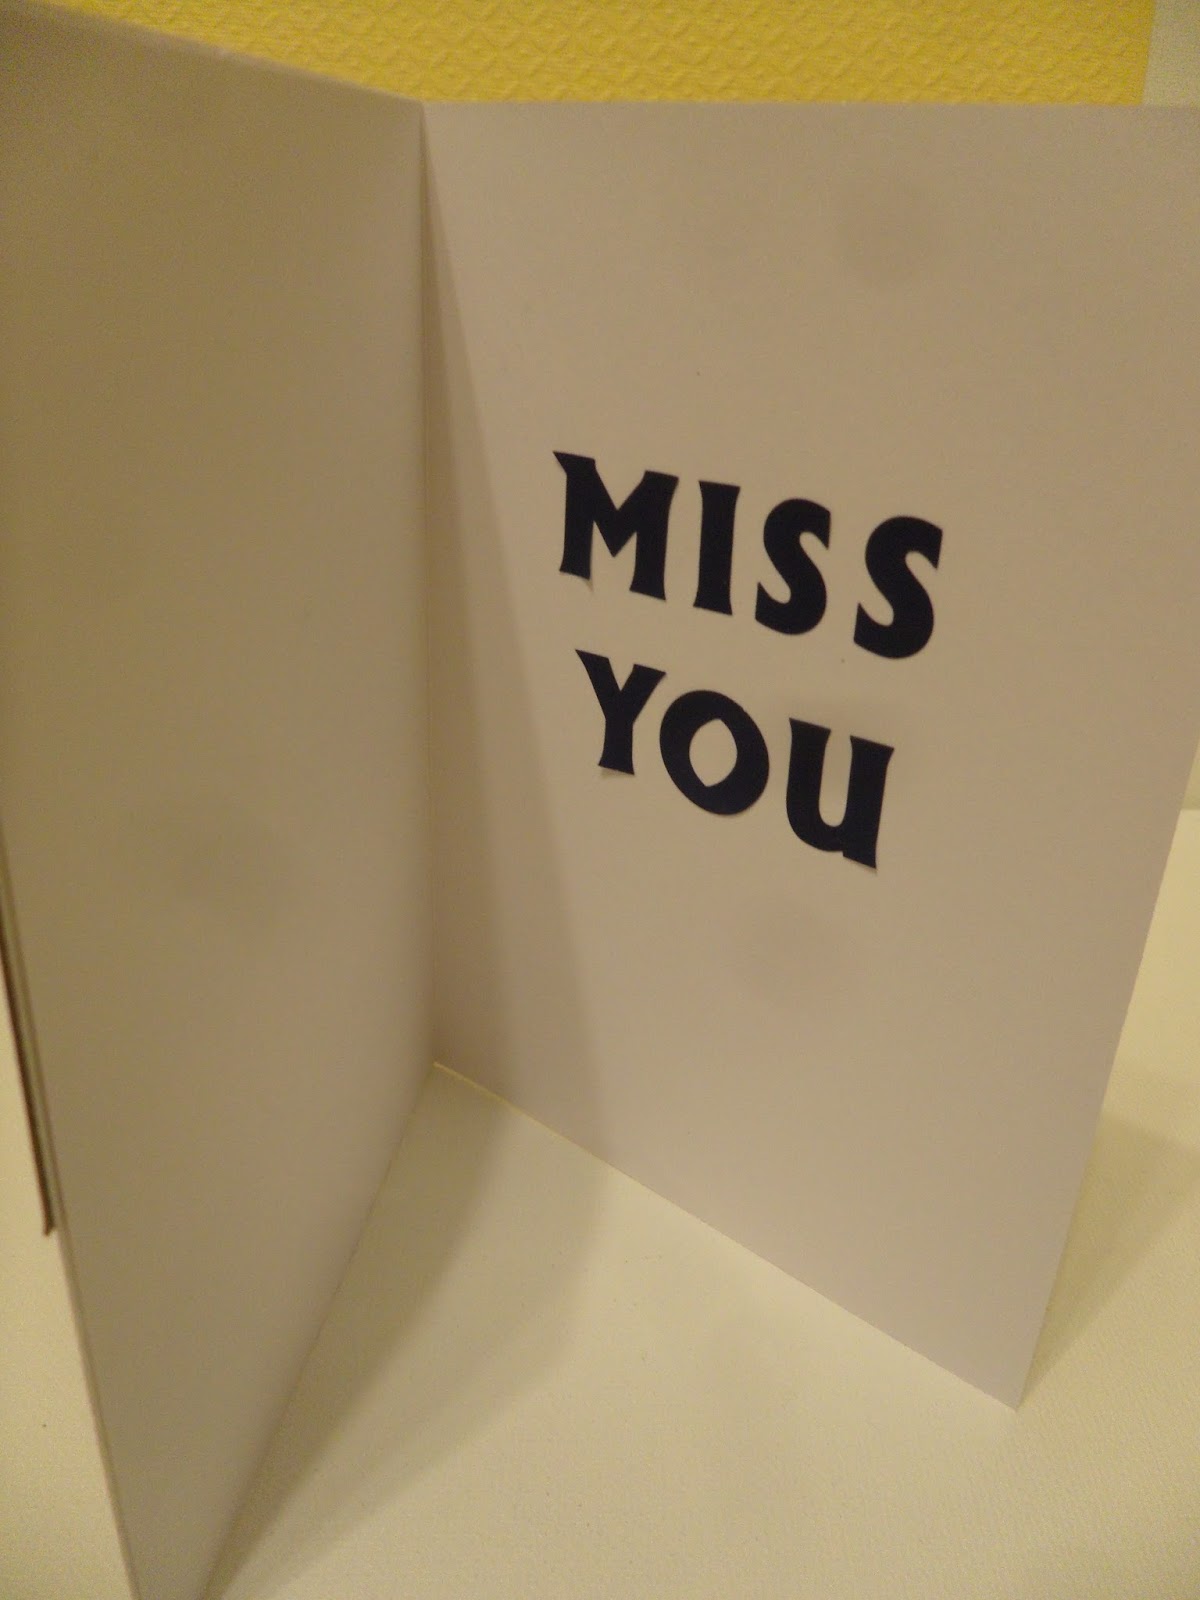
I didn't take as many pictures and I thought I did.  I just jumped right in!  Well I printed out the coffee cup and colored the heart, rim, and handle pink.  I used pop dots to adhere it to my Kraft card.  Then I have these letter from EK Success.  I put them on white card stock and cut them out as one word.

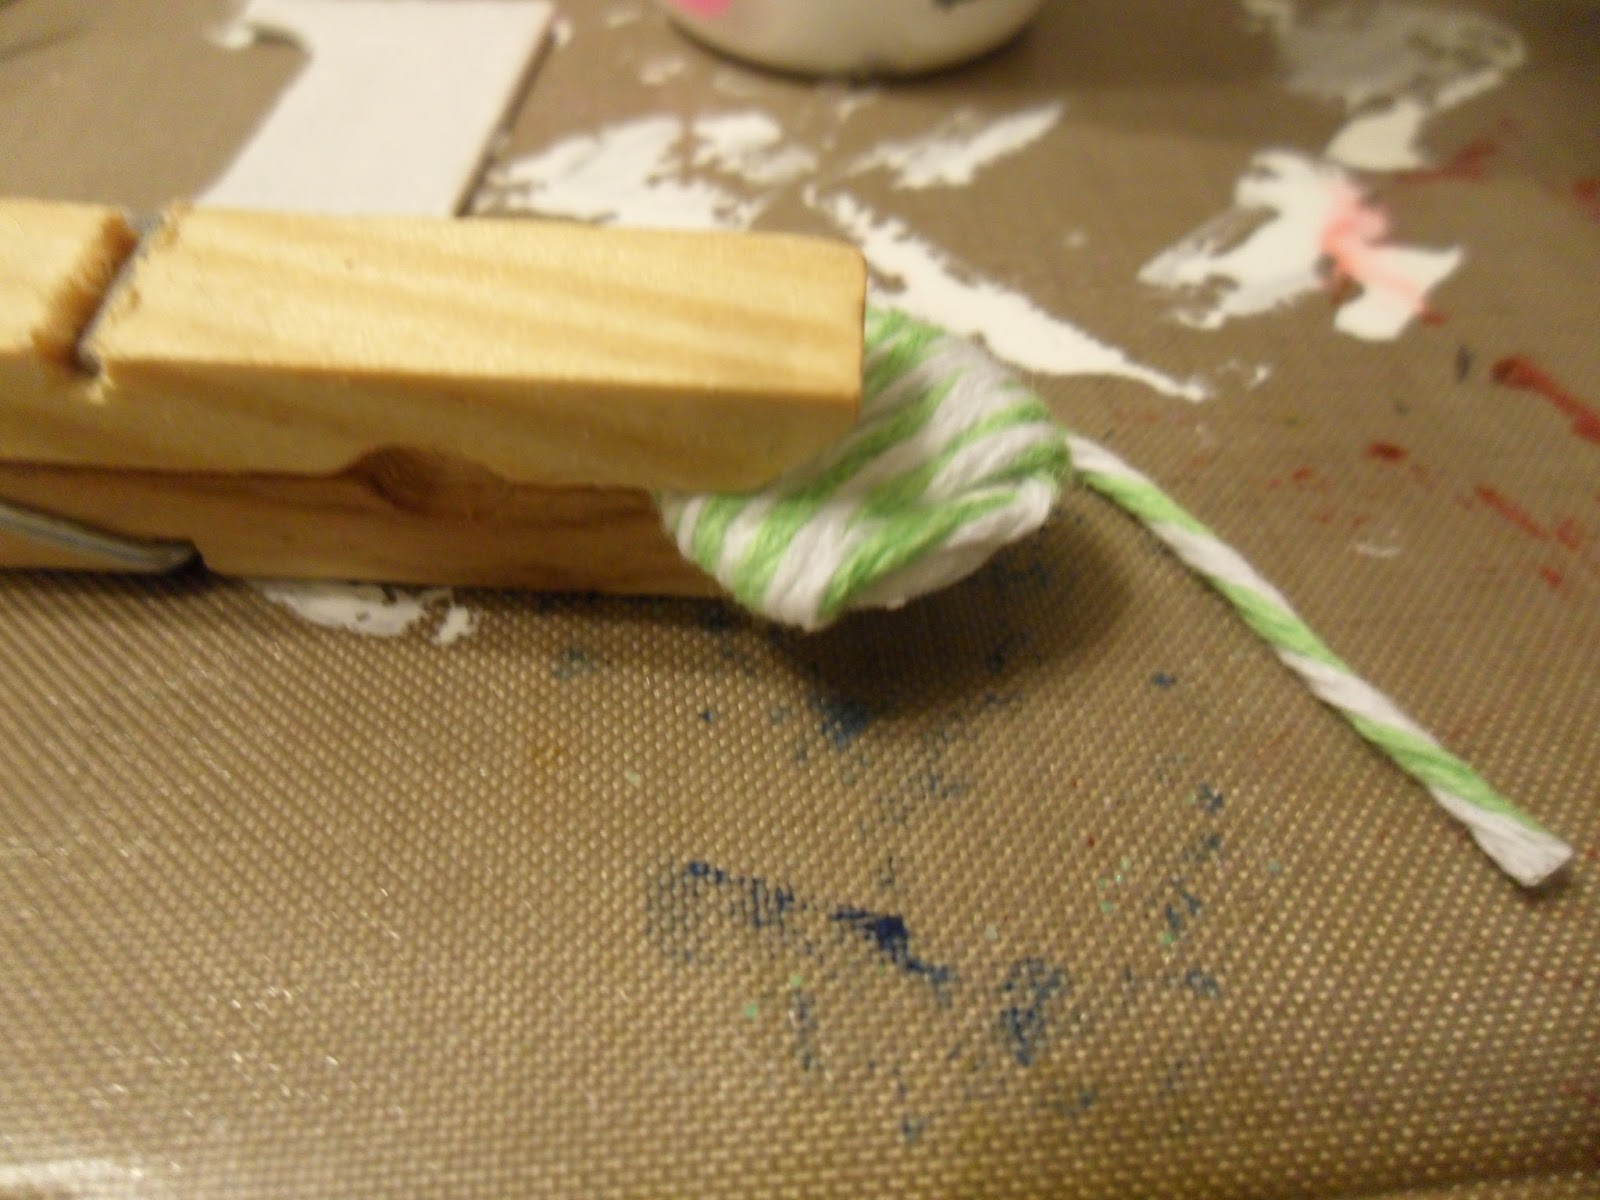
Then I used my mini staple gun from Tim Holtz to put the Baker's twine on as a frame.  This is Martha Stewart's baking twine.  On my 3rd go around with the twine I had to not staple it until I got back to the beginning because I wanted the same number of staples in each corner.  Then I went back and stapled the other corners.


Here's a close up of my sentiment.


Here's my card...

Until next time my friends...go get that cup of coffee!


The Cable's Out!

Hello Everybody!

LOL Thankfully the real cable isn't out!  You'll see why I called this post that in a second.  First I want to thank  everybody who stops by!  My blog has reached a milestone of 2,000 views!  I am totally excited about that!  Thank you so much!  As the New Year is just about here, I am excited for the new projects I will make and share with everybody!

So this card was inspired by Moxie Fab's Tuesday Trigger: Stripe-tastic.  There's still time to play--Go check it out!


Also I am entering this card into the City Crafter Challenge Blog: Make the Cut CCCB#89 and Simon Says Stamp Challenge Anything Goes!  Go check out these awesome blogs as well!  There's still time to play!


So here is my card!  I got new Paper Smooches stamps for Christmas (from my wish list at Simon Says Stamp!  Thanks sis!)  And I have been really wanting to use them--I got the boob tubes set.  And I looked at the stripes.  And then I had to completely go through my die cut drawer (that is a story for another blog entry!)  And I saw the zig zags...and thus this card came together...Scroll on down and I'll show you what I did!


I stamped my square TV onto a scrap piece of white card stock.  You can see where I made a flower with it at some point.  I used Crayola markers and colored pencils to color it in.  I don't have a brown Copic marker :(  But no worries, I think it came out nice.  Then I cut it out.


Ok, let me tell you about these zig zags.  If you have been scrapping for a long time (say at least 10 years or so ago) you may have even seen these.  They came in a pack and each color sheet had zig zags, squares, squiggly lines, and other shapes.  I am not sure where all mine have gone, hopefully in scrapbooks of yonder year but here are some that remain.  I think Fiskars made them, but don't quote me...that packaging is long gone... So I cut these down to size and these are on my tv.  Like what sorta happens if your cable goes out ;)


Since I'm not using an 80 inch TV (haha!) I used tape to help keep the zig zags together so I could put them and the tv together.


I cut out the center of the tv to make a black center to build the zig zags on.  I know some of the background of the tv would show through, and I thought black just looked better.


So here is my TV.  I used pop dots and put it on a yellowish piece of scrap paper (I think it's from Making Memories).  Then I put it on a piece of Kraft paper.  The background is 7 Gypsies.  The sentiment I made up and hand wrote--I'm off without you!.  I used decorative scissors that were kind of wavy to bring that whole TV waves through the rest of the card.  I also inked the edges of the both pieces of Kraft paper.


Here's the inside.

Here's my finished card.  Until next time my friends....where's the remote control?  ;)

Thursday, December 29, 2011

Kraft and Twine Card

Hello Everybody!

I am playing with all of my new fun things that I got at Christmas!  Plus I went to the scrapbook store and couldn't help myself!  But I did exercise some caution so I didn't come back home with way way more stuff--just a litte bit more stuff ;)

The card I have here I am entering into 3 challenges:

CAS-ual Fridays: CFC33 Create a clean and simple project using Kraft and Twine


Simon Says Stamp:  Anything goes!


Wee Memories:  WMC80 Anything Goes!


So here's my card...Scroll on down and I'll show you what I did!


Here is my blank Kraft canvas.


Here's my blank chipboard canvas. ;)  I painted them white (which I don't have a picture of but trust me, I painted them.)


Here is a little treat I got from my local scrapbook store.  Lime green twine by My Mind's Eye.  Fun!


So after my chipboard letters dried, I wrapped the twine around them.  I used a little glue on the front and taped the back with the winding piece.  Here is the dot of the eye.  I used a clothes pin to help the glue dry.


Here is the back of the h.

Here's the front.

I adhered the letter with Glossy Accents to the Kraft card.  Then using a fine black pen I doodled a frame around the edges.

I have Martha Stewart twine-which I like-but I found the twine from My Mind's Eye to be a little thicker.  So I thought that was cool and I would tell you in case you are shopping around for twine.  :)

Until next time my friends...enjoy the last days of December...and 2011!

Tuesday, December 27, 2011

Tidbit Tuesday

Hello Everybody!

This is the last Tidbit Tuesday for 2011.  How crazy is that?  Well that's ok because I know there will be plenty of projects and tidbits for 2012.

I made 2 cards last night so the creative juices have slowed down and need to be recharged! 

I hope everybody had a great Christmas!  I did!  I got so many great scrappy things from my husband, sister, and mom-in-law.  I can't list them all out because I have spread them out and started to dissolve them into my collection :) 

So you guys will see new stuff for sure!  I am going to show you this awesome Flower Soft kit that my mom-in-law got for me.

Look!  It's 7 different Flower Soft mixtures.  Too cool!  I have yellow.  So this is awesome!  And she got me cards so that I can play with it.  And the glue too!


Here is a close up of the flower soft colors.  The website is http://www.flower-soft.com/ if you want to go check 'em out.  So I will practice with these and for sure show you what I come up with!


Until next time my friends...learn a new technique!  I am!  :)

Monday, December 26, 2011

Sparkle N Sprinkle Easter Card

Hello once again Everybody!

I just finished another card!  The creative juices are flowing! 

This card is for the challenge at Sparkle N Sprinkle Challenge: December Sketch Challenge SNSSC02 .
Here's the sketch.


I am also going to enter it into the Wee Memories Challenge WMC80-Anything Goes.


So here is my card using Sparkle N Sprinkle stamps--#426 Easter Chicks.  Scroll down, and I'll show you what I did!


First I stamped my 2 chicks and bunny.  Then I colored them with Copic markers.  I used: Cadmium Yellow, Ultramarine, Amethyst, Prawn (with the blender made pink), Cadmium Orange, Black, Mauve Shadow (lavender), and Pea Green.


I used pink cardstock from Die Cuts with a View for my card background.


Using Noteworthy on my Slice machine, I cut out this die cut from yellow cardstock.  I stamped Happy Easter from the Easter Chicks collection and colored in the letters with Pea Green Copic.


This next step is so fun.  I discovered Sparkle N Sprinkle at the Scrapbook Expo last year.  And this is where I learned this technique from.  Also, there is something special you can do with their glue and I'll tell you that later.


So I smear a bunch of glue onto my die cut.


I even it out with a foam brush.  You just want a nice even coat here.


Woo Hoo!  Then comes the glitter.


I had a little too much glitter so I used my thumbs and kind of worked some of it out.  And now it looks great!


So this green piece is from BoBunny and the ribbon is from a gift from my mom-in-law.


The yellow behind the Easter chicks and bunny is from Doodlebug.  It sort of anchors them there.  I used pop dots for the Happy Easter sentiment.  I had so much fun making this card!


The Sparkle N Sprinkle glue is awesome.  You take a transparency or acetate and make a letter or heart or something with the glue onto the acetate.  Then you sprinkle glitter and shake off the excess.  Let it dry.  You can tell from the bottom when it is dry.  Depending on how thick you made your outline, it can take days to to dry.  Then you peel it off of the transparency and you are ready to use it.  I will be honest.  I have tried a few other glues...nothing that I have does this.  (Glossy accents was one of the ones I tried.) 

Until next time my friends...get out the glitter!! :)

Santa Car Card

Hello Everybody!

There are 2 challenges going on right now with Santa Claus's, and I thought I could do one more Christmas card even though Christmas is over.  I may donate them next year since we usually do a picture card for our Christmas cards.  But that's 365 days from now ;) 

My two challenges are:

Cuttlebug: Santa Baby   and

Inspired By Challenge #3

This Hello Santa was the inspiration for the #3 Challenge at Inspired by.  Go by and check out these awesome blogs!  There may still be time to play!  :)


 So here is my Santa Claus card...Scroll down, and I'll show you what I did!


This is from the Recollections paper pad Jolly and Bright.  Look at all those wonderful Santas!  How do I choose?


I'll take the one in the fast car! ;)


I used KI Memories Snowflake paper as my base.  The green paper has an irredescence and it is from Wassua paper.  I used a couple of these Heidi Grace swirls as exhaust fumes.  (That's funny when you say that out loud!)

The next 2 photos are of snowflakes and Christmas icons I have that are like sequins but they shapes.  My mom-in-law got me the assortment, and I don't remember when or how I acquired the snowflakes.


And here's my card.  Santa's car is glittery red.  Love it! 

Until next time my friends...stay wintery!