Showing posts with label Kraft. Show all posts

Thursday, April 12, 2012

Tag of Words

Hello Everybody!

If you are here to see my project for For Fun Challenges click here.  Otherwise- scroll on down and check out the the card I made with a different tag!

This project was inspired by 2 challenges.  At Frilly and Funkie the needed ingredient of this weeks challenge is Words.  Over at Simon Says Stamp and Show the needed ingredient for their challenge is a technique from Tim Holtz (also known as Lord Tim) :)  Thus this card was born...


Here's the inside.  Scroll down, and I'll show you some highlights.

The sentiment is from the computer and then I distressed it.  For the distressing I used rusty hinge, walnut stain, tattered rose, shabby shutters, and weathered wood.


Here is a close up of the tag.  I embossed a piece of blue Coredinations paper with one of Tim's embossing folders.  I rubbed walnut stain Distress ink over it.


On the main tag I used the resist technique.  I stamped this with versamark, used clear embossing powder, and heat embossed it-which I love doing-so magical!  I made the actual tag from the George cartridge on the Cricut.


Here is the finished heat embossing.


Then I took the 5 different Distress inks and put them on my mat.  I don't have a spray with water so I tried to used Tattered Angels.  It wasn't quite what I had in mind, but there was a glitter effect which was cool.  You can see the heat embossing through the ink which is so cool!


I just got my copy of Paper Crafts magazine and on page 37 Emily Branch made lace flowers for her beautiful card.  And I bought these Glubers a couple of months ago...


And I have lace...

Woo Hoo!  I LOVE this flower!  The pearl is from Making Memories.  Love. This. Flower.


So I have these stamps from Just Rite stamps from many many moons ago.  And they self ink and still work and I still love them.


So I stamped different words on a piece of white cardstock and distressed it with the same color inks I used for the tag.  I cut out words and that's when I realized I had extra words.  I put them on the inside.  I didn't plan on making an Anniversary card, but I am so glad that that is what I made.  Our anniversary is in a couple of weeks--and I'm prepared!  Or at least for the card part :)


Here's my card again.  The metal washer says destination.  The first word together is under a fragment so I like to think of this as Destination: Together.  I used my gold leaf pen to outline the outside of the card.  Oh!  And I put the words on a piece of kraft paper that I also distressed.  To balance out the tag I put the metal spiral opposite of my favorite flower.

I hope ya'll like this card as much as I do!  It was lots of fun to make!  Until next time my friends...get out your words and Tim Techniques--something fun awaits!  :)

Wednesday, February 22, 2012

On a Journey

Hello Everybody!

I am so excited to share this project for you.  I had to take a break from making cards. :)

I am submitting this project to the following challenges:

Lessology #11 Flight of Fantasy: Projects that incorporate flights in a creative way: my butterflies


Simon Says Stamp and Show: London, Paris or New York-Take your Pick! I couldn't choose just one city-so I did all 3! :)

Scrapbookers Anonymous: A-Z Challenge the Letter G  I used Glitz Paper Layers and a gold heart near the top, and gold ribbon.

Here's my project...Scroll down and I'll show you some close ups and some highlights!


Here is New York and Paris.  There's me in the key hole (Tim Holtz).


We leave Paris and go to London--the London Bridge.  The Journey awakens the Soul is a Tim Holtz stamp-one of my faves!


Here's my main butterfly-flying :)  The butterfly is attached to a wire that is connected through the cardboard.


There's my little butterfly again!


Here is my creation hanging on the wall.


Alright here's what I did.  That white cardboard piece is a flap from a diaper box.  (I cut off the other 3 flaps for future projects).  Then I wrapped it in this wrapping paper from one of my Valentine's day gifts.  However, I flipped it over to use just the plain brown kraft side.  I tried stapling it, but the staples came through to the front of the cardboard, so I took them out and got out the tape.  It was like wrapping a very thing present, but hey-it worked!


Using my crop-o-dile I made a hole.


Then another.  I used an embossing stylus, like the handle part, to make the holes a little bigger.  I wasn't sure how many ribbons I was going to use.


Then I dry painted it with white acrylic paint.


Here's me planning out what I wanted to use.  The Statue of Liberty is from Paper Studios, Paris is from Hero Arts, and somewhere is the London Bridge from Fiskars.  Journey stamp is from Tim Holtz.


Anytime I have to get out the Big Bite---it's gonna be a good day!


Here is a scrap that I thought would look good with the bridge.  It gives it a post card feel.


Here's the close up.  You can also see the papers I used.  I used butterflies because of the fantasies of flight them and the other paper has French writing on it.


The papers are from Glitz and they are thinner papers like decoupage.  I really like them because they were perfect for this project!


Here is my project again...  Thanks for stopping by!  Until next time my friends...book that flight!  All who wander are not lost....  ;)  I just really wanted to say that :)


Thursday, December 29, 2011

Kraft and Twine Card

Hello Everybody!

I am playing with all of my new fun things that I got at Christmas!  Plus I went to the scrapbook store and couldn't help myself!  But I did exercise some caution so I didn't come back home with way way more stuff--just a litte bit more stuff ;)

The card I have here I am entering into 3 challenges:

CAS-ual Fridays: CFC33 Create a clean and simple project using Kraft and Twine


Simon Says Stamp:  Anything goes!


Wee Memories:  WMC80 Anything Goes!


So here's my card...Scroll on down and I'll show you what I did!


Here is my blank Kraft canvas.


Here's my blank chipboard canvas. ;)  I painted them white (which I don't have a picture of but trust me, I painted them.)


Here is a little treat I got from my local scrapbook store.  Lime green twine by My Mind's Eye.  Fun!


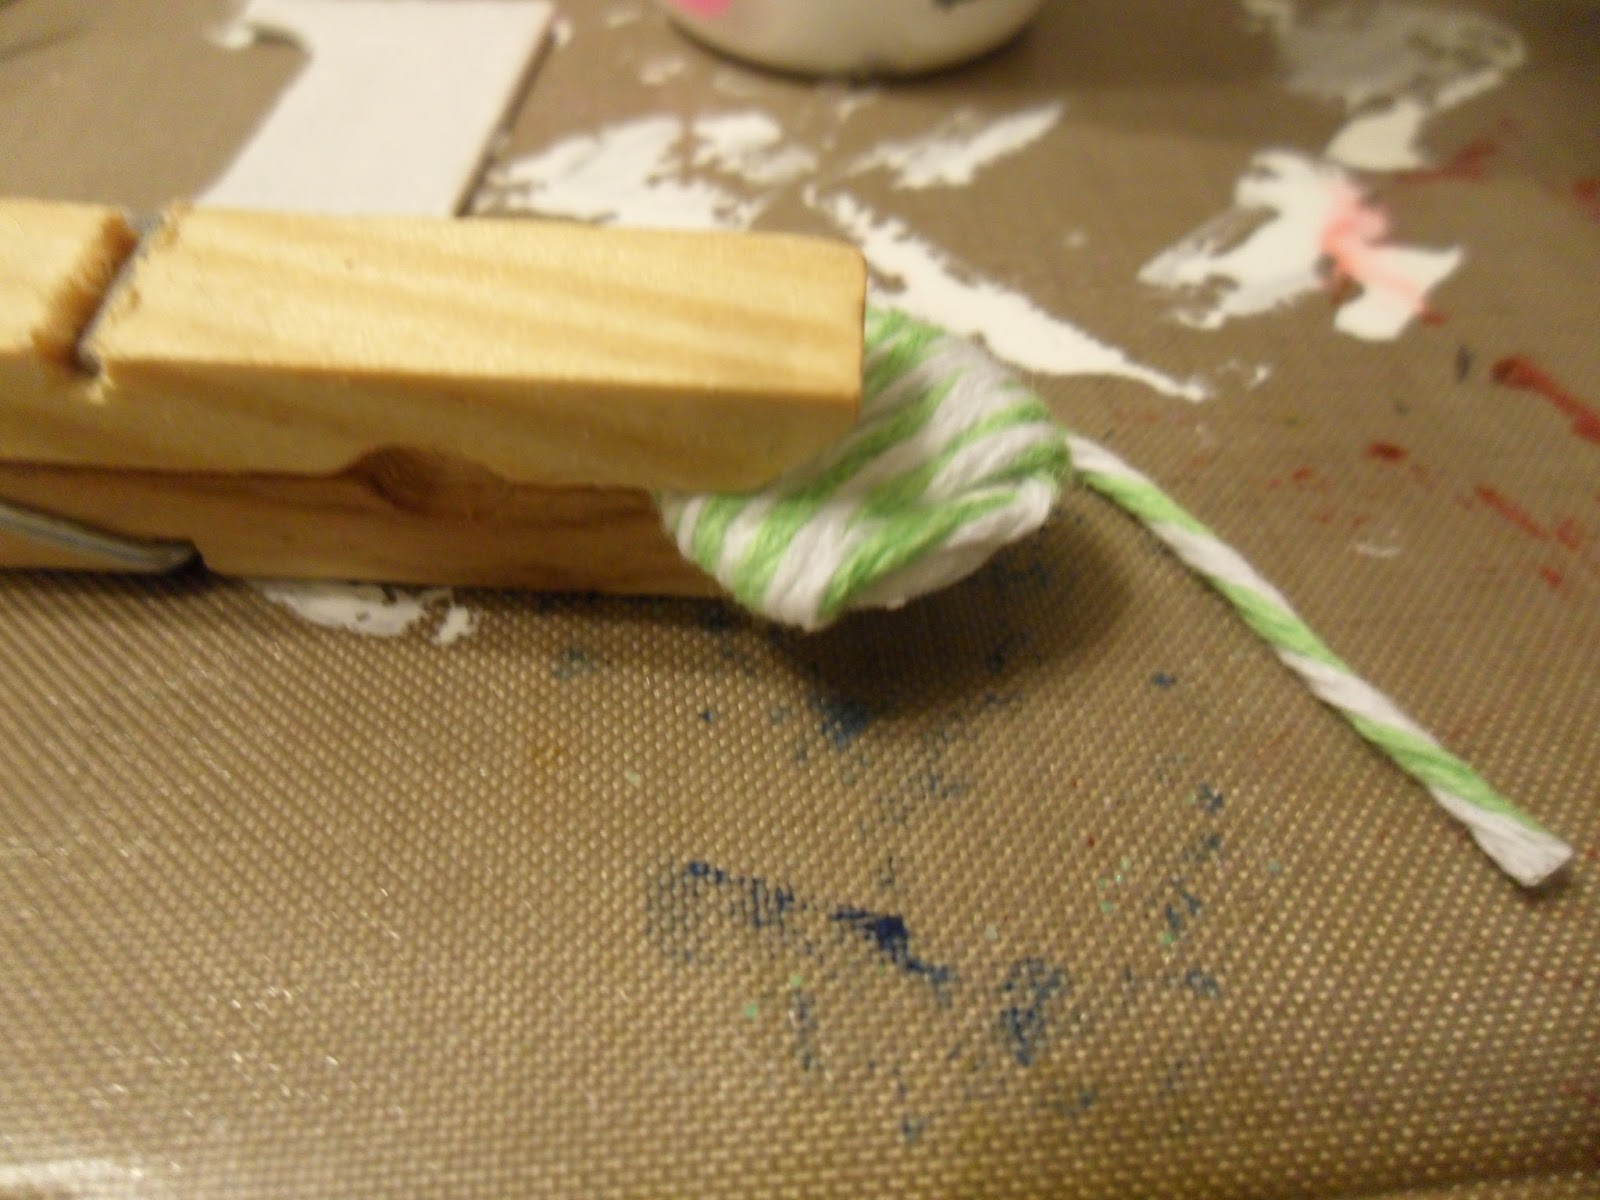
So after my chipboard letters dried, I wrapped the twine around them.  I used a little glue on the front and taped the back with the winding piece.  Here is the dot of the eye.  I used a clothes pin to help the glue dry.


Here is the back of the h.

Here's the front.

I adhered the letter with Glossy Accents to the Kraft card.  Then using a fine black pen I doodled a frame around the edges.

I have Martha Stewart twine-which I like-but I found the twine from My Mind's Eye to be a little thicker.  So I thought that was cool and I would tell you in case you are shopping around for twine.  :)

Until next time my friends...enjoy the last days of December...and 2011!