Sunday, July 31, 2022

Happy First Day of School Card

 Hello Friends!

The challenge at Simon Says Stamp Monday Challenge is Back to School. So when I was looking at my Tim Holtz dies the smaller house in ghost town 2 jumped out at me. Crazy right? But I was able to turn this little haunted house into a respectable place of education :)


I cut the house twice-red and black cardstock and then cut the roof to fit over the red house. I swiped chrome yellow archival ink from Ranger on white cardstock and fit it to the back of the house. The background paper and world is from a Prima paper collection called Engraver. I added two smaller paper dolls and she is sitting on a box of blank index tabs (from snippets tim holtz). I used vintage photo oxide ink and black soot distress ink in various places. 


Here's the haunted house versus the school house.


Here is how I made the sentiment and why the letters aren't perfect. I didn't have word stamps for happy first day. So I made my own words using this little stamp set from my husband awhile back :)

Thank you for stopping by! :)


Summertime Layout

 Hello Friends!

Tonight I made a scrapbook layout which is the first one I have made in a while.  I have been wanting to do a rainbow with distress stains and this worked out perfect for me to try it.


I used a stencil from Dina Wakely and distress inks: candied apple, carved pumpkin, mustard seed, mowed lawn, blueprint sketch, shaded lilac, and wilted violet. The butterfly and summertime stickers and colorful paper behind the photo are from Echo Park. The flamingo is puffy and I think from Amy Tangerine. The pineapple is from the paper studio (hobby lobby).

I was inspired by Challenge YOUself #103 to scrap a picture of my family. :)


I was also inspired by the single page sketch at Stick It Down. The stencil part is the slant toward the bottom of the page. I used Tim's texture paste with the Dina stencil. And then I used the sprays.


Thank you for stopping by :)


Tuesday, July 26, 2022

Mini Journal

 Hello Everybody!

I made this little journal for the Moving Parts Challenge at TFJB Challenge Blog.  When I saw moving parts of thought the page has to move to see the next page. I made it mini because I have lots of little paper dolls and snippets from Tim Holtz and this is a great way to use them. :) 

The base of the pages are from Silhouette in the Design Studio (Silhouette brand 295181).  It originally had a match book style to it but because I embellish a little extra I just had to make it without a wrap around paper piece.

Here's the front:


This journal measures length almost 2.75 inches and 3 inches wide. I used brads to bind it together. The front is a Tim Holtz snippet, clay frame with mica powder and finnabair gold vintage wax and the back ground paper is a from Tim also.


When I put the clay in the mold-I dusted it with the mica powder first so it looks coppery. Then on the right side you can see the difference the wax makes.


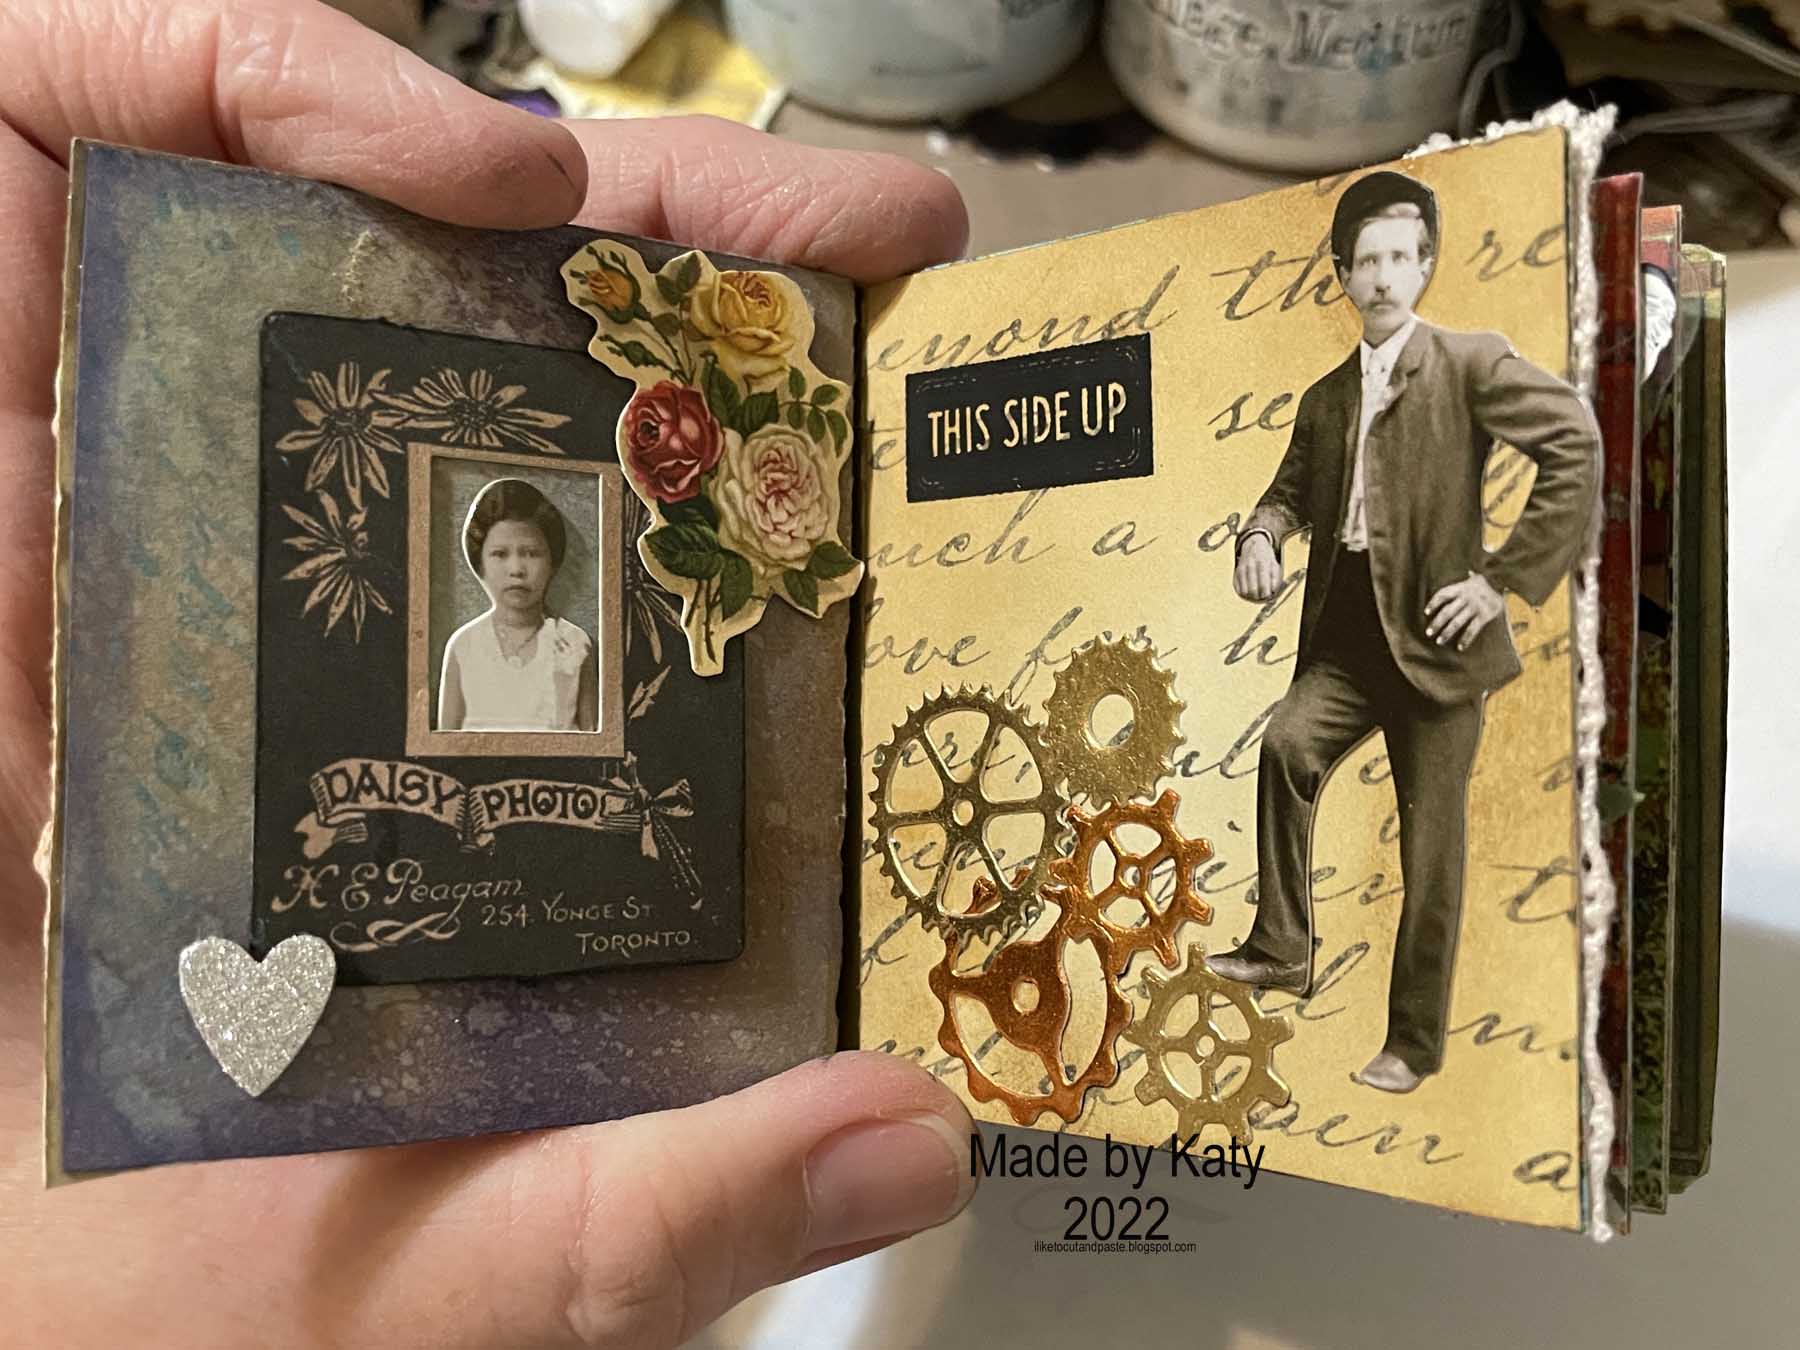
The first 2 pages. Snippets, heart punch, gears from sizzix gearhead and Tim's metallic paper, Tim Rub-on and both have paper dolls.  


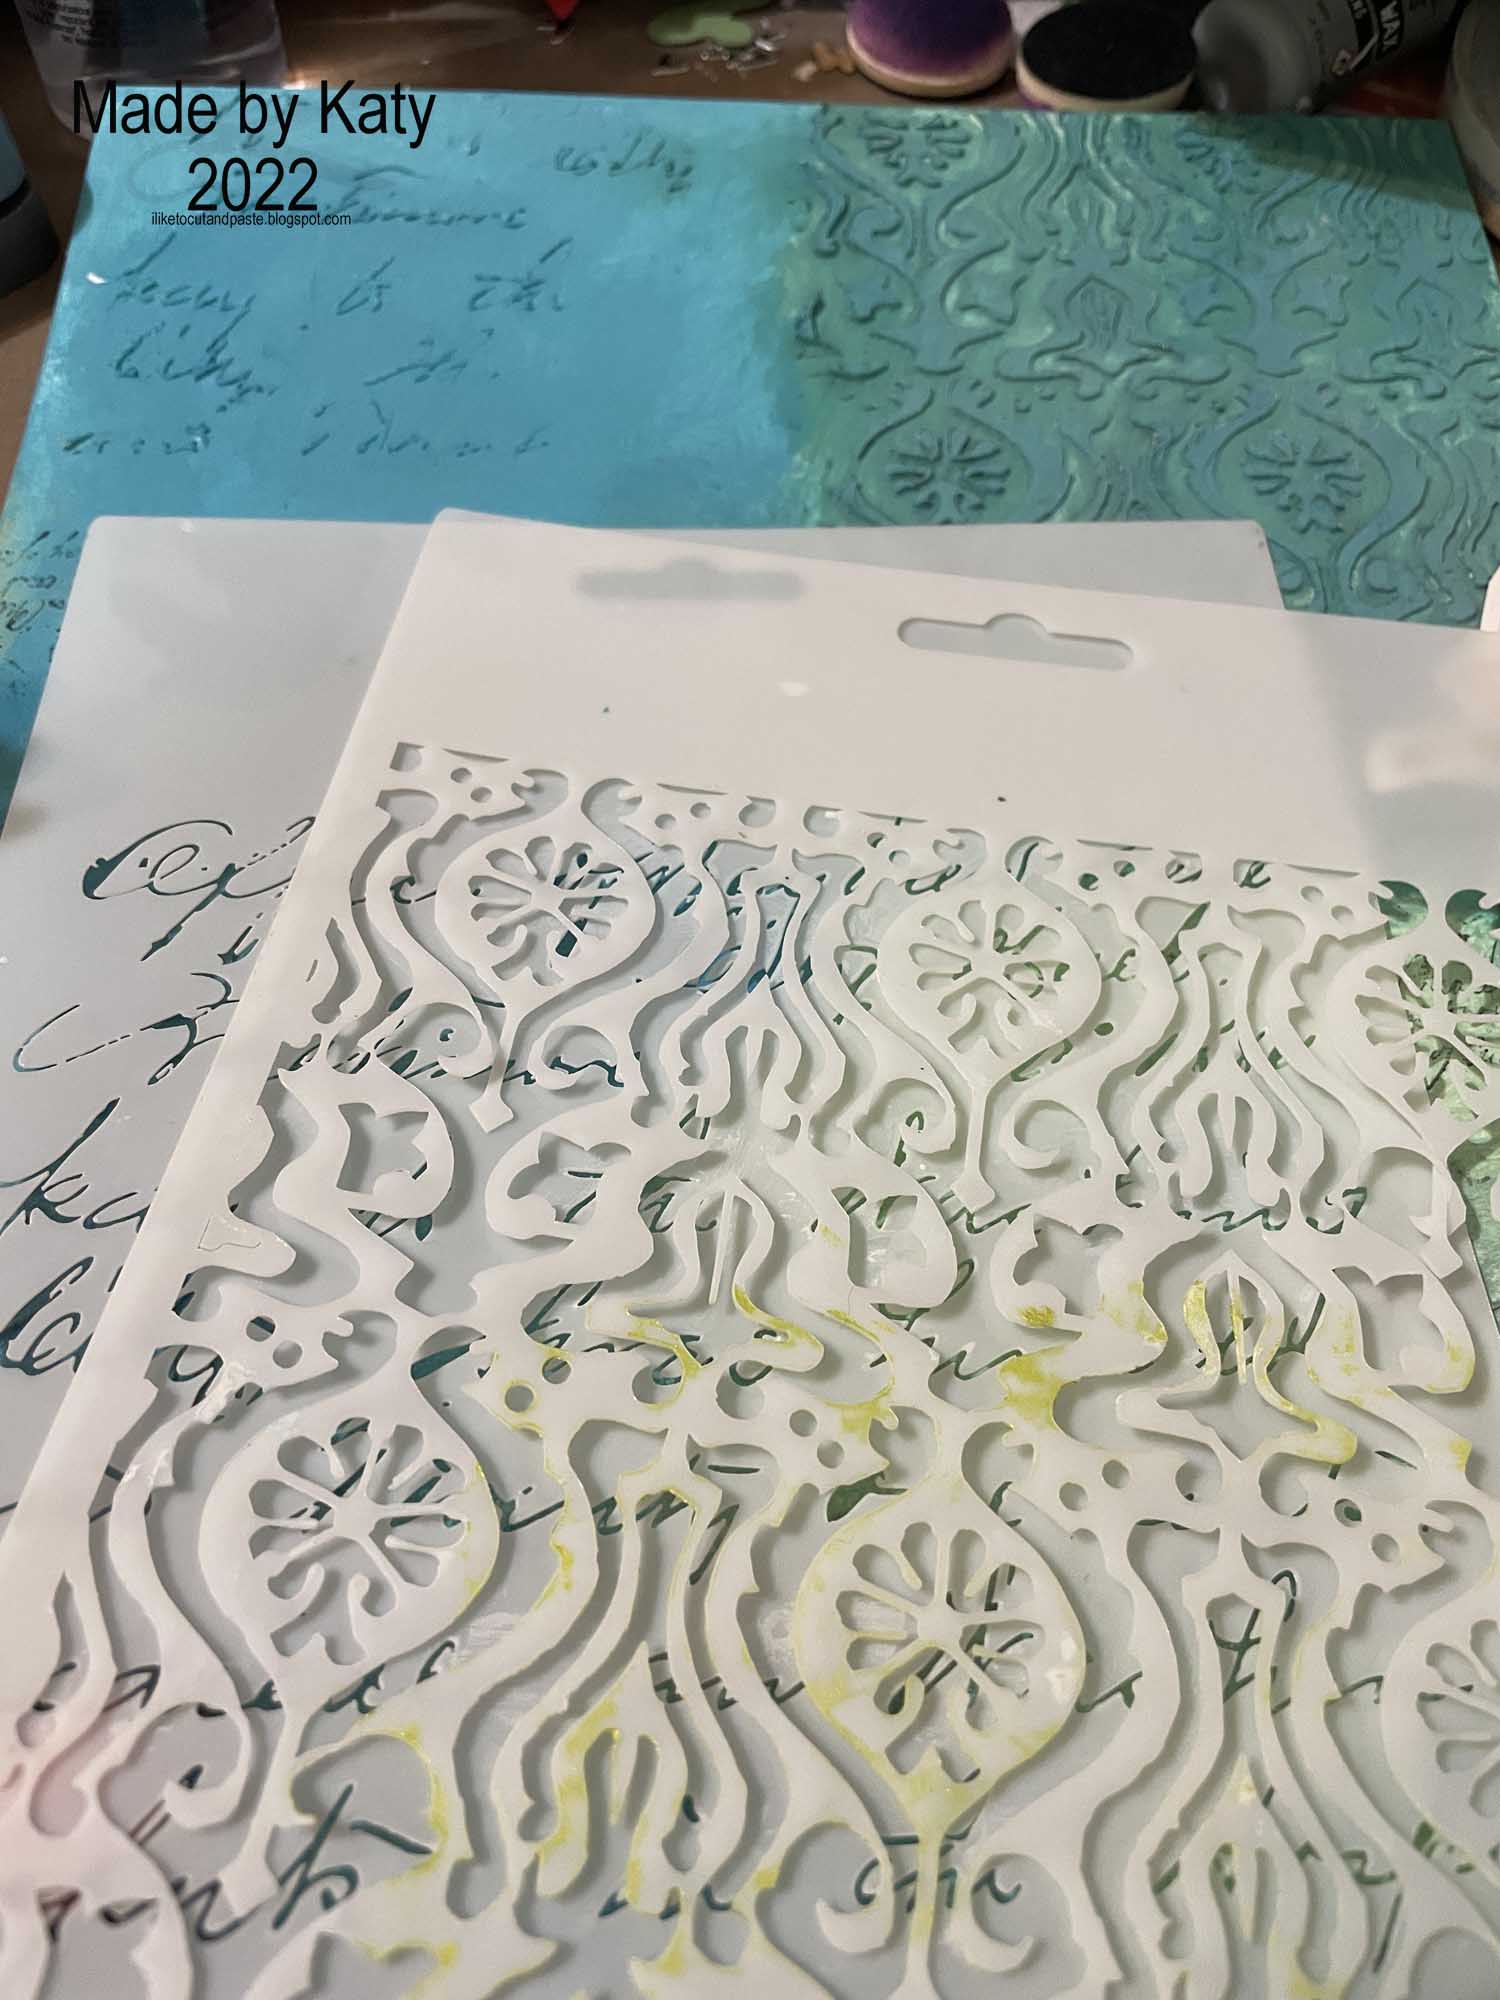
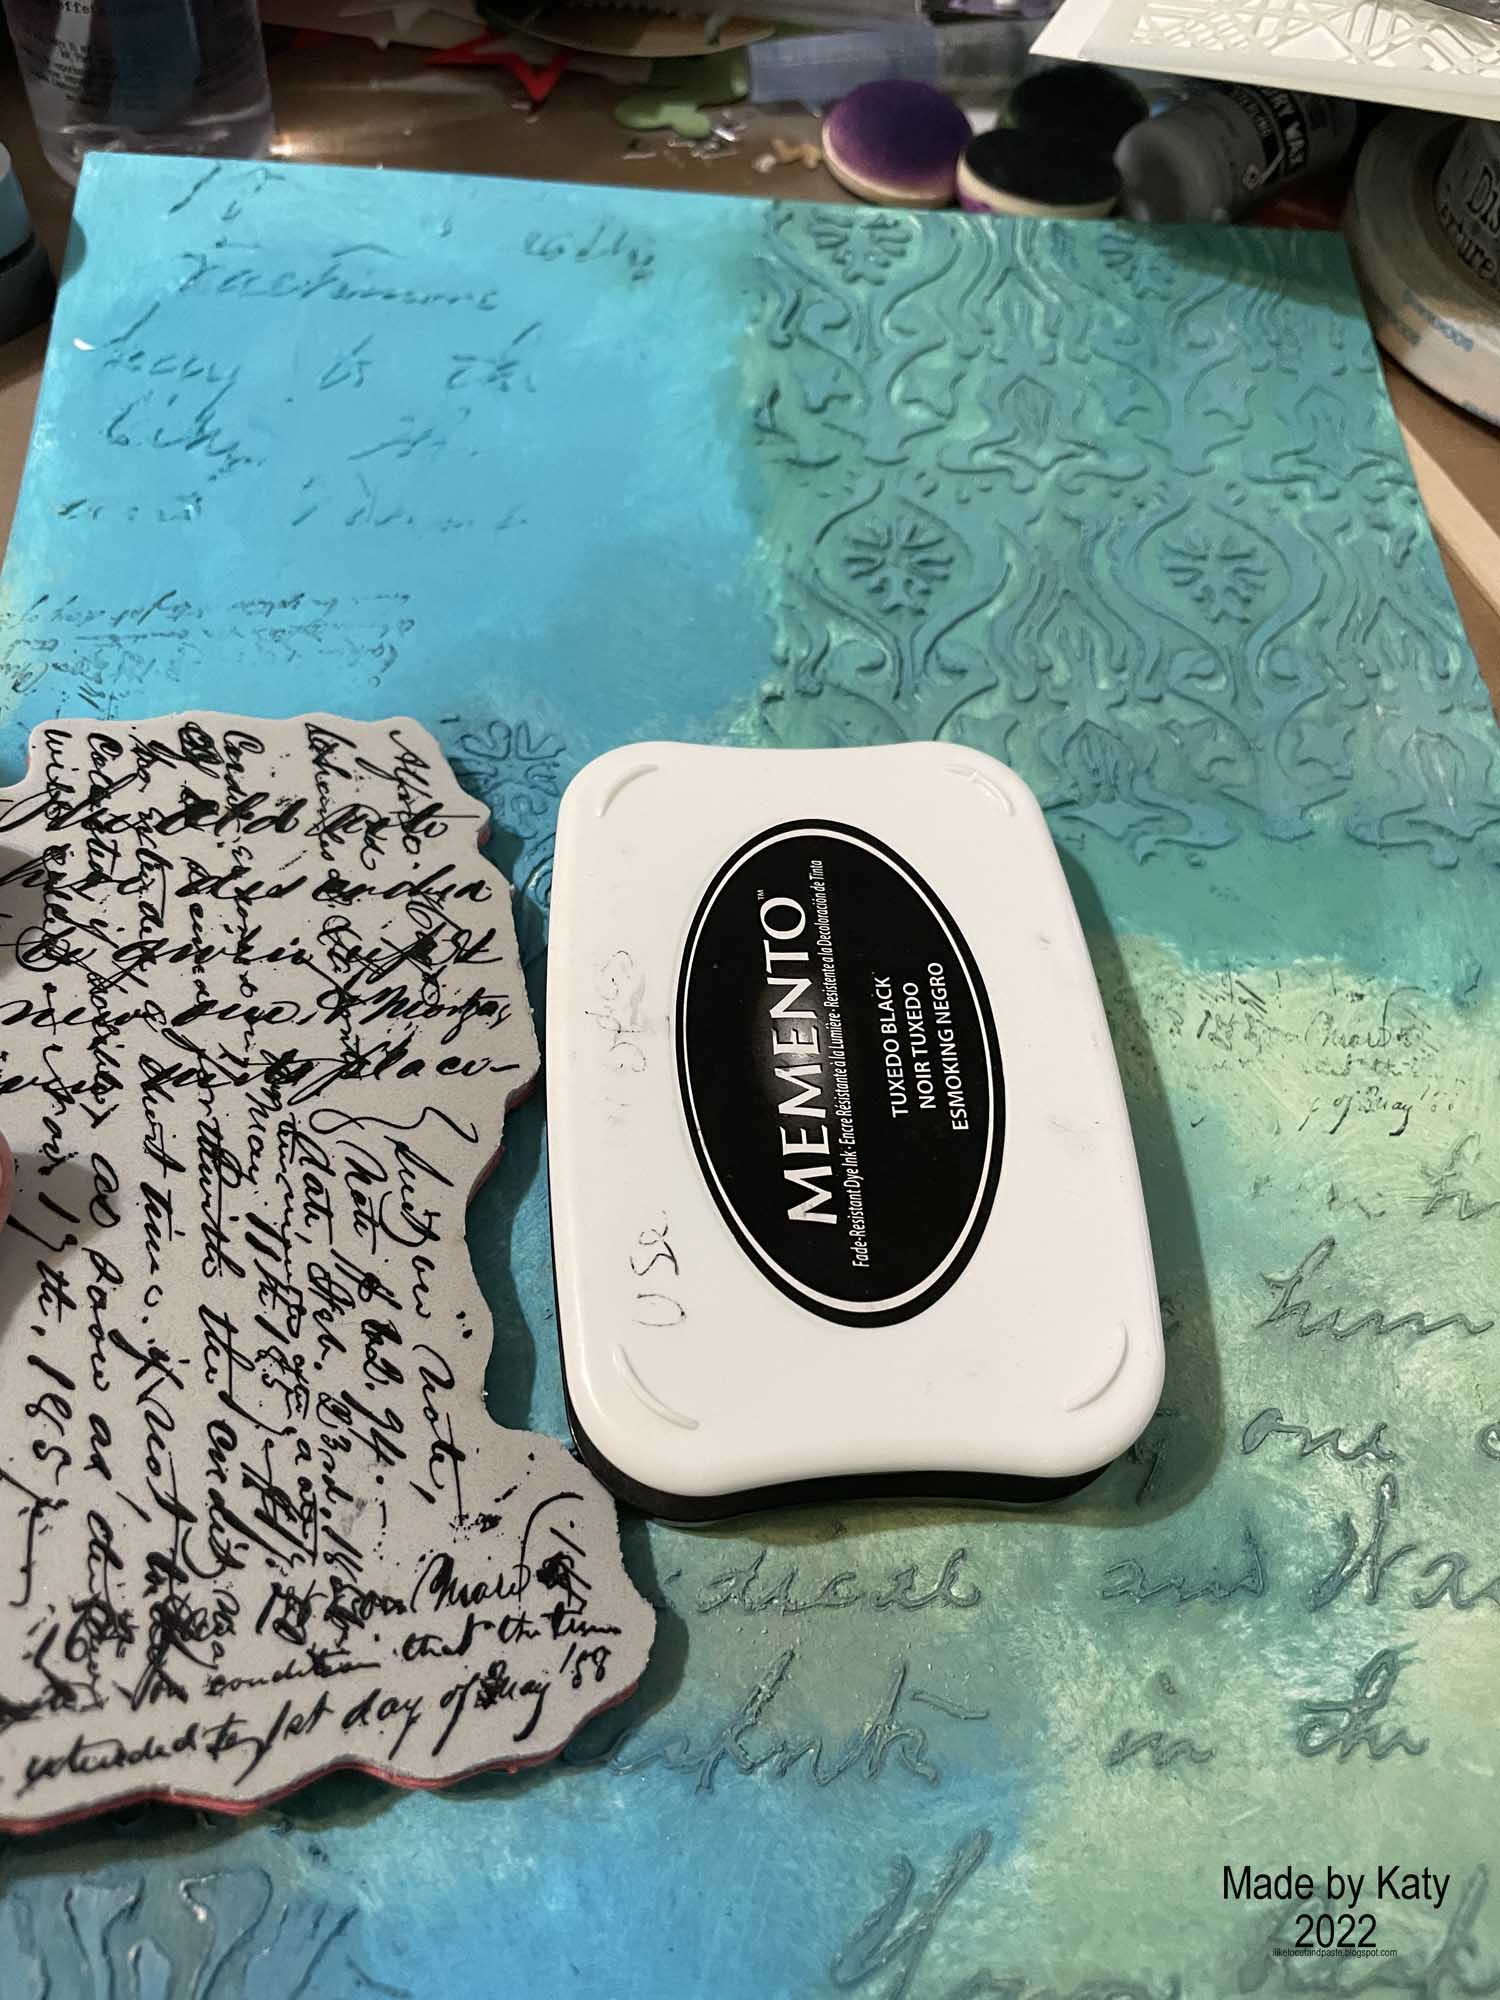
I made this background with a script stamp from Tim and distress oxides and inks and water.


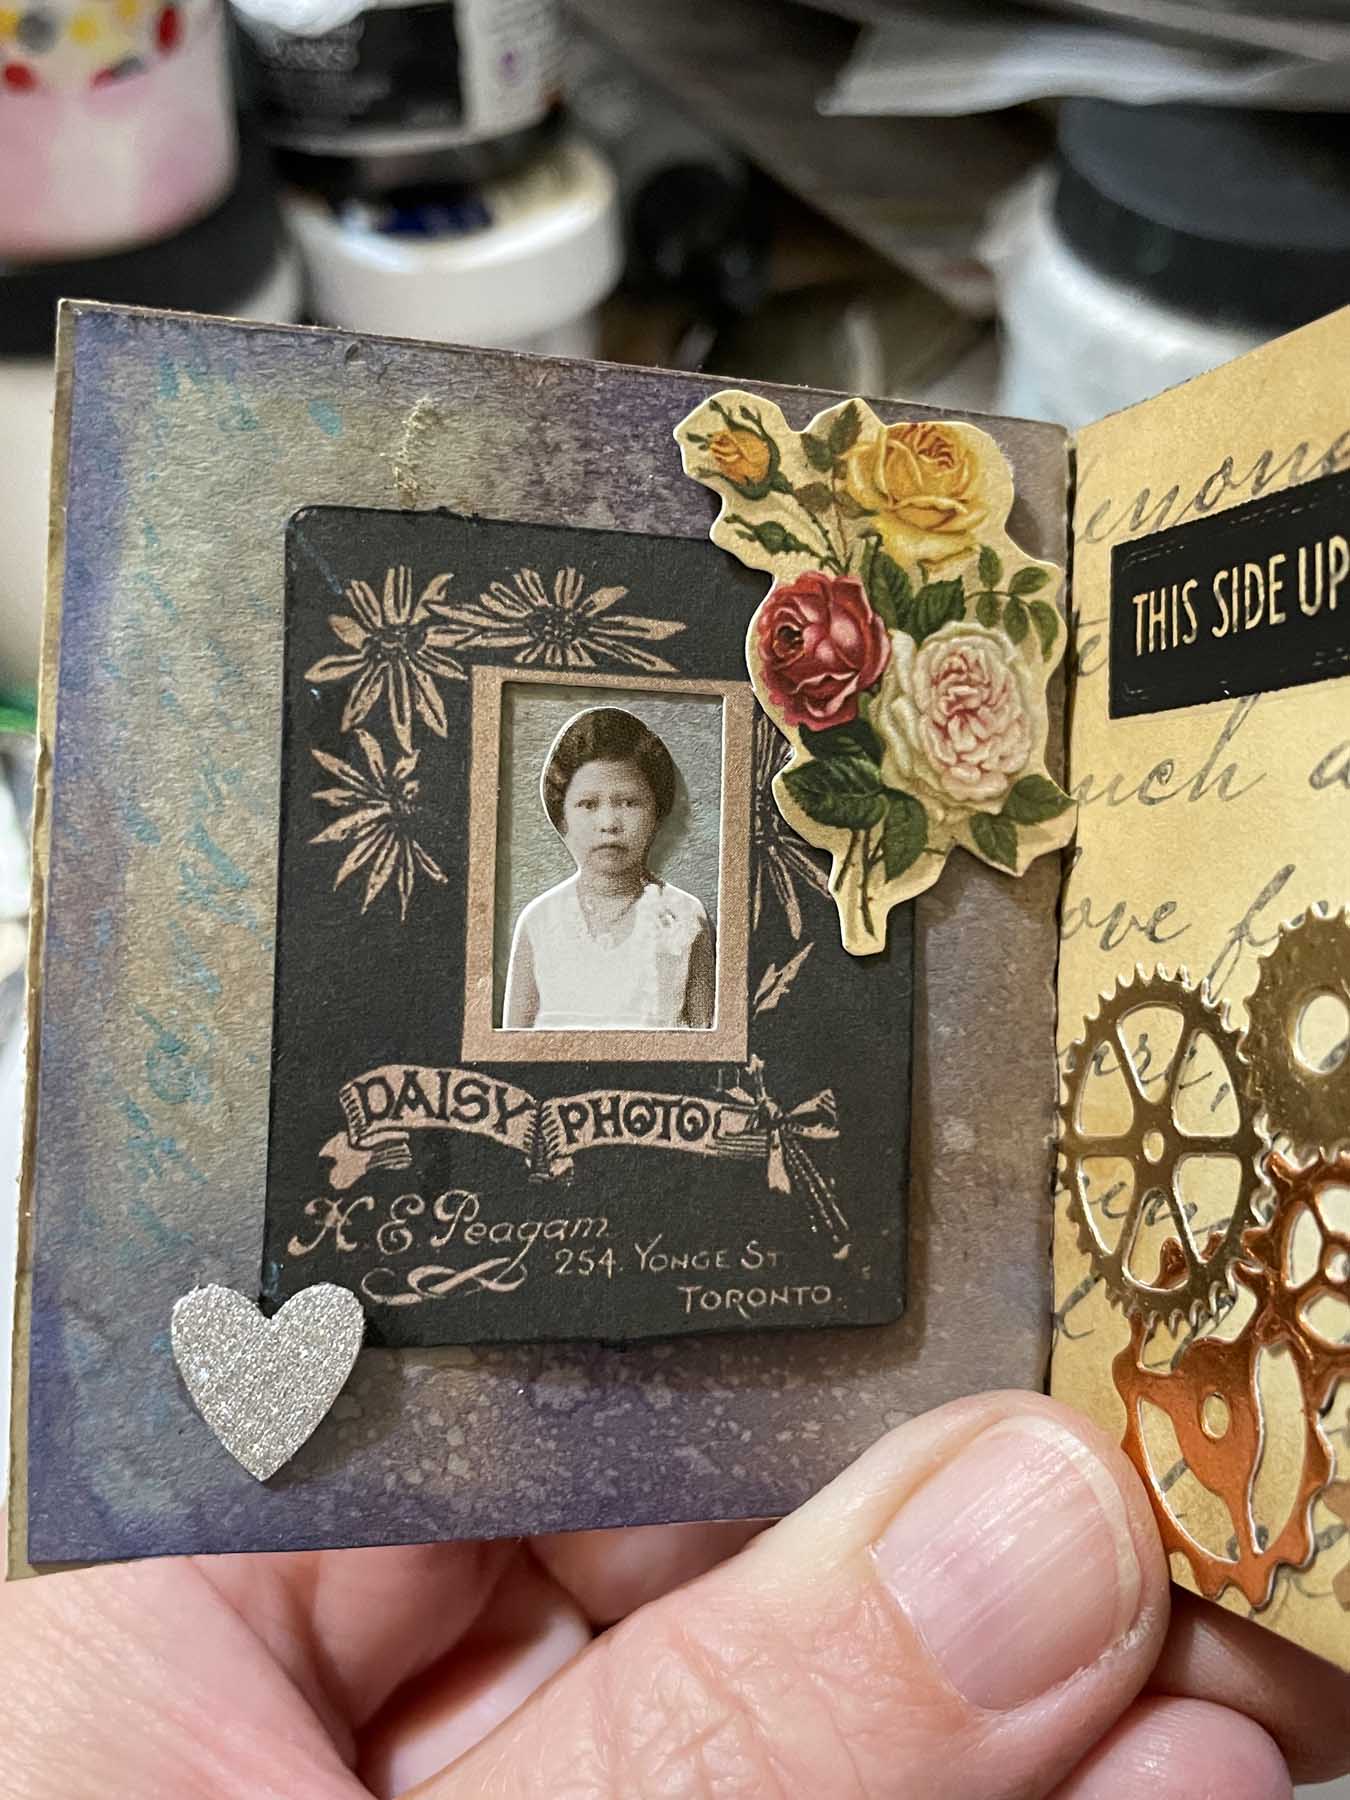
Here is a close up of this page.

Here is the next two pages:


Both of these used Tim's abandoned papers for backgrounds. 


Tim's paper dolls, rub-ons and a piece of lace and flower found in my stash.


This is a cool Tim stamp but I felt it got lost in the background. The picture makes it look better than it really is LOL. So I added some things:


A Tim Holtz bird and a sizzix Tim green -So the stamp is part of the cool background now.

Here's the next to pages-Moving right along....(see what I did there?)


Both of these background pages are from Abandoned. 


This butterfly is a transparency that I added glitter glue and then white paint. There are some sparkles there I promise :) And an old dream ticket because I still have those :) And Snippets. Oh and a clipping sticker.


Snippet, washi tape, a sticker from 7 gypsies and the heart I think came from The Funky and Frilly Boutique in one of those cute envelopes. (and if not then it was in my stash LOL)

Here is the next set:


This was a tan paper that I used rustic wilderness distress oxide on. I cut out the sizzix mixed media piece and colored the smaller kid's outfit with prism markers. More clippings stickers.


I used kitsch flamingo embossing powder on this cool lady. A clippings sticker. The background is pattern paper I had floating around and I don't know the brand. If it's not Tim's I would say 7 gypsies.

This is the last set.


This background paper was also sort of beige and I used speckled egg oxide. More snippets and a paper doll and a gear to help tie in from the 2nd page.


And this is the inside of the back cover. I used gathered twigs distress ink and a little black soot over the raised edges. The embossing folder is an old Tim one from Halloween (I think).  I loved this clippings sticker as a sort of the end. :)


So above is the debossed side. And below is the embossed side. I used walnut stain, villianous potion and prized ribbon and water. I think the stain was ink the other two were oxides. Also, I bent the brads because they were long which was good to go through the book but then they hung over. Thankfully, the "arms" were easy enough to bend.  And I used vintage gold wax from finnabair over the raised edges.


Thank you so much for stopping by and then moving again ;) (lol I laugh at my jokes even if no one else does) lolol :)


Monday, July 11, 2022

Smile Canvas

 Hello Friends!

I am playing along with the challenge at The Funkie and Frilly Boutique Blog today. The challenge is called Stencil Mania and you are to use 3 stencils on a project. Funny story-I made a card (the post previous to this) using a stencil and a fun technique. I was all happy until I went back to make sure I had everything right-to find out that you need to use 3 stencils and not 1. LOLOL. So here is my project :) (And I'm glad I double checked!)


So I made this canvas board a long while ago. I guess I get distracted and this stays like this until now. (I have many other things started and not finished. I may have a problem.)  I painted it (with what I apologize I don't remember) and I used Finnabair stencils. They were probably new at the time and I just wanted to do something with them.


Here are the 2 stencils. (wait shouldn't there be a third? wait for it... ;) )


I also stamped a partial of this stamp in 3 areas, but 2 of those places were covered up. 


Here is the 3rd stencil. :)  Those are two clay bolts from a finnabair mold painted with raven black sparks paint.  Tim Holtz smile flash card-torn and inked with vintage photo.  And I think the paper with the words is a Tim Holtz snippet or something. (I have layers, ephemera, and snippets all in a bag so you know it's a little crazy in that dept)


This is a Paige Taylor Evans stencil and I used Peacock wax by Finnabair.


Here is the base. It's an artboard so it's thick but maybe not a thick as a thin canvas? I don't know.  These looked like possibilities when I bought them. So far 1 possibility so not bad :)  Oh and they measure 9 inches wide 12 inches tall.


So this is a little creative process here. I make the molds ahead of time. And I have a good many.  I love making them. :)  So this is me trying to figure it all out.


This lady and this whole piece here is a photo transfer from Finnabair. Like a big rub on in color. I just put it on a piece of cardstock and cut out the cardstock. I am sure they are meant to go in journals and stuff but my journal is small and I really just love this and thought it made a great centerpiece.


So here is how everything played out.  Gears, clocks, postage stamp, and an ornate metal piece.  I used these paper (I guess) ball like things and painted them purple to anchor all of the pieces. And I painted everything with a sparks finnabair paint. Some I rubbed a little wax on like the big clock-vintage gold. Oh and I highlighted parts of the background with Unicorn's Hair (one of my faves).


For the construction I used craft foam to lift some of the pieces. Like the camera girl got 4 pieces and then the pink clock 3 and the square stamp 2.  This is how I layered them-and I used hot glue-between the craft foam layers and the gears, clocks, etc.  The paper balls-I used glossy accents and a pin to move around the glue a little bit.  For the smile piece I used zip dry because I find that it doesn't wrinkle paper. I love this glue for banners also :)


And here is the finished piece again. Thank you for stopping by! :)


Saturday, July 9, 2022

Reversed Stenciling Card

 Hello Everybody!

I was watching youtube and ran across this Gina K. video on reverse stenciling-and I had to try it!

First-here's the card. And then scroll on down and I will tell you more :)


So I made this card-after watching a Gina K YouTube about reverse stenciling.  I applied these oxide inks to a 5 by 3.5 inch white cardstock panel. (colors salvaged patina, kitsch flamingo, twisted citron)


Not pictured is I put the stencil from the crafters workshop down and taped it. And then I used memento black tuxedo ink through the stencil. And the lines are the colors instead of vice versa. So cool :)

And then I inked some more cardstock and cut out flowers using the Tim Holtz die small tattered florals (661806). I stacked them and put a little gem in the middle of each. 

The sentiment is an oldie but goodie from Sizzix and I stamped the sentiment and banner and then die cut out the banner. And then I arranged the pieces.

Thank you for stopping by! :)