Showing posts with label Queen & Co. Show all posts

Monday, March 1, 2021

March Challenge at the Rainbow Card Challenge!

 Hello Everybody!

New month new challenge! This month we are all about Jade at the Rainbow Card Challenge!

This is my card.  


I made a galaxy background using lucky clover, rustic wilderness, and wilted violet distress oxides.  I watered down some white paint and made the dots in the background. The stamps are from Lawn Fawn-they have 2 space sets and these are from both sets. I used my prismacolor markers to color the aliens and their ships and the planet in the background. The ground is a paper I covered with lucky clover and rustic wilderness distress oxides. And the sequin stars are from Queen and Company.


This mood board is so awesome! I hope you are inspired and play along with us! :)


Thursday, January 7, 2021

Butterfly Thanks Card

 Hello Everybody!

I feel energized by the new year.  I hope it lasts! 

I got out my Queen and Company bin. It's not an enormous bin but I would like to work on using the things in there. That way I have a better excuse to buy new stuff ;) LOL

This is a fun shaker card that I made. 


I have the butterfly die but I am now out of the foam bottoms that came with it.  However, I bought a pack of 4 sheets of foam and actually cut out my own. (It is Q&C foam sheets.) So I cut out the paper which I couldn't find my pack of q and c paper (Boo!) so I chose this so it would compete too much with the fun shaker on the inside. All those bits, the gems on the side and and thanks is a die from Queen and Company. The twine is from Hobby Loby. :)

Here is a close up. I love all of these little bits!


Thank you for stopping by! :) 

Monday, January 4, 2021

Gifted Background Birthday Card

Hello Everybody!

It is a new year and with that a little self reflection.  I am starting to know what my limits are-like I cannot make an elaborate costume or craft things out of wood.  I can't really work a saw and there wouldn't be room for one if I could.  But what I can do is make cards and various papercrafts.  I want to deliver a little magic to my family and friends in their mailboxes.  If I were to pick a word for this new year-it is magic. And I want to be able to make that happen.  

With that-I am trying to let go of perfection. A thing I put on myself all by myself.  That's what stops things from being created. My own "that won't be good enough."  The receiver doesn't know what it should look like per se. They are happy to be thought about. And life's not perfect. So here we go!

I bought this Taylored Expressions gifted background. They have this really cool process-it's more than a stamp. There is a matching stencil and matching die cut. I have become obsessed.


This card uses the stamp and stencil. The stencil is awesome in creating this change color effect on the presents. I have used this color scheme on a few more cards which I will share as the week progresses. A whole week of cards or projects! Yes please! 

So for this card I used Lovely Lilac cardstock from Stampin Up. The heart sequins are from Queen and Company. The sentiment is from rubber necker stamps stamped in lovely lilac with shaded lilac distress ink on the sides of the cut out sentiment. First I stamped the background and then used the stencil with distress oxides/inks in the picture below. I used my normal ranger round foam applicators.


Pinterest is a beautiful thing. That is where this color combo was that inspired me. 

I am entering this card into the Get Creative Challenges: Anything Goes no twist #97. (1/31)

So Cheers to a new year. Cheers to crafty fun and bringing a little more happiness into the world. Thanks for stopping by today! :)

Sunday, December 29, 2019

Projects from July

Hello Everybody!

I am working on July projects.  It is fun to go back and see what I created.  It's mostly cards-cards that have already been given out.  And I am like-oh I want to make some more of those!

Or use more Queen and Company stuff because I love their stuff.  And this summer I was all about rainbows and colors!


This is all Queen and Company except for the glitter paper from Hobby Lobby.  I love these products!


I used this prima stencil and a rainbow of colors of distress ink.


Ta-da!  It's on a 12X12 piece of white cardstock which I haven't finished but I was happy after I finished the rainbow stencil.


I love how this card turned out.  I used a chicken wire background stamp from Stampin UP (so it is rather old) and used gold embossing powder.  Then I used distress ink oxides.  The cow, pig, and rooster are a die cut from Silhouette.  And the sentiment and metal frame are old school Stampin' Up too.  And then that panel is on a kraft card.


This fun card went to some of my husband's relatives.  I love that heart background (simon says stamp).  Old school flower background stamp from Stampin Up and paper dolls, film strip, flash card, and metal sticker and rub on from Tim Holtz.  Along with the distress ink.  The clock stamp on the bottom is Hot off the press (I think) and the gold flower "sequins" are pink and main.


Mostly a Tim Holtz card with the stamp, ink and background stencil.  The sentiment is a die cut from Queen and Company and glitter paper from Hobby Lobby.


Wow!  July was busy!  Like I said it's fun to look back.  I need to get out those paper dolls and make some cards with them! :)

Thank you for sticking around!  August is on the way :)


Saturday, March 31, 2018

That was Awesome Layout

Hello Everybody!

It feels like forever since I have made a 2 page scrapbook layout.  Probably because it has been forever.  LOL!  So I am very happy I was able to make this layout using the sketch from Stick It Down and the theme from Use Your Stuff.


This is from a trip I took last year with my sister to San Juan.  It was a business trip but they had fun built in.  We were able to take a tour of the Bacardi factory.  It was awesome! :)  On the bottom right is my bracelet "ticket."  We learned how to make three drinks-mojito being my favorite.  


Here is a closeup of the cluster on the top.  I used some washi tape and chipboard pieces my friend Amber gave me.  (thanks! the paper too!)  The pom pom flowers are Queen and Company, and I just love them!

For the background I used Wendy Vecchi's translucent embossing paste and a diamond stencil.  I wanted to add something so there wouldn't be quite so much white (or in this case pink) space.  I love the clear embossing paste because it seems to add just a little something without it being too much.  :)

Thank you for stopping by today!  

Here are the challenges that I am submitting this layout too:

Stick It Down-Double page sketch


Until next time my friends...let the adventures begin!  Edit-I was highlighted!  Thank you Use Your Stuff! :)


Saturday, December 30, 2017

Reindeer Card

Hello Everybody!

I feel like I have not been here in FOREVER!  Oh wait-seeing the date of my last post-I haven't.  Oh my goodness!  I promise I haven't fallen off of the earth.  And I have been doing crafty things-it's just been tough to get them all posted.  So finally some time!  It's good to be back! :)

I am super excited to share with you this card I made.  My friend who loves her kids' bus driver needed another Christmas card.  I was looking around the 'Net for some ideas and when I went to Creative with Stamps the inspiration hit.  Their challenge was reindeer.  And that moment-I saw a school bus being pulled by reindeer.  The next step was to make it happen.  :)

So here is my card:


The background are Tim's new Distress Oxides.  And the bus, reindeer, and buildings are all thanks to my Silhouette.  The sentiment is an Inkadinkado Stamp.  The stars are Queen and Company.  Googly eyes, and the black noses are like flat round dots they used to sell-LOL They were popular a while ago.  And the red nose for Rudolph is a red gem that was in my stash.


The bus-which is totally adorable to me is cut from cardstock and then the yellow is from Doodlebug glittery yellow cardstock.  I put a layer of acetate for the windows-but I don't know if it really mattered.  It seemed like more of a challenge with that layer so I don't know for next time.  

And I love the sentiment-it was the perfect size and it had stars too.  :)

Thank you for stopping by!  I hope everyone has a Happy New Year! :)

Don't forget to check out Creative with Stamps:


Wednesday, October 4, 2017

Spooky Coaster Vignette

Hello Everybody!

I know that we are four days in to October-and I already feel behind!  I love the month of October so much!  Fall and Halloween!  Pumpkin this and the overall feel of October.  Ahhh such a wonderful month!

Over at Simon Says Stamp Monday Challenge the challenge this week is to walk on the Dark Side.  And they are using primarily Tim Holtz 😍 supplies.  So I got out my spooky Tim Holtz stuff and this coaster holder that I bought at the thrift store.  There were not coasters so I think it was like 99 cents.  Score!

So I turned it into a vignette box.  Check it out!

Here is the original coaster holder.


I painted it black.  And then measured out Tim's tissue paper for the background.  I stamped some circles in the background and embossed them with glow in the dark embossing powder (sparkle n sprinkle).  I also distressed it with black soot distress ink.


Here is the finished vignette box.


This is the cool yet scary mad scientist (stampers anonymous) colored with Copics.  I got the cool Tim skull in the right corner.


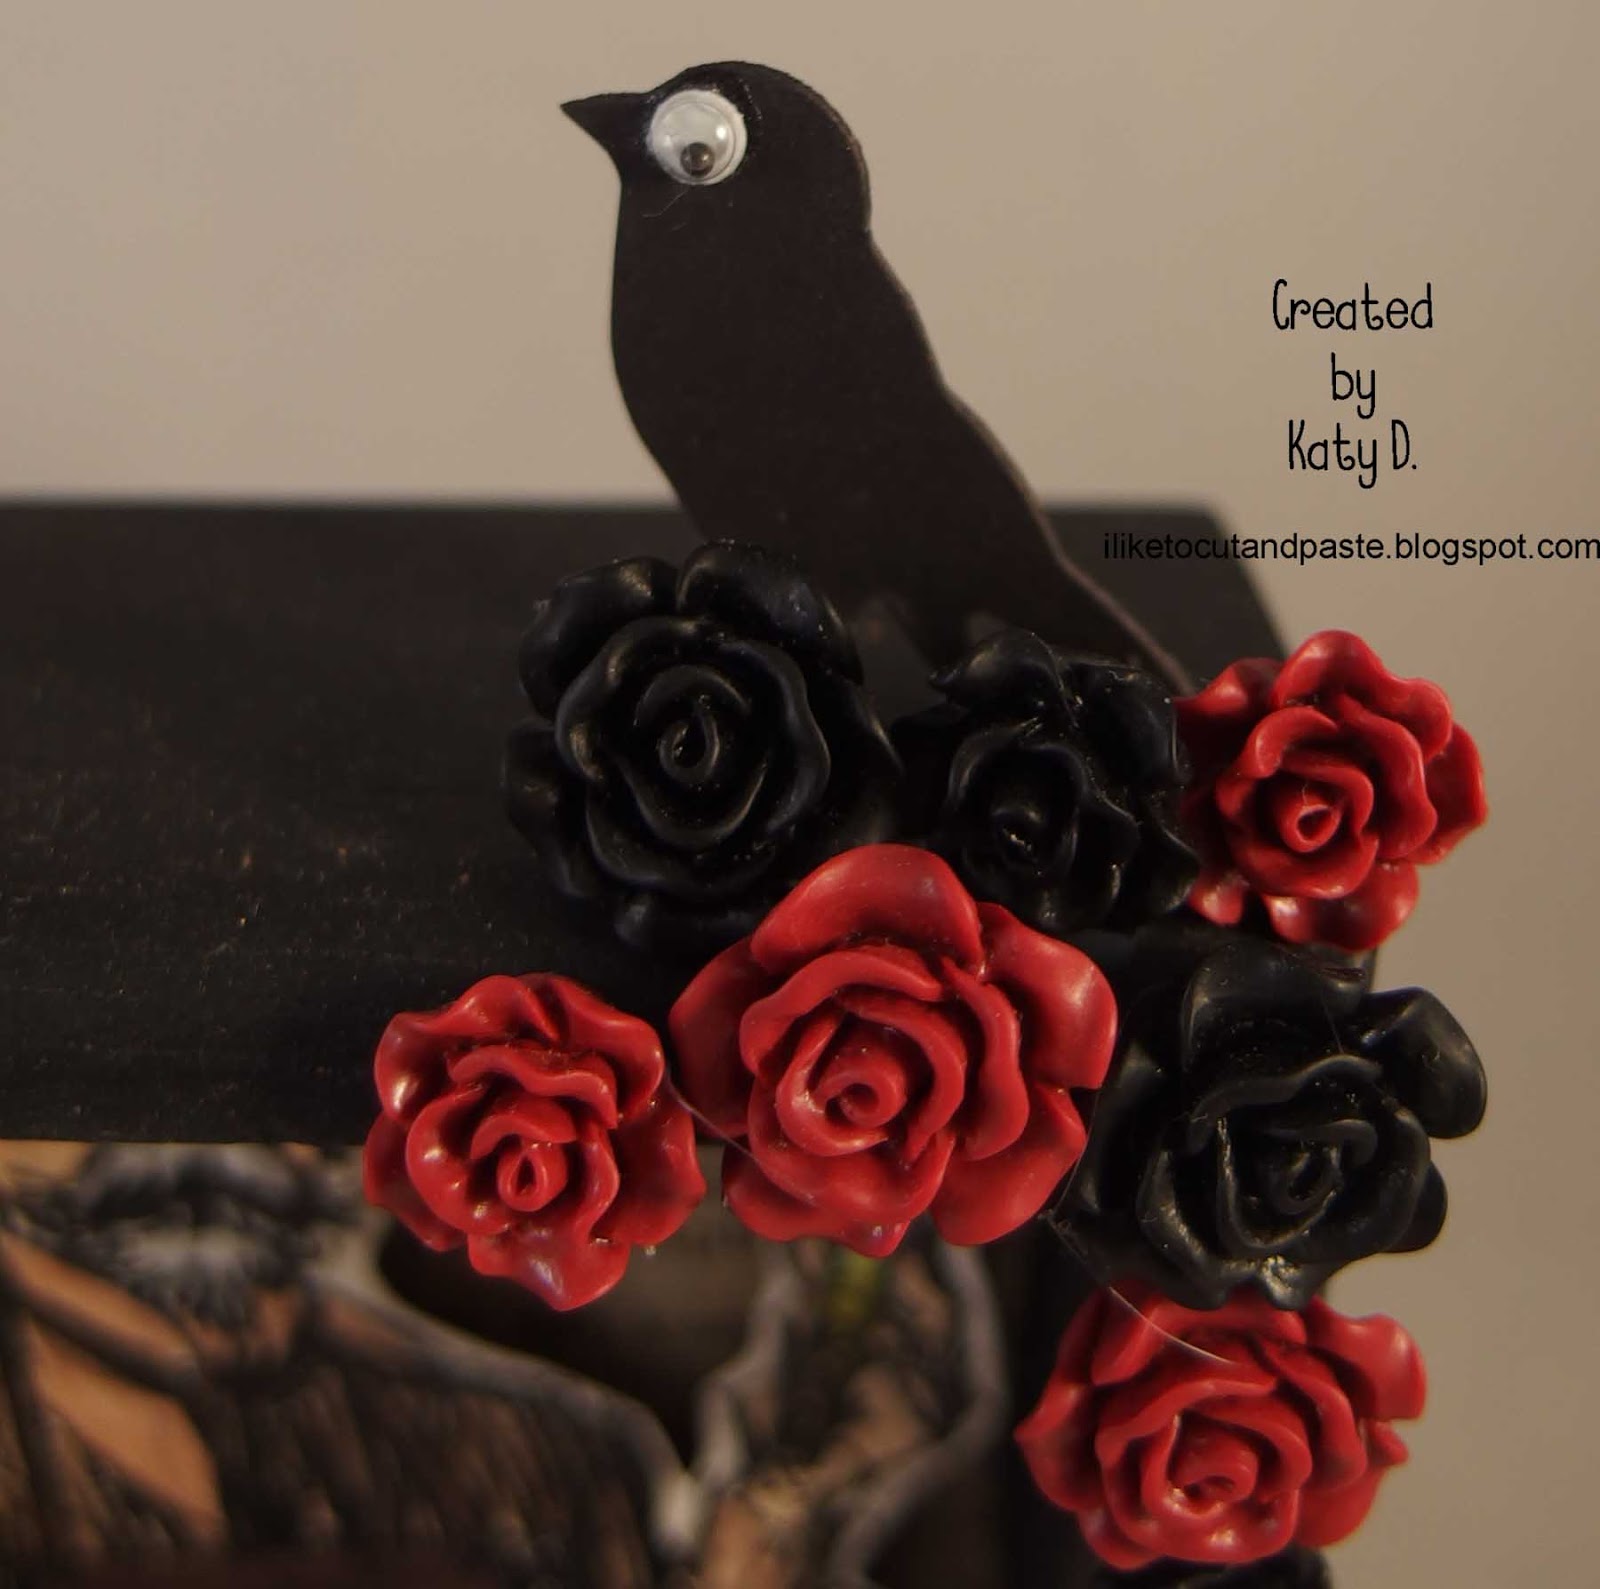
These spooky potions are on the left.  The brown bottle (7 gypsies) contains shaker things from Queen & Company.  And the potion coin in filled in with distress paint.  The other bottle is Tim's and contains loose glow in the dark embossing powder.


This cool bird is from Tim's mover and shaker die cuts.  And the cool resin flowers are Tim's.


This is an awesome Tim pumpkin-which is oranger when you buy them.  I used distress walnut ink to make it fit with the rest of the vingette.


And that's it everybody.  Thank you for stopping by today!  

Until next time....Make Halloween! :)

Wednesday, June 14, 2017

Shaker Butterfly Card

Hello Everybody!

I love love love shaker cards!  And I love that Queen and Company has totally made shaker cards their thing.  When I was at the Scrapbook Expo, I spent a lot of time in the Q&C booth.  If you haven't been to their booth-first it's color coded.  So I bought these little flower that are on this card.

But this card is a shaker using their die cut (that I had to buy!  Butterfly 😍😍😍)  I also had an Art Anthology class-and they have cool paints and sprays.  So I bought Wisteria and Pixie.  I painted the purple (Wisteria) on the outside of this card and Pixie (the light blue) on the inside.  There are sequins and all sorts of goods in the shaker part.  AKA my favorite part.  I love putting all of the little bits into the shaker. :)


I would like to enter this card into the following challenges:


Thank you for stopping by!  Until next time my friends...Shake it up! ;)

Sunday, May 7, 2017

Mother's Day Shaker Card

Hello!

I have been busy over the last few days.  I went to the Scrapbook Expo yesterday-and was totally inspired by the examples and products.  There was so much to see!  It's nice to see the Expo getting bigger.  In years past it has been smaller, but it's definitely growing now. :)

One of my favorite booths is Queen and Company.  They are always so bright and cheerful.  Everything is organized by color-so it's hard not to want 1 of everything.

For my mom this Mother's Day, I made this shaker card.  The flower paper came from a magazine gift.  Everything else is Queen and Co.  I mad the 2 little flowers at the top with a paper punch.  All of the fun sequins inside the shaker are Queen and Co as well.  The sentiment is a stamp from Stampin Up (I think).


I am entering this card into the following challenges:


Thank you for stopping by today!  And early Happy Mother's Day to all of you moms out there.  


Wednesday, February 15, 2017

Mid-Month Valentine

Hello Everybody!

I am so excited to show you my Valentine Day's card for our Mid-month reminder with Creative with Stamps!  Be sure when you link up to use our cool graphic:


This card was made using the Heart Throb kit from Queen and Company.  I love this sweet heart die and foam.  The kit has awesome papers-but I chose a different way here.  I embossed white cardstock with a candy hearts embossing folder.

Those are cupid sequins in the heart!  And some white pearl ball-things.  I also used a tim holtz embossing tool that allowed the oval on the bottom not to be embossed so I could stamp the sentiment there.  


Did you have a Valentine you haven't linked up yet or if your starting next year's supply-its not too late to join our challenge.  It goes until the end of the month.  Thank you for stopping by!

Until next time my friends...watch out for cupid! :)

Sunday, February 12, 2017

Steampunk Valentine

Hello Everybody!

I am so excited to show you the card I made using the Queen and Company Heart Throb kit with a Steampunk Flair!

First here is my card:

Here is another picture of it.


Here are the products that I used to create it:


Plus I used Q and C's heart die and a heart foam.

For the background I used the foil cardstock.  But it was too shiny-so I inked it up with black distress paint.

I 
I also inked up the heart foam for the shaker part.  I used the black distress paint for that as well.


I realized I had to do the inside too! :)  


For the heart shaker I used the foil cardstock.  I embossed the inside with gears and used the preserves and black distress inks.  I used the black distress ink for the heart outline as well.


Then I filled it with all of those wonderful things-microbeads and diamonds and a few sequins.  But there are 3 silver little gears in there also.  They came from this earring that I bought at a Steampunk show back in January.


I'm saving the other 2 gears. :)

Here is another picture of the heart.  


For the sentiment I used black and white cardstock.  I cut it out on the Silhouette and then made the background from there also.  I used the Ken Olivers liquid metals silver to make the sentiment sparkly.

Thank you for stopping by today!

I would like to link this up to the following:


Thank you for stopping by!  Until next time my friends-may love fill your heart! :)