Thursday, April 26, 2012

Happy Arbor Day!

Hello Everybody!

April 27th is National Arbor Day here in the US.  To celebrate I made this tag.  I was going to wait until the morning to post it, but I just can't wait!

I am entering this tag into the following challenges:

Scrapbooker Anonymous: Brads-use at least 15.  This is the last month that they will be sponsoring challenges :(  I am bummed about that because they make some great challenges to use our stuff!  But best of luck as I am sure they are off to do exciting things!

For Fun Challenges: Bunny-No Easter.  To use a bunny but not in an Easter type setting...check :)

Simon Says Stamp Challenge: Anything Goes! Yay!


First I used Tim Holt's Distress Ink to color my tag.


I got out the brads! (I want my sister to see that I use the magnetic organizer that she got me for Christmas, too) :)


This is a close up of the sunshine clothespin on the tag.


Here's the back of the tag.  I thought that looked kind of cool in its own right.


Here's a close up of the tree tag.  I'm not particularly fond of my grass sketch there, but other than that I think it came out pretty good.  There's my bunny just chillin' by the tree.  The bunny is from Me and My Big Ideas.


Here's my tag again.  Until next time my friends...plant a tree.  Happy Arbor Day!


Wednesday, April 25, 2012

Tag of Joy

Hello Everybody!

This week has just flown for me.  I realized just an hour or so ago that the challenge for Tim Holtz's A Compendium of Curiosities ends in less than a day.  And tomorrow is so busy so I had to burn some 11 o'clock oil and get my tag made!  The challenge is at L3 Studio and the mission: Faux Patina on page 58.  At L3 Studio the sponsor is Simon Says Stamp Blog and they are offering $25 to their store.  I really really want me to be the chosen one!  I love their store! :)

I am combining challenges with L3 and Simon Says Stamp and Show.  Their mission: Word-put your favorite word on a project.  So here's my tag:


Here are the stars I used the faux patina on.  This is before.


The star on the right has the finish, but it isn't easy to see it.  It's possible I didn't do it right.  This was my first time with the technique.  I had tried on the little heart from the previous post but it didn't look like Tim's picture so I decided to do something else.  You can tell the star on the right isn't has shiny and the gem looks different.


I used distress inks for the tag (which I cut from my Cricut).  I also used distress ink on the ribbon which is seam binding (I think that's what it is called).  I went crazy with TH tape and Recollections tape.  I love that stuff now!  I guess I used to be afraid...but not anymore! :) 

The metal Joy is from Studio18.  It's metal and I used alcohol ink on it.  But I did not use the faux patina technique.   Joy is my word because to me that is what Life is.  Being able to create and share projects brings me joy and makes my life happy.  :)  Also, God, my family and friends, and good health bring me joy.  Until next time my friends...I hope you have joy, also. :)


Happy For You Card

Hello Everybody!

Tonight I made a card for Technique Tuesday.  This week's technique is the stamped punched window. I was so glad I could play because I love the look of this recessed window!  There's still time to play so head on over!

I am also entering this card at Simon Says Stamp Challenge-Anything Goes!

Here's my card.


Mynette gives really good instructions on how to do this technique, but I'll show you some of the things I did.  A long time ago before Cricuts and Silhouette's, there was Coluzzle a manual cutting system from Provo Craft.  I still use mine because it allows complete control over where you want to cut.  So I used distress inks, Dusty Concord and Faded Jeans, to make the colors on this white cardstock.  Then I cut the tag out using my Coluzzle pen (that where the blade is for cutting) and this template.


Then I ran the paper minus the tag through the Cuttlebug using a Tim Holtz texture fade.  I dabbed silver ink over the swirls to make them pop.


Here it is without the tag.


Here is my charm.  I used some alcohol inks and spruced it up a bit.


The sentiment is from my Sentiments Exactly.  It's heat embossed in white.  The birds are a Washi tape by Recollections.

Here's my card again.  Thank you for stopping by!  Until next time my friends...try a new technique!


Earth Week Challenge

Hello Everybody!

I wanted to announce who the winner of my Earth Week Challenge is *drum roll please*

Nobody.  No one entered--but don't be sad, I'm not.  First I get to keep the fun stuff I bought for the challenge.  LOL!  I used a butterfly for a card I made yesterday!  Second, I learned not to exclude my International pals, and have figured out how to do a prize that everybody can have with minimal difficulty.  (I'm not gonna say until the next challenge.) ;)  And third, I did just spring my challenge out of nowhere-so I will give a little more time, especially at a busy time of year.

Thank you to everybody who stops by!  I really appreciate your comments and looking at my little space in Blogland! :)  You guys rock!  Until next time my friends...big hugs :)

Tuesday, April 24, 2012

Happy Birthday Card

Hello Everybody!

I made a card for this week's  Let's Scrap card sketch.  Here is what the sketch looked like:


Here is my interpretation:


Here's what I used:
Paper: Karen Foster, DCWV, Making Memories (under butterfly)
Punch: Martha Stewart
Lace
Jolee's Bow
Recollection Butterfly
Happy Birthday Rub-on

That butterfly is so fun!  Until next time my friends...have a good night!

Tidbit Tuesday-Stuck on Glubers

Hello Everybody!

Today I just have to share (and share again in case you may not know) how much I LOVE Glubers.  I bought them at the scrapbook store on a whim.  But let me tell you--they are so much fun.  You have total control over your flower!

This may seem too many options to build your flower, but what else are you going to do with all that ribbon, lace, material, and whatever else you might have?

There's different sizes-this pack has 3 sizes from 1-3 inches.


This was the first flower I made with lace and a Gluber.  There are instructions on the package too.  If you go here there is a video for a different way to make Gluber flowers-which you know I will be trying!  :)

Here is my plastic bag flower.  This post is here if you would like to know more about it.


Here is a ribbon flower that I pleated as I went around.  There are some imperfections but I know that the more I make Glubers, the better the Glubers will be.  This reminds me of that ribbon candy at Christmas-LOL.


Here is a big brad in the middle which won't be the permanent center for this flower but you see how some of the imperfections seem to disappear.


Here is a pink lace Gluber I made.


So I got out a piece of burlap material, which I have a lot of due to an unmade Halloween costume.


I cut it into strips and made it around the first outer layer.  The next layer is where I ran into problems.  The glue got fuzzy with material bits and burlap doesn't pleat well.  But this was cool to try, and I think with a big enough center and maybe a charm, I can still use this :)


Until next time my friends...have a Gluberiffic day! :)

Sunday, April 22, 2012

It's Earth Day!!

Hello Everybody!

Happy Earth Day Everybody!  You still have 6 more hours to submit a project for an awesome prize!  I can't wait to see what you create!

The 1st Earth Day was in 1970.  I found this great website-DoSomething.org-that shares facts about recycling such as Americans use 2.5 million plastic bottles every hour.  Go check it out!

So today I made a flower out of a plastic bag.  It's different than than the yellow plastic flower.    Let me show you!  I am linking this cool flower to Dr. Sonia's Recycling Challenge at Do More With Less Challenge.

This flower is made out of a plastic bag like you get at the grocery store.  In the middle is foil.  It measures 4 inches wide.


First I started with a Gluber--love these!!


Plastic bag.

I cut out on side, no handles and spread it out on the table.  In the right hand corner you can see my alcohol ink applicator.


I put different colors on my applicator and make stripes.  If you were to do this you can make any pattern and color combo you wanted.


I cut them into strips.  I started out with 2 inches strips but that was too wide.  I then cut those strips in half.


I stick and pleat around my gluber.  This is not as easy as with ribbon.


Here it is finished.  For me the strips weren't long enough to complete an enter layer so I added in a strip and just kept going.  I did trim a little away if there was a piece sticking out.


Foil I found in my stash.  I folded it a couple of times.


Then I emboss it.

Then I colored it with a yellow and orange alcohol ink.


 I folded it around a 1 inch piece of punched out card stock.  I adhered it with a glue dot.  Pretty cool huh?

I hope you have enjoyed Earth Day Week here at I Like to Cut and Paste.  Until next time my friends...we only get 1 Mother Earth :)


Saturday, April 21, 2012

Saturday of Earth Week-Get out the Paper Towels!

Hello Everybody!

I hope you are having a great week.  Tomorrow is the last day for the Earth Day Challenge.  You still have time!  You can click here for the details!

Today for Earth Day Week I made a card using a flower made out of paper towels.  Scroll on down and I'll show you what I did!


I have this box for when I spray or mist my projects.  I took a Tattered Angels class and the teacher told us to put paper towels under our projects to catch the over flow.  She showed us a flower that she had made with the left overs.  How cool is that?!  So I put paper towels and sometimes tissue paper in my box.

Here's a paper towel.  You can see a square :)


Here's one that is not quite finished be sprayed on yet.


So I took a piece of black cardstock and embossed it with a Tim Holtz embossing folder.  Then I painted Twinkling H2O's over it.  I used the one called Ice.  These colors really do twinkle as the dry!  So pretty!  Then in Emerald Green I painted the stem and leaves.  I probably painted 5 layers to get a nice green color.


I cut my paper towel into strips.  I did 1.5 inches wide.  Then I folded it into a rosette and glued the ends.


I found this chipboard piece and first tried to use alcohol inks to paint it.  That didn't work so I painted it with a white acrylic paint.  Then I really just didn't know what to do so I covered it with the Tim Holtz tissue tape.


Here's a close up.  I punched a hole in the chipboard and attached this little Thanks tag by Making Memories.  Thanks for stopping by today!  Until next time my friends...what will you make?


Friday, April 20, 2012

Plastic Bag Flower Card

Hello Everybody!

While there are a few minutes of Friday left I am going to show you a card that is all upcycled except for the card base.  I am entering this card in the following challenges:

Frilly and Funkie: RePurpose to Upcycle-At least 2 upcycled items on a project

Do More With Less: Recycling with Dr. Sonia Suprabha Venugopal-a project showing something recycled

Simon Says Stamp and Show: Anything Goes!

Here is my card...


There is a cardbase that I bought at Michaels.  Then I adhered painted newspaper to the cardbase using my Xron machine.  I made the flower using a loom and plastic bags.  The center is a bottle cap from a Woodpecker Cider.  Wait--what a plastic bag?  Scroll down and let me show ya!

Here's the loom I used for the flower.  I bought it at Joann's.  I can't knit or crochet--but if I could oh the flowers I would make!  So I thought I would try this.  I had some trouble figuring out the directions so I went to YouTube and here you can see the video where the lady teaches you how to use this little loom.

She also shows how she used plastic bags to make a flower which I thought was the best thing ever!  However, I could not get the bag pieces on my loom as easily as she made it look.  So I tried a different way which I will show you.


Here my painted newspaper without the flower.


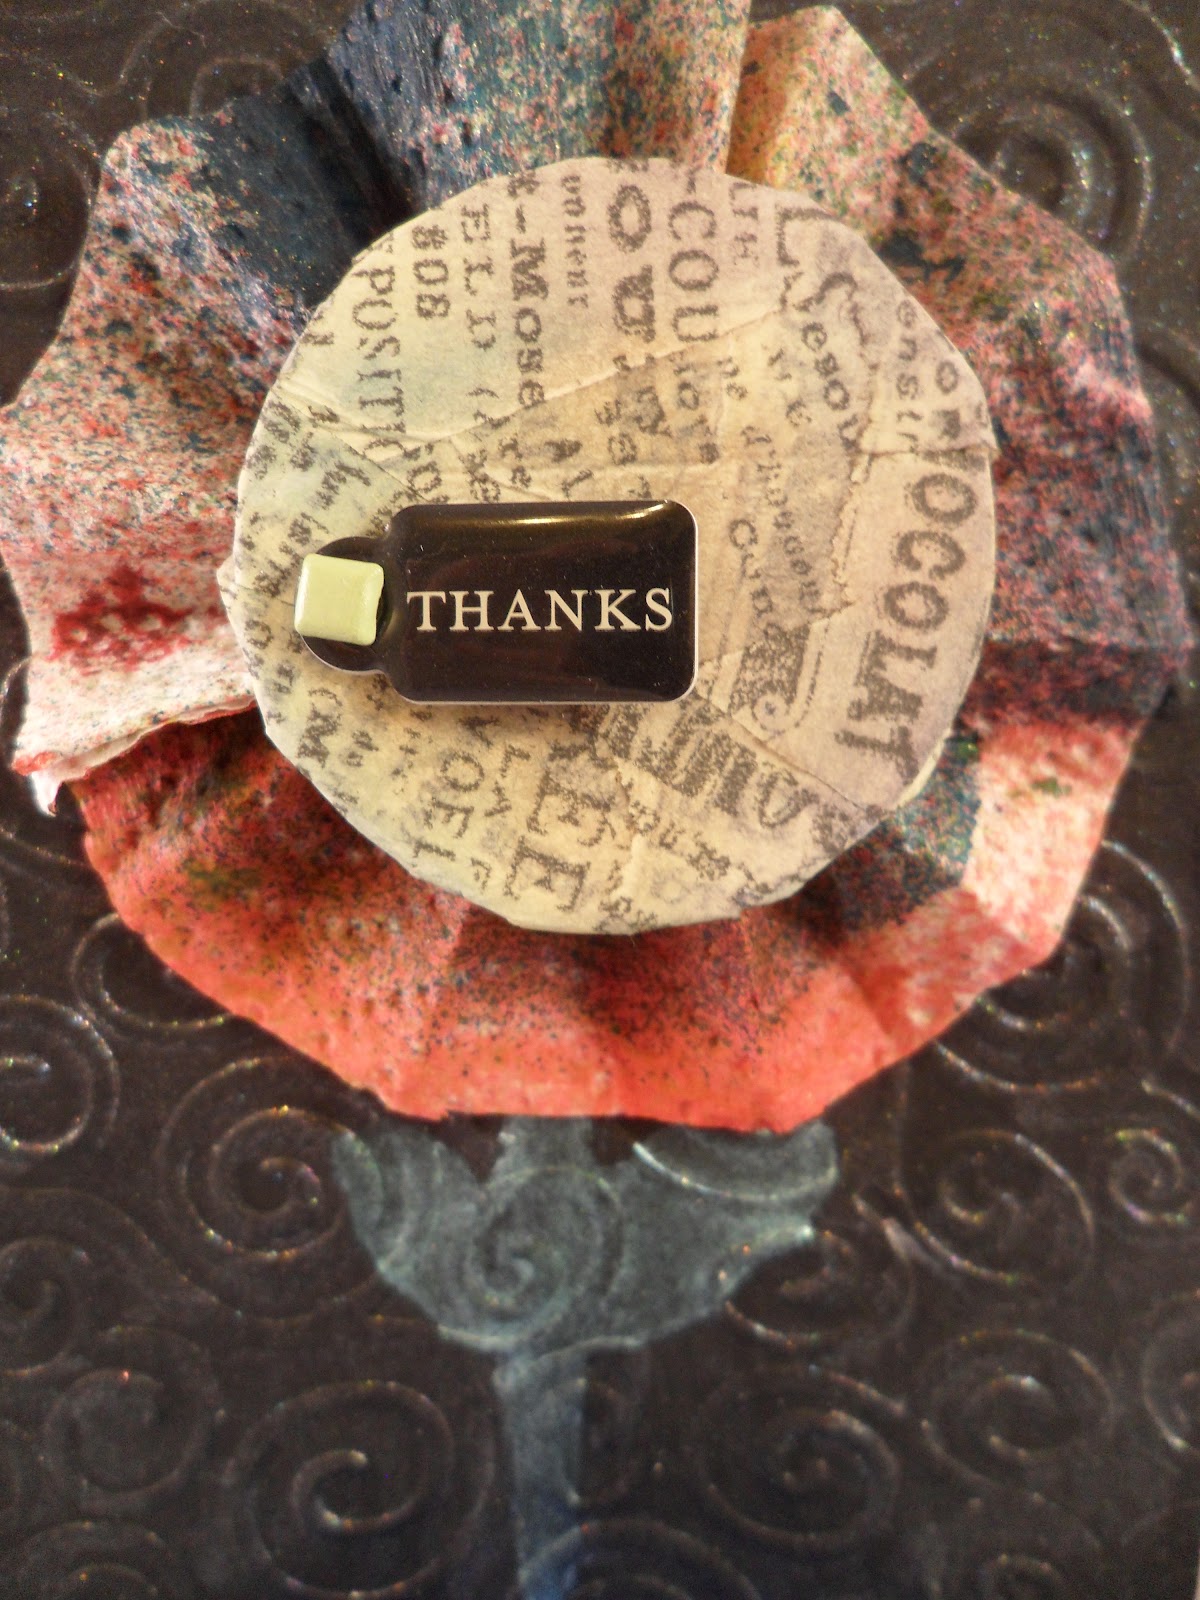
Using Word I made this little sentiment and put it inside the card.


Here I printed this and cut it out for the back of the card.  Sometimes people don't know what all goes into a card, and I wanted my recipient to appreciate the upcycle :)

,

So to plastic bag flowers!  Here are a couple of plastic bags.  I'll take the yellow one!  (Remember I forget my Earth bags and sometimes forget to ask for paper...)


I cut off the handles and cut the back of the bag out for this sort of square shape.  You want it to be flat.


Then I cut into strips.  On the thinner even side is better, but I'm not perfect so there are some wobbly strips and some that are a little thicker toward one in.  But not too thin.


Not too thin because I tape the strips together using regular ol' Scotch tape.  I tear a little piece.

I tape together 2 ends.  I try to make the as close to size as possible.


Then I start to loom.  Like I said I watched the video and used the directions so I'm not going to teach the actual how process.  I am going to show you how I progressed.


Here are the taped strips gather on the floor.  It's like yarn sorta...


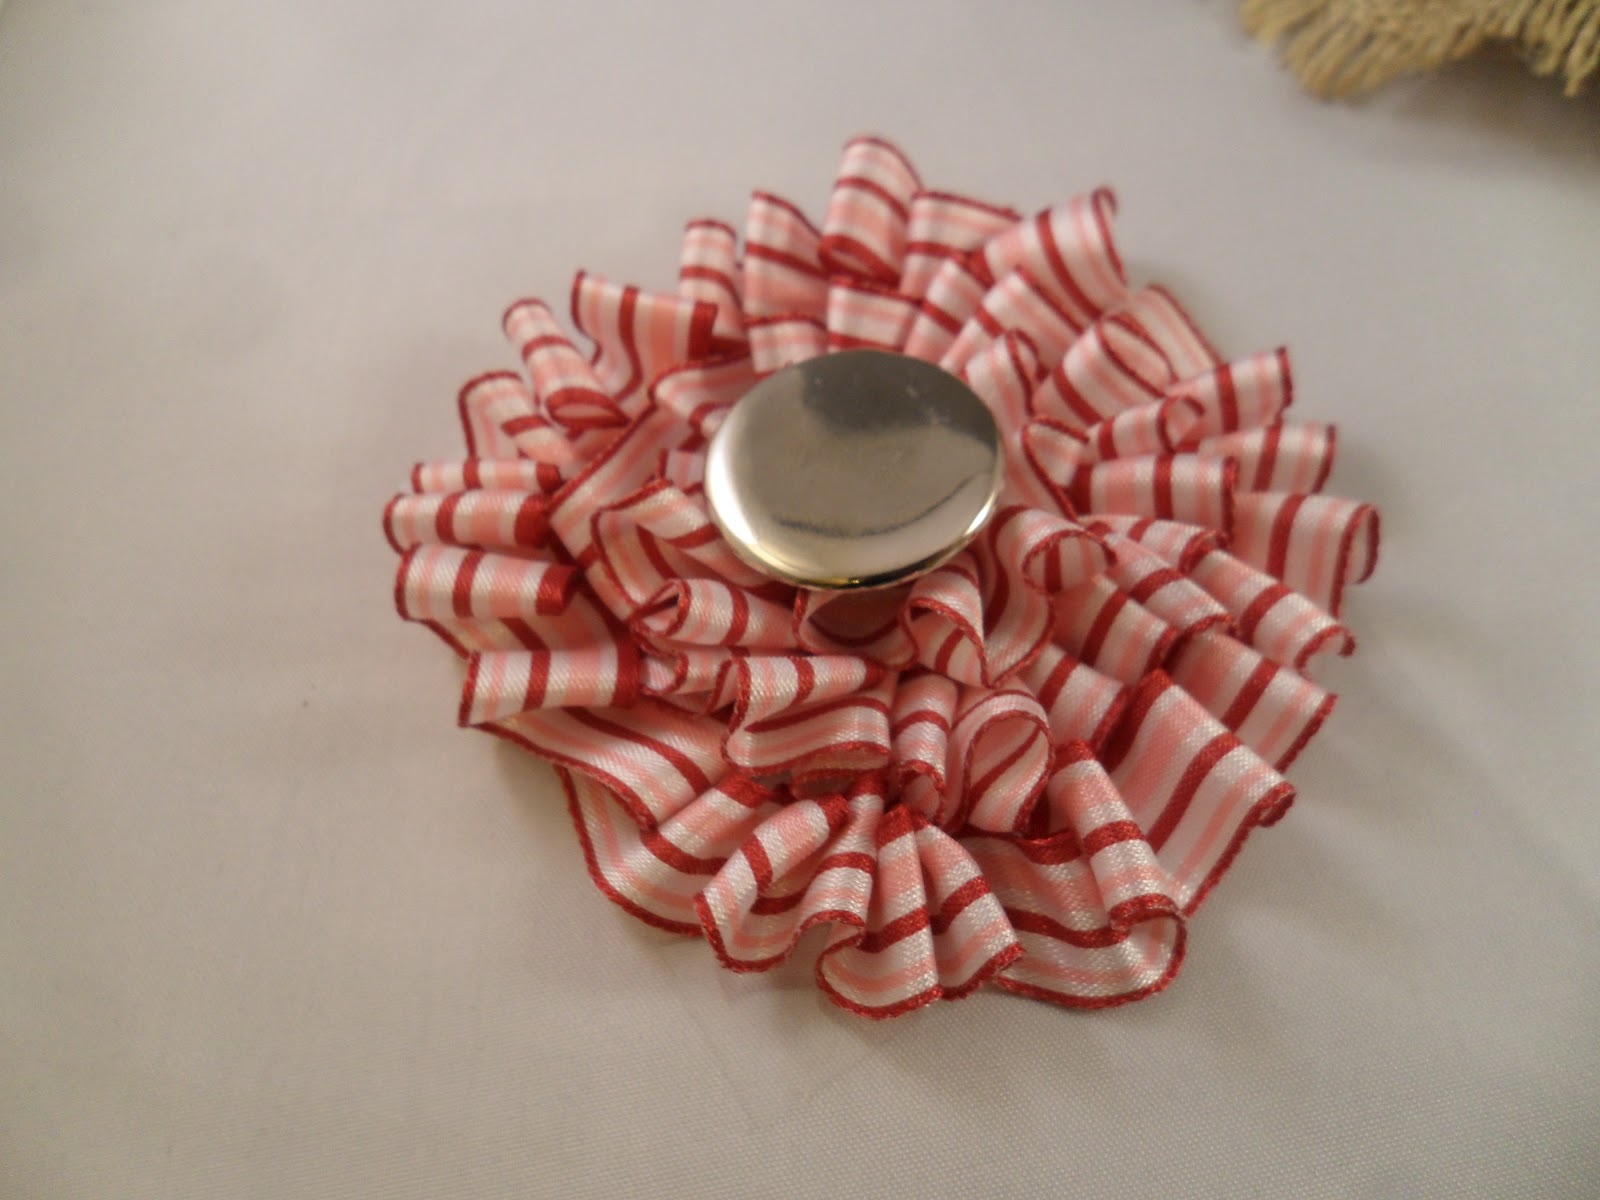
Here is my finshed flower.  I loomed it 3 times (or 3 layers).


After I "sewed" the center of the flower.  Make sure all the petals have been looped.  It's not fun to start taking the flower off of the loom and one is loose.


Ta da! Here is my flower.  Yellow plastic bag ya'll!


I glued the flower onto the card with Glossy Accents.  Then I used 2 of these 3-D dots to adhere the bottle cap to the center.


Here is a close up of the card.  Since plastic bag is squishy it mails a little better than you think-but there is probably extra postage.

Until next time my friends...paper or plastic-either is fine for upcycling!


http://www.youtube.com/watch?v=FFrgt8ZuMiU&feature=g-like&context=G2bac2d2ALTYuZngAAAA