Showing posts with label Technique. Show all posts

Friday, May 1, 2015

House of Cards May Technique

Hello Everybody!

Is everyone else in a flurry like myself?  LOL!  So many things to do before the new month starts-and you can't stop time.  I tried ;)

There is a new challenge at House of Cards.  This month the challenge is to use the Bokeh technique.

Here is my card:


For me sometimes it's easier to see a technique on YouTube.  This is the video I used to create the Bokeh effect.  I liked the way she decorated the corner so I think I cased her card (subconsciously).  Thank you Diane! :)

The swirl is from my Silhouette machine (bought from the store) and the pink shape is a mover and shaker by Tim Holtz.  I used a Fiskar border bunch along the side.  

These are the colors I used for the background:


This is such a fun technique!  We can't wait to see what you make!  

Until next time my friends...yay for circle stencils! :)


Tuesday, July 2, 2013

Blurred Vision Watercoloring

Hello Everybody!

The challenge this month at Technique Time Tuesday is so fun and super easy!  Go check out the video here.  There's also a fabulous prize to the top winner-so come on and play!

Here is my card:


I used the technique on Big Ben and the Eiffel Tower.  Everything I used is Tim Holtz except the script in the background and the cardstock I used for the circle in the front and inside.  

Normally, I just do a standard A2 card.  But I made the pocket watch out of grungepaper, used bronze and silver distress stain and added my buildings and chit chat stickers.  Here's the truth of the matter.  I made Big Ben first using rusty hinge distress ink.  It came out so good.  I was just playing but it was just so awesome!  So then I blurred the Eiffel tower.  And the rest...they say is history.

Here's a close up.  I used glossy accents to cover the inside of it to be like glass.


Here is the inside.  After I made the first part of the pocket watch my husband said you should make that into a card.  I frowned at putting it on an A2 base.  That just didn't seem right.  So I got out some more grunge paper, die cutted a pocket watch.  I used silver distress stain to cover the backside of the first pocket watch.  Then I used bronze and silver for the second half.  I cut out a circle and used distress ink.  Then I adhered the left part so that it would open up and be a card.  Thank you hubby! :)

I hope you play.  It's super easy and I am sure you already have all of the things you need for the technique.  Thank you for stopping by!  Until next time my friends...when in doubt-grunge it up! :)

Tuesday, August 7, 2012

Tidbit Tuesday-Exciting News!

Hello Everybody!

I have some exciting news to share with you all today!  I am now on the Design Team for Technique Tuesday!

If you aren't familiar with Technique Tuesday-let me tell you about it!  The first Tuesday of each month a new technique is posted by Mynnette the owner.  You make a card using that technique and post it to the blog.  There are badges and sometimes even prizes!  How fun is that!

So let me show you my first card.  The technique for this card is to use re-inkers with stamps.  You can go here for the instructions.  For best results with the card-the instructions says to use stamps that have flat parts.  Keep scrolling, and I will show you the stamps I used :)


Here are the re-inkers that I used.  They are from Close to My Heart.  I bought them specifically for this challenge and also a white paint that I can blend them into to make paint (but that's a another post for another day).  


I used these foam stamps.  I have a box of them and haven't used them in forever!  The stamps for this card are from Making Memories.  You may remember that they used to sell their paint with them.  This technique works great with flat surfaces of stamps.  The majority of my rubber stamp collection is outlines so that's when I thought-ah ha!  What about these?  And they work perfectly!


Here are a couple of flowers I made before I cut them out for my card.  I love how different they are using the same technique.  And of course now I want more colors! :)


Here's another angle of my card.  The brown paper is embossed with a Tim Holtz woodgrain texture fade and then I used a gold paint on the raised embossed parts.  The centers of the flowers are from Robin's Eggs.

The paper I just kind of swiped through the baby wipe with the re-inker ink so that it would match my dragonflies and flowers.

Thank you for stopping by today!  I hope to see your card at Technique Tuesday!  Until next time my friends...get out those re-inkers! :)


Tuesday, July 3, 2012

Tidbit Tuesday-Happy Fourth of July!

Hello Everybody!

I know I am a day early but Happy Fourth of July!  I hope that everybody has a fun and safe Holiday!

I made for July 4th cards and had a few of them sealed up when I realized that I hadn't taken pictures of them!  I always cut it close and this was no different.  My husband took them and rushed them to the Post Office on Saturday to make sure that if they were to heavy or thick, that we had the correct postage on them.  He's awesome that way :)

So I have a few photos to show you.  They aren't crisp as I was at our dining room table trying to get them addressed and written out and that is when my realization hit me.

Making Fourth of July cards usually isn't one of my fun holidays.  That seems strange to say but there is only so many things you can do with red white and blue...or is there?  This year I bought some new stamps for this holiday from Sparkle N Sprinkle and incorporated techniques.  Techniques like Tim Holtz and embossing.  Having changed my mindset-these were some of the funnest cards I have made.  Let me show you...


Here's one where I used Mudd Puddles Bahama Sand to make the sand.  This looks like a mere beach card..add 1 American Flag-Fourth of July card!


Here is a close up of the sand.  I love this stuff!!


I sprayed Tattered Angels on some special paper I got from the Spectrum Noir class I took at the Scrapbook Expo.  The paper didn't buckle.  The square is glitter tinsel from Sparkle N Sprinkle.  I won silver and red in one of their blog hops and it is so fun to place with!


 I remembered that I have the US on my Cricut-the Going Places Cartridge.  Awesome!  These are 2 or 2 and half.  I had made a few in 3 inches, also.


I embossed the blue panel and then used a white Cat's Eye ink over the raised image.  The USA is sparkle gem letters from Hobby Lobby.


Why not add some glitter tinsel and glitter and the blue is embossing powder.


Why not mix 3 colors of embossing powder and put them on my USA?  It's better to mix the colors together then to put blue and red on the surface separately.  I tried both ways :)


You can see I didn't do a good job spreading evenly.  LOL  I still liked how this turned out.  I used the  Swiss Dots embossing folder for the red paper.


Here is another mixed embossed USA.  The Forever Liberty may look familiar...she from a book of stamps :)  I distressed her a bit with walnut stain distress inks.  The vintage image is from Tim Holtz Seasonal paper.
Oh and the outer "paper" is Tim Holtz tape.  It's a Tim Holtz 4th of July!  (Seriously you rock!)


I masked the USA and created this with Distress Inks.  I like the Statue of Liberty in the middle but I don't like the red.  You know how you have your favorites...this one for me not so much :)


This is Tim Holtz cor'edination paper that I sand papered and distressed.  The paper lace is from K&Company.

I made 17 different cards this year for Independence Day.  For me that's awesome because I will make a few different ones and find one that is easy enough to duplicate.  Not this year though-and that makes me happy.  :)

Until next time my friends--Have an awesome Independence Day or a Fantastic Wednesday :)

Tuesday, May 8, 2012

Just Add Water to Alcohol Inks!

Hello Everybody!

First I want to welcome the newest Cut and Paste Pals!  Thank you to everybody who is a Pal and stops by! :)

Second, I was out of town during National Scrapbook Day.  So I was making memories, and I am sure there will be scrapbook layouts one of these days!  At Let's Scrap they are having InterNational Scrapbook Month!  There is so much to do!  Go check it out!

Now onto my Tuesday Tidbit!  This is a cool technique that I found hopping around one day.  The person had made an awesome tag using this Alcohol Ink Floating Technique.  To see how to do it click here.  It's a great video.

Here's my blank beige paper.


Here my container (which is a baby wipes container, I have lots of these).  The colors are Aqua, Sailboat Blue, Citrus green, and Meadow green.  The brighter the better.


Here's a couple of my papers that I just took out of the solution.


I was using green and blue because I am working on a challenge (hopefully) for Just For Fun Challeneges.  One strips of paper has red  and purple on it.  I had to change it up a little ;)  I will either use these for backgrounds, or die cut them.  Pretty cool, huh?  Until next time my friends, stay colorful!


Tuesday, April 24, 2012

Tidbit Tuesday-Stuck on Glubers

Hello Everybody!

Today I just have to share (and share again in case you may not know) how much I LOVE Glubers.  I bought them at the scrapbook store on a whim.  But let me tell you--they are so much fun.  You have total control over your flower!

This may seem too many options to build your flower, but what else are you going to do with all that ribbon, lace, material, and whatever else you might have?

There's different sizes-this pack has 3 sizes from 1-3 inches.


This was the first flower I made with lace and a Gluber.  There are instructions on the package too.  If you go here there is a video for a different way to make Gluber flowers-which you know I will be trying!  :)

Here is my plastic bag flower.  This post is here if you would like to know more about it.


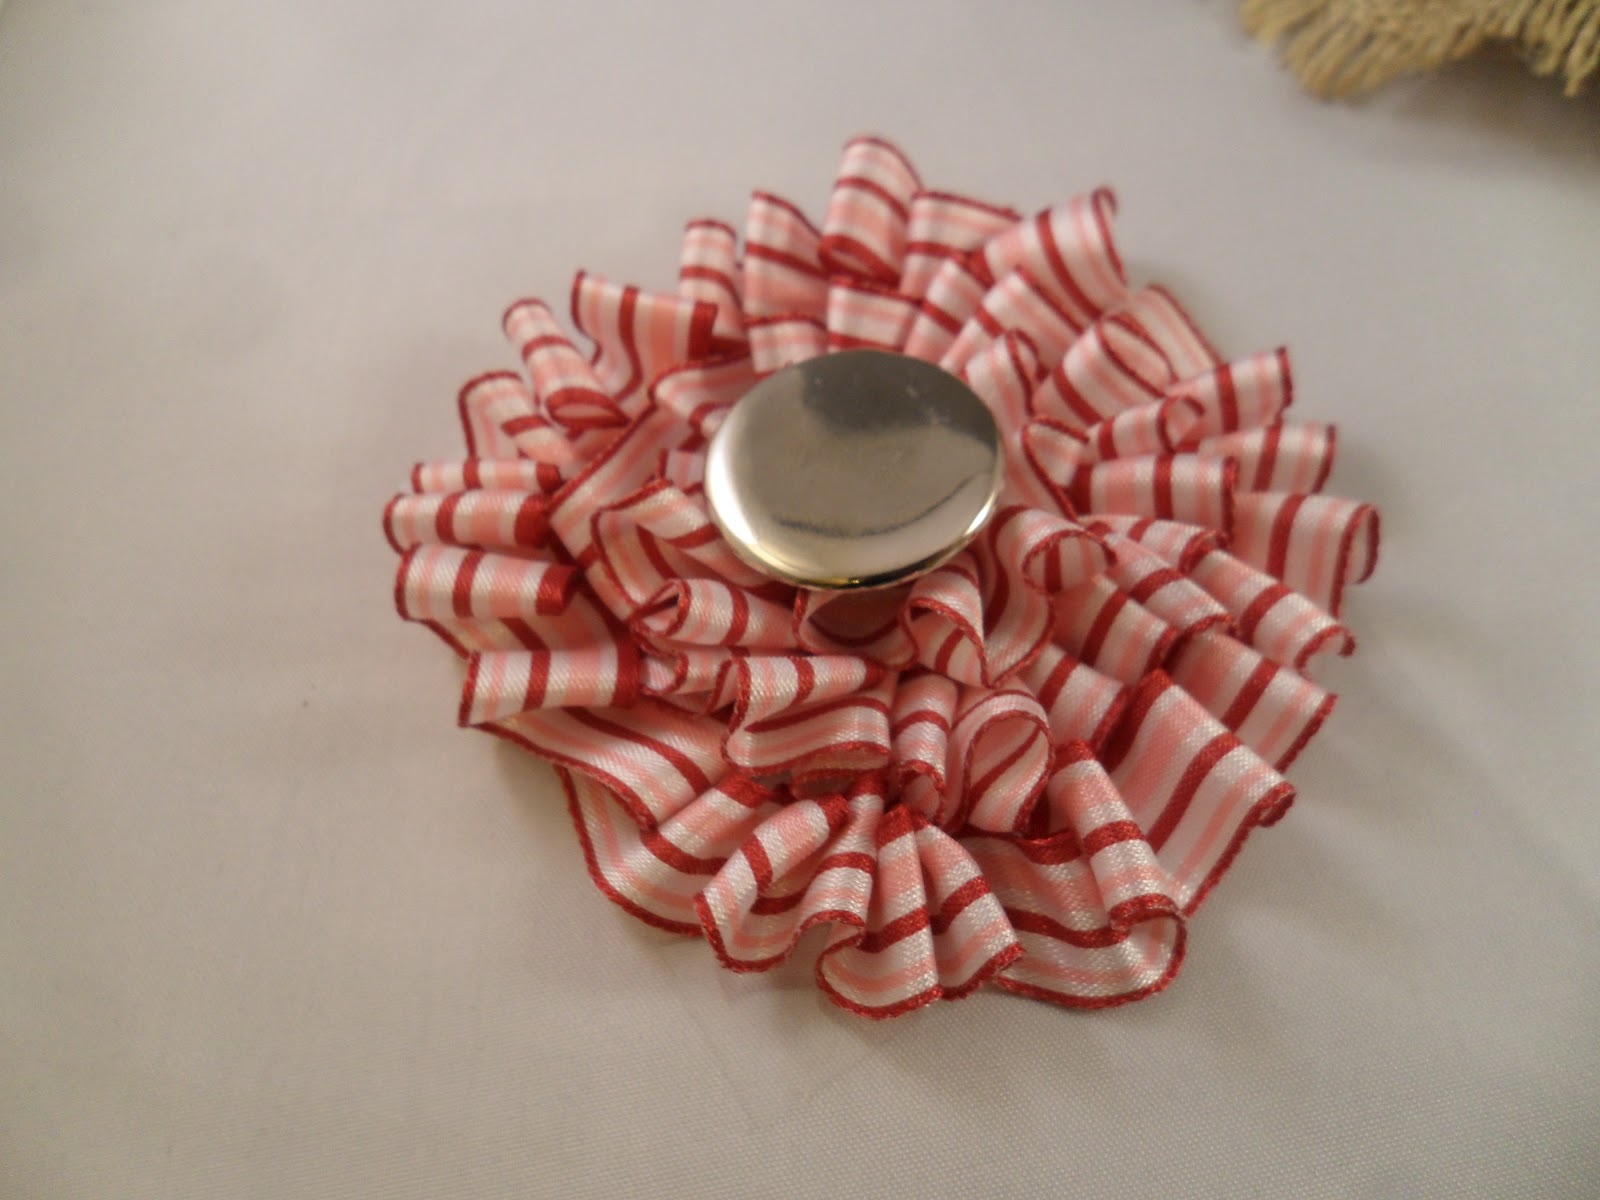
Here is a ribbon flower that I pleated as I went around.  There are some imperfections but I know that the more I make Glubers, the better the Glubers will be.  This reminds me of that ribbon candy at Christmas-LOL.


Here is a big brad in the middle which won't be the permanent center for this flower but you see how some of the imperfections seem to disappear.


Here is a pink lace Gluber I made.


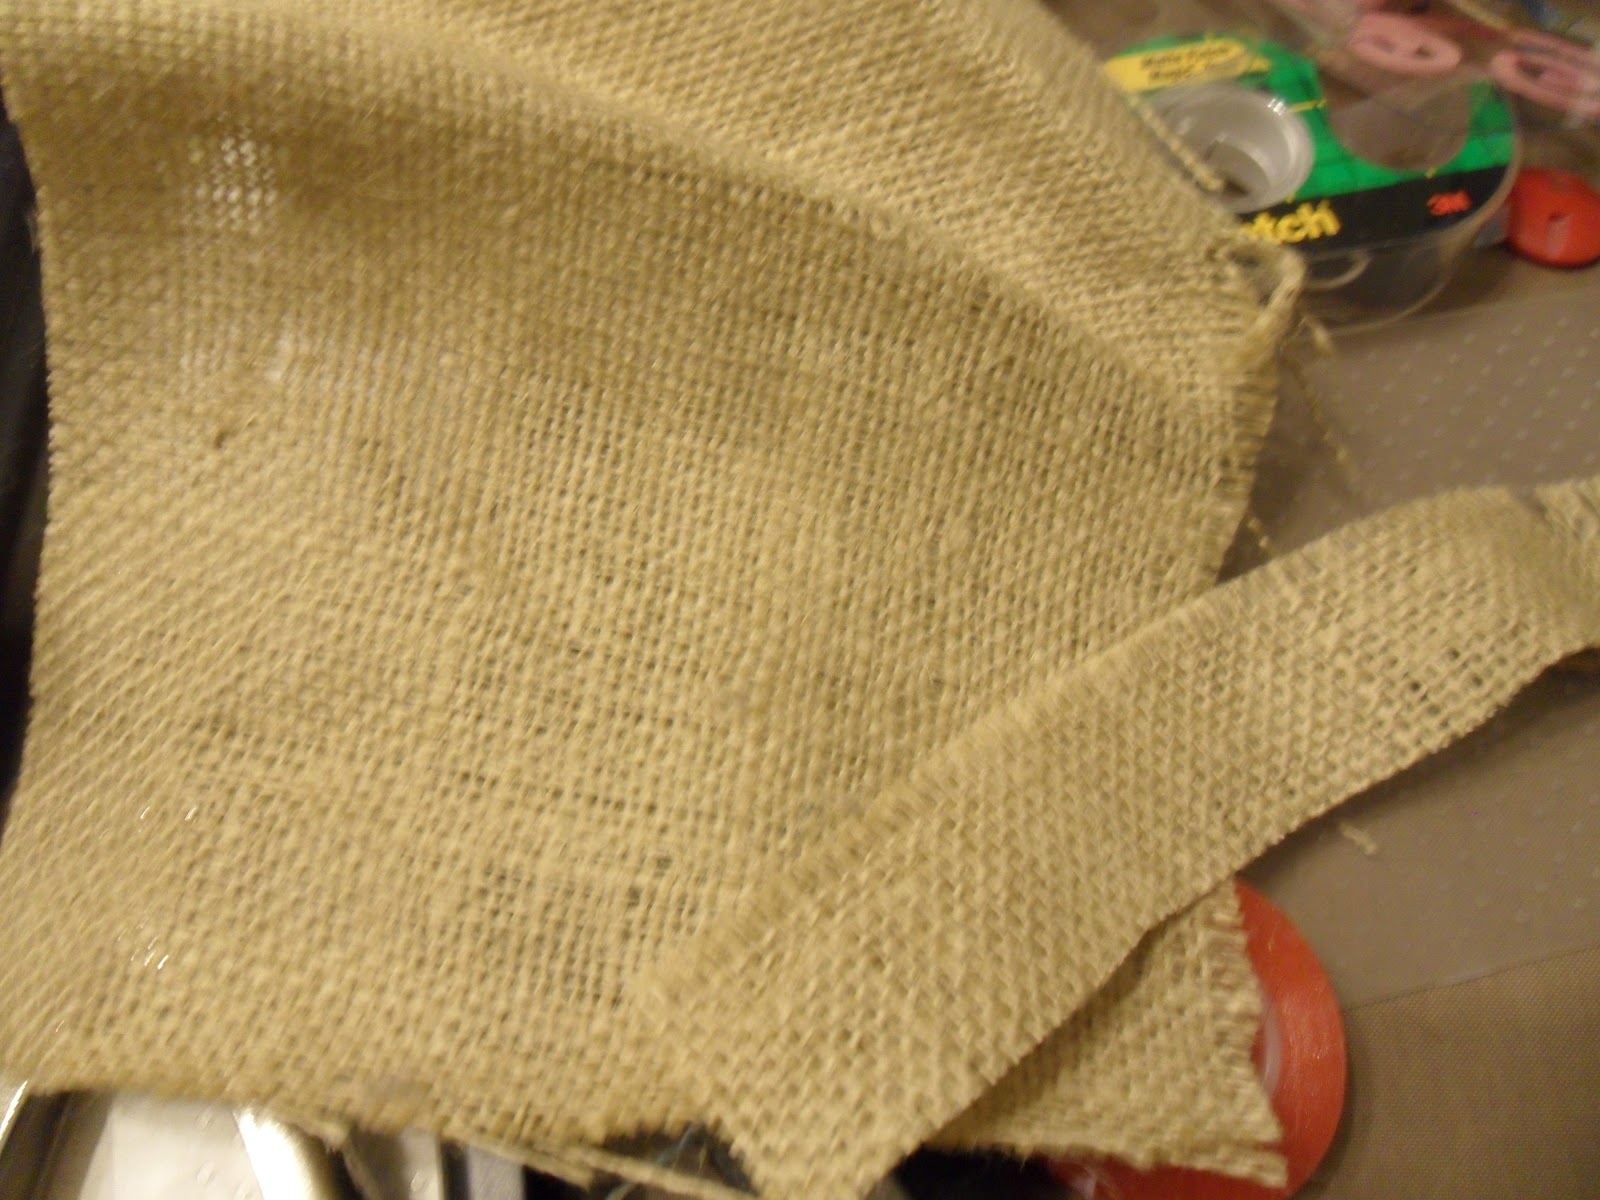
So I got out a piece of burlap material, which I have a lot of due to an unmade Halloween costume.


I cut it into strips and made it around the first outer layer.  The next layer is where I ran into problems.  The glue got fuzzy with material bits and burlap doesn't pleat well.  But this was cool to try, and I think with a big enough center and maybe a charm, I can still use this :)


Until next time my friends...have a Gluberiffic day! :)

Sunday, January 22, 2012

Oh Christmas Tree Scrapbook Page

Hello Everybody!

I was busy this evening!  After I finished my card, I made this scrapbook page.  I had so much fun making this page! 

I am entering it into the Scrapbookers Anonymous Challenge: ink, mist, or paint.  Go by and check it out--there is still time!  I used Smooch Spritzes for the background.

So here is my page...scroll down, and I'll show you what I did!


I started with a white 12x12 from Bazzill cardstock.


My awesome Mom-in-law gave me these Smooches for Christmas. 


My sister gave me these Tim Holtz masks for Christmas so I couldn't wait to pull these out for this challenge.


First I sprayed green on my blank canvas.


Then I put my mask on the paper and sprayed red.


There's the mask revealed!


I recently bought this Stampendous stamp (discounted after Christmas!) and very excited to use it too!
Plus my stamp block wasn't big enough for this tree so I used the A block from my Cuttlebug :)


I gold embossed this tree.


Me and my Big Ideas letters, gems, and stickers---more things to embellish my page!


I also pulled out these holly leaves.


Look how fun this is!  Yay!  I got to use those big gems!


I put the letters on around the mask.  I wanted to preserve Santa and his reindeer.  I put a snowflake and flourish on my picture.  The 2009 sticker is from Reminisce.  I didn't do any journaling because I couldn't fit it anywhere.  That's ok though...I know this is my pal Melissa who came to see me a few weeks after my son was born.  We had an awesome time!  Come back! :)

Good Night Everybody!  Until next time..get out the glimmer mist!!  It's so fun! :)

Saturday, January 7, 2012

Remember This Scrapbook Page

Hello Everybody!

It's late but I did it!  I completed my scrapbook page for Let's Scrap Challenge 126.  There were a lot of components to this challenge so I hope I explain this clearly.  (It is way past my bedtime!) ;)

The recipe for the challenge was made by Jeaune Viljoen DT.  I picked this sketch based on the recipe which was:

Ingredients
  • ONLY One picture; 
  • 7 different sheets of paper; 
  • The paper HAS TO BE pattern paper (no cardstock) and from a range that you have NEVER USED BEFORE; 
  • The layout has to have a title which is already included in the paper, as well as a subtitle (I did mine with a rub-on);
  • When it comes to embellishing: 
    • Some ribbon; 
    • 3 Flowers; 
    • 3 Brads (the three flowers at the top of the layout are brads); 
    • One metal embellishment and 
    • A button **in my late night stupor I originally forgot this but I have fixed it :)
Yikes!  That's one challenge!  :)  Here's my sketch....

 If you look it shows you 7 different pieces of paper.  That is what I needed!  So here is my page in completion.  Scroll on down and I'll show you what I did!


For Christmas I got Echo Park's For the Record collection.  It came with papers, a sheet of letter stickers, and a sheet of matching embellishment stickers.  Love it!  So the papers match, hence making my life easier.  This is the first time I have used Echo Park so I was super excited that I had to use it.  Instead of just admiring its beauty like I would have otherwise.  Not using any cardstock did scare me...but I was able to make it work.  Whew!


Here's 2 different papers done.


The sketch shows stitching and I was going to omit this part but I thought it would look nice with it.  So here's a funny story.  I have the Sew Easy kit.  I can't find the handle.  The main part of this tool is no where to be found.  So I get a piece of scrap kraft paper and push the design part down hard and create a template out of the kraft paper.  I went back over it with a piercer to make sure the holes were good.


Here's my template.

I matched it to the paper and I could kind of see the paper underneath, some red and some lighter color.


Well I was a little off, but I like it.  Maybe I meant to do that ;)


On the other side is stitching as well, but I decided to change the stitch and color.  Also, this is normal embroidery thread, but I divide it into 3 strands. 


Four papers--I'm getting there!


Once I have all of my papers ready, I need to make my photo pop.  But no cardstock!  So I used the Paper Studio's white ribbon to make a frame. 


3 Flowers...check!

3 Flowers and 3 Brads!  check check!  And the flowers looks so much better with these light green square brads!


Metal embellishment--hanging from the ribbon...


The title was quite challenging.  Remember this was printed in a strip with other strips.  So I made part of the strip go down the side on the left like the sketch calls for.  Then I cut off a remember this for the title.  This was the only words printed on paper I had (besides the dictionary paper) so I used stickers from the collection.  Then I did a little journaling so I would actually remember where I was when this photo was taken :)


Here is my scrapbook page again.  I love how it turned out!!  This challenge rocked!  Until next time my friends...good night :)  **Here is my layout without the button (the better picture of course!)


Here's where my button is.


And here is the completed page with the button.  Sorry about that!  :)  Thanks for stoppin' by!