Tuesday, August 30, 2011

Tidbit Tuesday--Organization

Hello Everybody!

I always seem to have miscellaneous letters lying about.  In the back of my mind I keep thinking that I should organize them somehow, that way they will have a better chance of being used.

We changed how we organize our coupons so that freed up this check file organizer.  You can find them at drugstores, and maybe even the big discount stores.  Recently, I saw some at Target--they had different colors and even a bigger size!  Sometimes you can find them at yard sales or thrift stores. 


I have adhesive paper (mat stacks by DCWV) and I used a 1 inch whole punch to cut out circles.  I halved the circles and the semi-circles fit perfect on the tabs.  Because of the texture and color of the paper, I actually wrote on the sticky side and stuck it on the backside of the tab.


And here I am pulling out a random M.  Now it's easy to find! 


Other things you can file: scraps by color/patterns, stickers, alphabet stickers, die cuts, even pictures that you want to scrap!  Until next time!

Friday, August 26, 2011

Happy Birthday Card

Hello Everybody!

This is a great card for a birthday!  First I cut out a pink colored paper 5.5 X 4 inches.


Then I emboss it.  I have a Cuttlebug, but this is a Fiskars plate.  Fiskars embossing plates are similar to Sizzix embossing plates but the first set comes with a rubber mat and plastic mat to run through the Sizzix machine.  With Cuttlebug I use from bottom to top:
  • the original A plate/mat (the thickest one)
  • then the Fiskars plate
  • then my paper--color side is down because I want it embossed not debossed
  • Sizzix rubber plate/mat
  • Cuttlebug C plate/mat

 I crank this through my Cuttlebug.  One thing I found with this is that the rubber mat slips.  So I taped my scrapbook paper to the embossing plate.  Just know this can be a little tricky. 


I decided I didn't like that first paper I showed you.  So I chose a light pink cardstock.  I embossed the new pink paper.


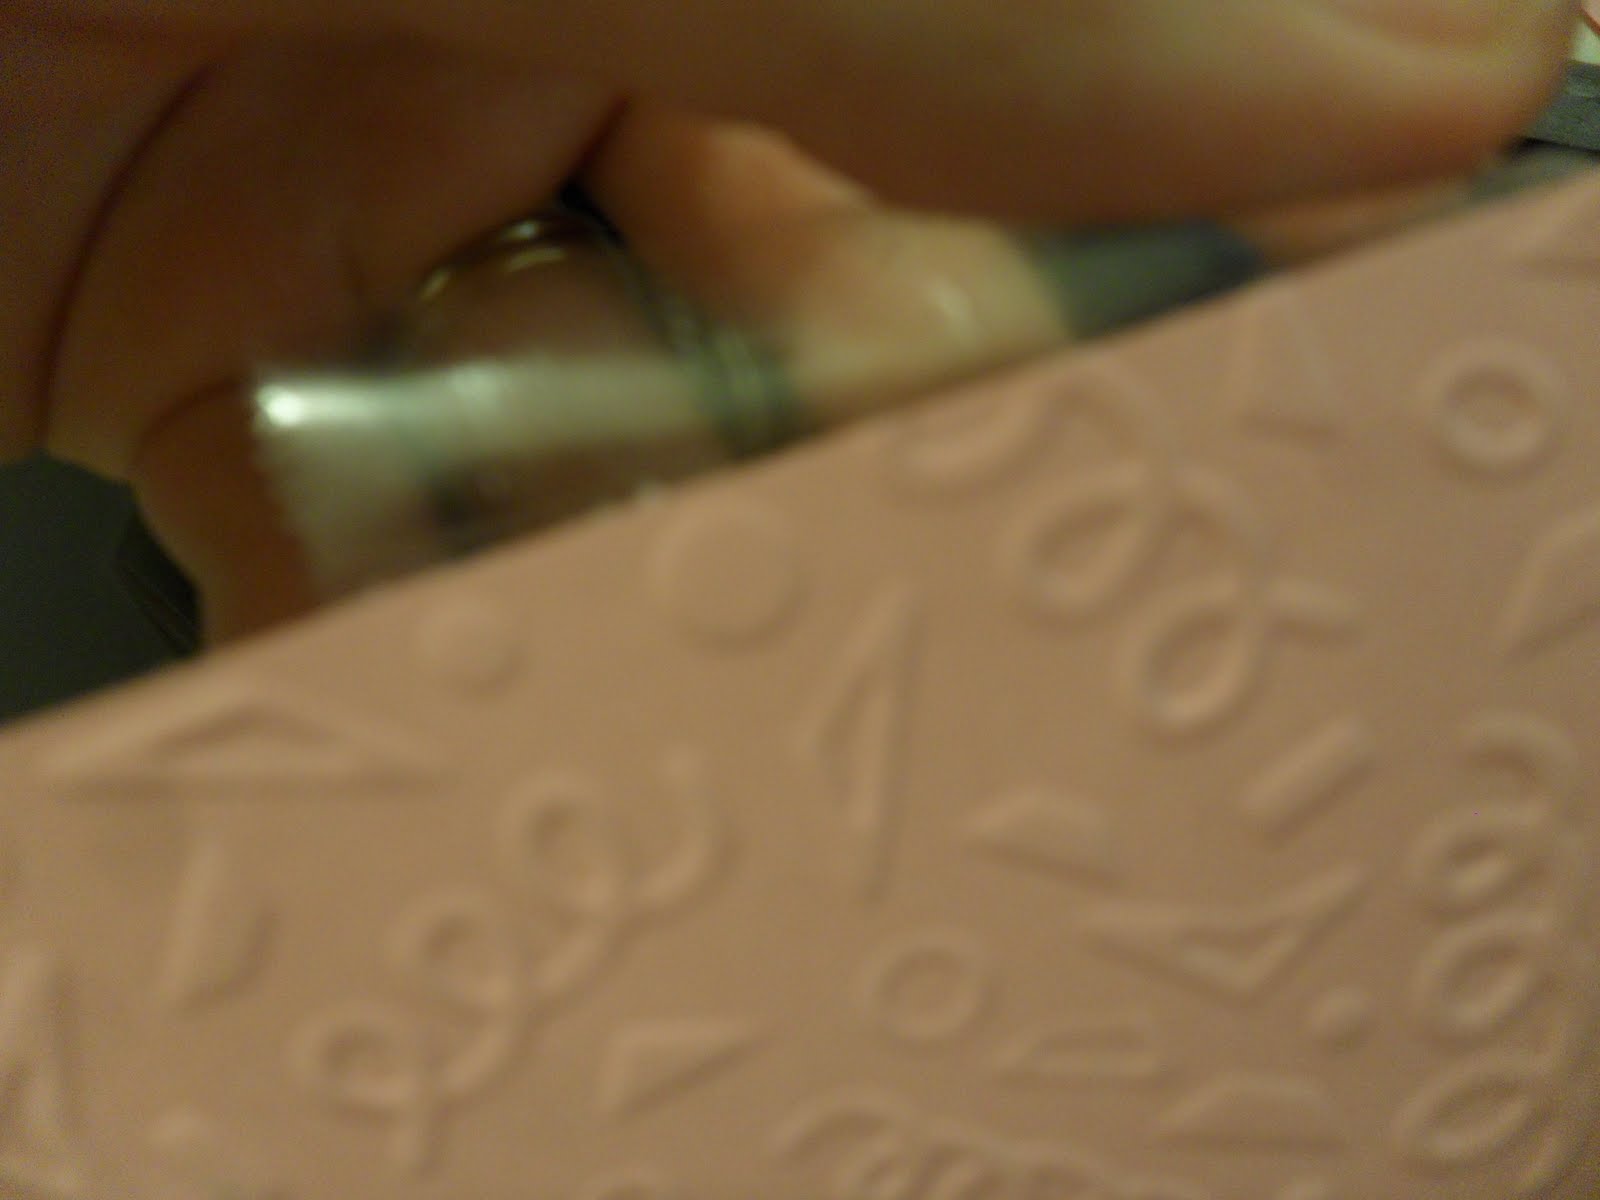
This is me taking the tape off the back.  I had to get scissors and cut it very close to the edge so no one could tell there was tape on it.


 Here is the embossed pink paper.


I adhere it to my card first using photo squares to place the cardstock.  Then I use red line tape (in this case it came in a sheet) to securely adhere the pink paper to the card.


Next I take my light blue birthday paper and cut a 4.5 X 3 inch piece and center this onto the pink card.  I don't have a picture of this step (so you'll have to take my word for it :)

The next step is to think about what is going to be my "centerpiece" for the card.  Aha!  A metal tag.  These tags are made by Making Memories.  They have a special tool to clamp them, but I just use an eyelet hammer.

First (since I can't find the template for the tag) I trace the outside of the tag on the cardstock that is going to fill the tag.  If you trace the inside of the tag, it will not be big enough.


Then I trim and put the paper inside. Trim and try until the paper tag fits into the metal tag snugly.


I take my eyelet hammer and lightly pound on the tag opening until it is flat.


Here my tag is complete.


To add pizzazz to the tag, I get out my VersaMark ink and small birthday stamps.  VersaMark has a couple of applications.  Here we are going to use it as a watermark.  Using VersaMark like an ink, I randomly stamp birthday images on the pink tag.  I stamp a few images "coming off" of the tag.  Then I wipe the excess VersaMark off of the metal rim (after the paper images have dried for a minute or so).


This is a tag...so it needs a hole and ribbon!  I make the hole using the Cropadile.  Then I place a blue eyelet in the hole using the Cropadile.

I also added Happy and Birthday rub-ons (which I also forgot to take a picture of-sorry!)  The rub-ons I got from a class way back in the day.  They are small enough to fit on a big brad, but they also worked for this tag!  However, you could easily substitute a stamp or handwriting for the rub-on.


Here the choices for ribbons and fibers are incredible.  So I choose modest blue and pink ribbons so as to not distract from the rest of the card.


The finished card.  The Birthday paper is from Sweetwater, the Sprinkles paper collection--2006.  Until next time--go eat some Birthday Cake :)


Tuesday, August 23, 2011

Tidbit Tuesday--Goosebumps...the Spray!

Hello Everybody!

What I am going to show you is so cool!  Below is a piece of transparency that has texture---and it is so easy to do! 

I got a bottle of Goosebumps clear texture spray from Paper Wishes (remember the box!).  The bottle says it can be used on paper, transparency (acetate), acrylic, etc.  So anytime something can be used on transparencies, I am all about it. 

You just spray the texture on as thick as you like it.  That's it!  And let it dry.  I don't know how long it took to dry, because I sprayed then walked away.  And came back the next day :)


Here is the paper I used it on.  It looks way cooler in person, but you can see the texture to the left.


Here is what the bottle looks like.  I haven't tried painting over it, but I am sure I will!  Friday's project won't include this :(  I know.  But rest assured I am working on it and other things I received in my box of loot.  Until next time...


Friday, August 19, 2011

Floss, Flower, Buttons--Oh My!

Hello Everybody!

I am so excited about this card.  I hope you will be too!  I am using the Sew Easy tool by We R Memory Keepers that I got in my box of goodies!

I measure out my green piece of Bazzill cardstock to fit my pre-made card.  Also, I selected the orange option for making holes in my paper.


To ensure straight lines, I match my cardstock against the corner of the foam mat.


I press down and make holes in all four sides.  The corners aren't perfect, so we'll see what happens!


Thankfully, this looks good.  My mom-in-law straightened me out...you should have seen what I was doing!  The Sew Easy tool comes with a paper needle (versus getting out a normal small sewing needle.)  I used regular embroidery floss (all 6 strands).

I sew one way and then come back and "cross" those lines.  This leaves the middle hole, made by the tool, untouched.

Sometimes I didn't press down hard enough on my Sew Easy, so I used a paper piercer to make a better hole.

This is the back of the card.  I tape down the beginning and end pieces because I think that reduces bulk.


My border is complete.  Here is the flower I am going to use on this card.  I bought a multi-colored pack of these felt flowers from Joann's for $1 (those bins in front of the check-out).  I haven't done anything with them...until now!


This is a thick felt flower by the way.  I do a backstitch to outline the flower.  The paper piercer comes in very handy for this.  Regular felt is not as hard to stitch.


Now for the stem of my flower.  I go through my button collection (and my mom-in-laws), but what I decide is white buttons...with a twist.


Using a felt applicator, I apply lettuce and gold alcohol inks by Ranger to the buttons.  Beautiful.   I used maybe 4 drops of lettuce and 1 drop of gold, and it looks really pretty. 

The buttons needed one more thing.  So I went back and threaded the buttons and then reapplyed the ink to the threads.  Now they have a complete look.


Here is my card all done!  It's blank on the inside so I can send it for different occasions.  So dust off your embroidery floss and find a new use for it!  Until next time...thanks for stopping by!

Tuesday, August 16, 2011

Tidbit Tuesday--Homemade Felt Flower

Hello Everybody!

First I'd like to say "YAY!"  My blog now has 5 followers!  Thank you to everyone who stops by!

I am going to be sharing the contents of what I got in my cool Paper Wishes box.  But it will take me a little bit of time to get projects for all of my new fun things, so please be patient!

I got a new tool in my box.  It is the We R Memory Keepers Sew Easy.  I used it on my Friday project which helped to inspire today's tidbit.  I did not use it on this flower.  This is totally separate.  But if you want to see about the Sew Easy tool...check it out here:  http://www.weronthenet.com/sew_easy

OK, to the flower!  First measure out about a 3 x 3 piece of felt.  This is just regular felt that they sell at the craft store.  Sometimes it is on sale--that's when you should buy it!  :) 


I free handedly cut out this flower.  Some of you may say it looks like I cut it out free handedly...but it does become cut in the end project.  I did look for a simple flower clip art, but I couldn't find any.  The best thing is probably to draw a simple flower on paper, cut it out, pin it to the felt, then cut out your felt from your pattern.  I was just ready to cut a flower out (sometimes I have little patience.)


Then I take white embroidery floss and a needle and stitch a straight stitch around my flower.  The needle I use is a "paper" needle so it is bigger and easier to thread than regular needles.  The felt was easy to thread.  Also, I use all six strands of the embroidery floss.  It looks really good against the dark pink.


Here it is finished.  But...it needs more!


I add another round of stitching, just like before...


The center is the toughest part.  Here I used puff paint and made a tight circle.  You could use a button, also.  For me it is challenging because I don't want to take away from the simplicity of it. 

So here is my finished felt flower.  Let me know if you create one!  They are really fun and quick to do. 

Until next time!

Monday, August 15, 2011

WooHoo! Check out the loot!


Hello Everybody!

At Christmas my awesome mom-in-law gave me a gift card to Paper Wishes, an online scrapbooking store.  I know--what took me until August to spend it?  I wanted to make sure I got some awesome stuff.  So here is a quick snapshot of what I got. 

I'll be using these things in upcoming projects.  And I can't wait!  Actually, I gotta go...time to start playing!  Until next time!


Friday, August 12, 2011

Heatwave Card


Hey Everybody!

Whew!  It's hot, isn't it?  But right now it seems to be really REALLY hot! 

I watch Good Morning America, and Sam Champion (the weather anchor) tells me that Dallas, Texas has been in the 3 digits for a record breaking amount of days.  I have friends in Austin, so everytime he mentions Dallas (which is frequently) I think about them. 

I recently bought a new (to me that is, I am rather behind the newest cartridges) Cricut Cartridge--Life is a Beach.  And between what Sam keeps telling me and the great images on this cartridge....the idea for this card was born!

The first thing I cut out is the title Heat Wave at 3 inches.  My card measure 5.5 inches across longways.


Now I had thought I wanted to use this Making Memories striped paper...but I'm not sure.


This is another Making Memories paper that matches the stripes, it is just more of an orangey, pink solid.  Still not sure...

When magic happens, you know it!  Plus, this water looking paper fits the part.  I am pretty sure it came from DCWV from one of their big paper stacks.  I've had this paper for a long time!


I take an orange fine felt tipped Sharpie and outline the letters to the title.  I don't do anything to the letters that have the sun intercepting them.


I like this effect.  Kind of makes it feel fiery.


I use orange Stickles to outline the sunshine.  It is beautiful.  I love it.  Again, magic!


I return to the Cricut and cut out waves for the inside of the card.


There are a few ways to cut out waves.  When I cut out the normal image, it wasn't enough to cover inside of my card.  So I recut the same color using the border feature.  I cut it at 2 inches.  The only problem is that it is now too long.  But better than being too short...so I just trimmed off the extra, and saved it.  I'm sure I can use it somewhere!


The Cricut cuts a face on the inside of the sunshine.  I did another test sunshine and used a black pen to outline the cuts.  That didn't look good, so I used this shimmer chalk I had and lightly went over the sunshine face.  The chalk gave the sunshine exactly what it needed!


I glued on the title and centered it.


Here is a close up of the sun. 


Here is the inside!  I used Doodlebugs Jack and Jill letters for the inside.  I got those letters at Hobby Lobby (sticker's on the back ;)  Until next time...Do stay cool my friends!