Showing posts with label Paint. Show all posts

Saturday, October 15, 2022

Halloween Party Pumpkin Terrarium

 Hello Friends!

October is just the best month! The weather is nicer and leaves are turning. Pumpkins and Halloween decorations are everywhere! 

Today I am happy to show you my pumpkin terrarium-where there is an awesome Halloween Party going on!  I am linking this to Simon Says Stamp challenge and that info is at the bottom of this post.

Here it is :)  I bought the pumpkin terrarium from Oriental Trading.  And I will be honest-I was scared at first LOL. I was afraid of having this cool pumpkin but not decorating it cool enough-silly I know. I got over myself LOL and once I started applying paint to the outside-it started to come together. 


I love Tim Holtz. And I compartmentalized made the costume party dies one night. I made three of each since I had the papers out and I know there is another project I want to do with the trio. This little dracula has a silver glitter outfit on because he's at this party :)  The skull and pumpkin in the middle are ideology and the gold witch hat is a charm from Prima I got last year.

I used purple reindeer moss and this brown moss to fill in the floor. There are a few of Tim rub-on's on the walls of the pumpkin.  Now let's talk about tomb stones--I cut these from the sizzix halloween vault series 2021 out of black cardstock. I used the grave texture paste from last year. Then I painted on empty tomb distress crayon (like wow it looked good) and then some peeled paint over some of the textured places. I got that idea from watching one of Tami Bastiaans you tube videos. 


I used a couple of paper dolls and I sometimes like to assign stories to things LOL. So the guy in the back with the face mask and bat wings isn't really supposed to be there. Hmmm....an imposter? 


Tiny lights for the win! I drilled a little hole so the battery pack is on the back and then I hot glued the lights to the ceiling for the pumpkin. Also in the top right corner there is a ghost bottom.  Also, I hot glued sewing thread and strung one of this year's ideology spiders.  I used a little lettuce alcohol ink on it's abdomen like Zoe from Tim's design team did (except she used pearls and I don't have those [yet])  :)


Here is the top of the ghost. :) He's hiding behind the leaves. These big metallic leaves are sort of bendable. I bought those a few years ago from a thrift store, and I'm so happy to finally use them!  Also I used some leaves you can get from either the dollar store or hobby store. And the sunflower is from dollar tree. 


This witch is from Tim's Toil and Trouble sizzix die cut set. I cut a second hat from orange glitter paper because---party!


And lastly an entomology adornment-I used cracked pistachio on him and now he is this cool green color.  I painted the outside of the pumpkin first with black paint that I blotted as I went. I didn't want all of the orange to go away. And then I painted finnabair's sparks unicorn hair paint over it-and wow. I love it. :) 
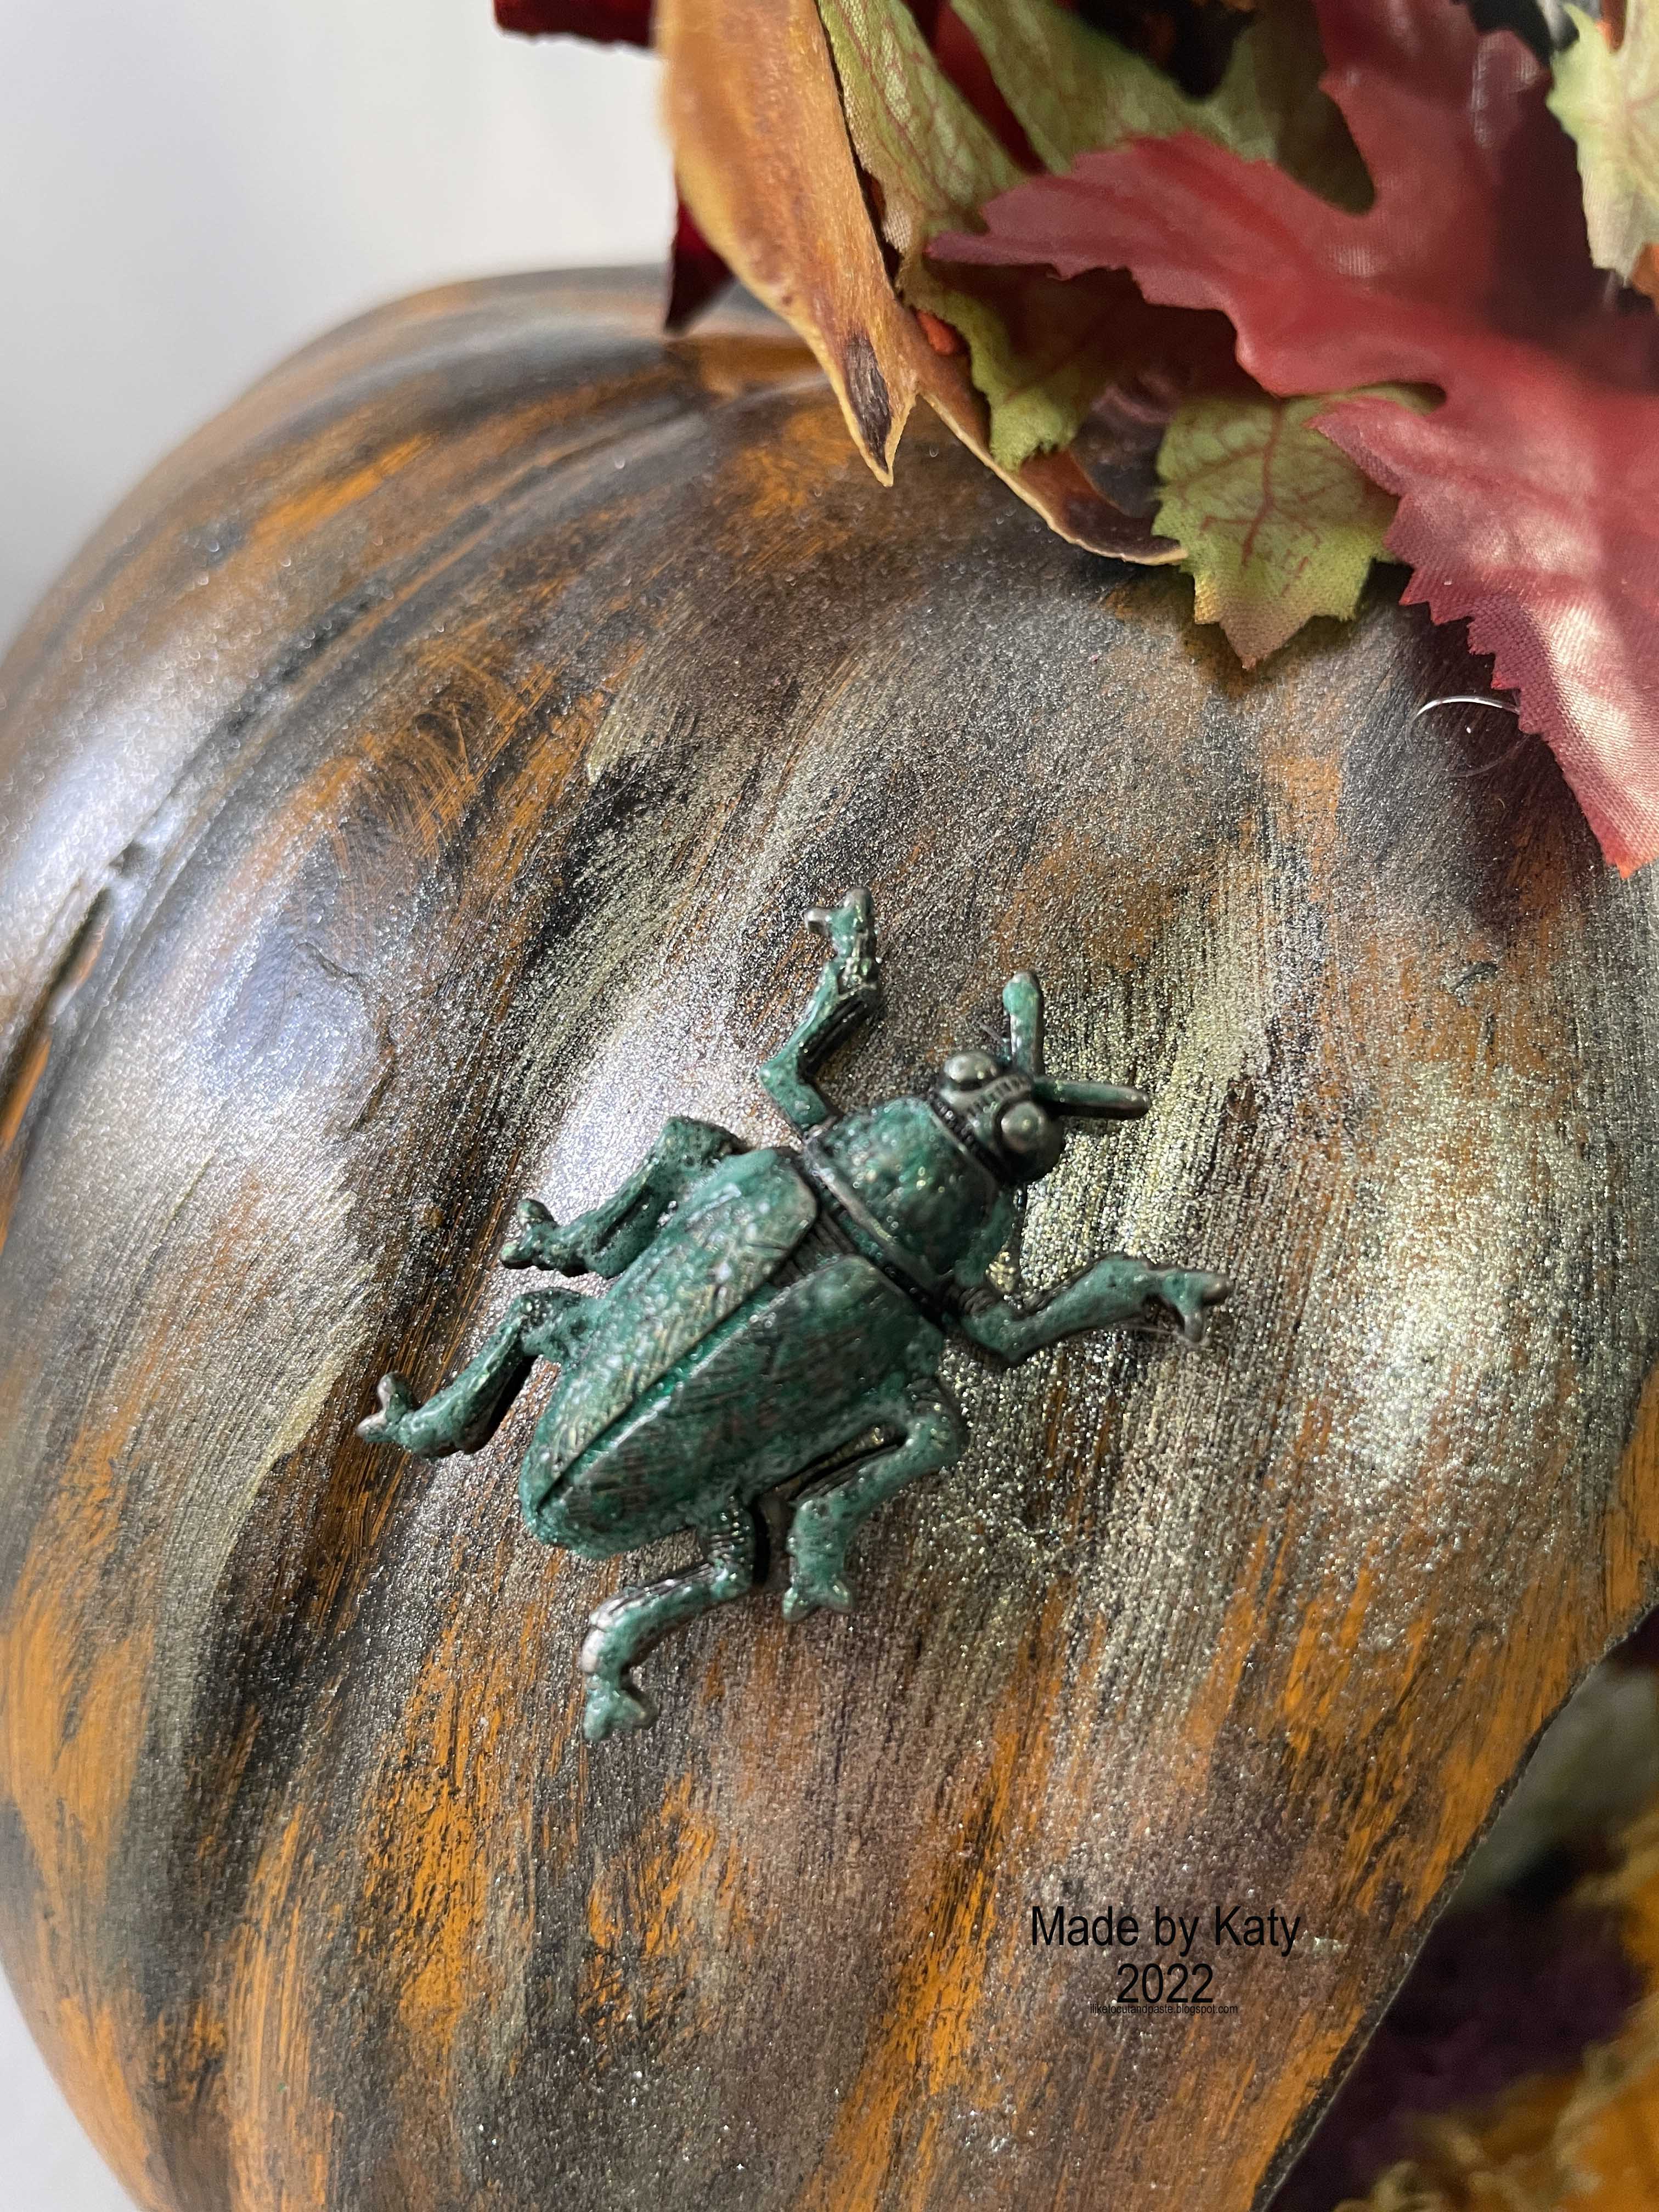

So I totally forgot to take a before picture. I know-I was like what? So here is the before and the link to this is here at Oriental Trading. 


So just a few notes-I used hot glue to glue everyone down. I held them up until the glue dried which seemed longer then normal. The pumpkin is sort of a foam material so that might be why. I didn't glue down the moss. I didn't think it needed it. I also used die cut elements from Frightful Things (ghosts and jack o lanter).

I am linking this up to the challenge at Simon Says Stamp Monday Challenge-Fall Mood Board.
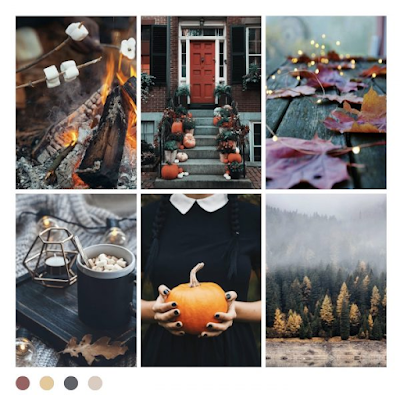

Pumpkins and the lights are totally inspiring from the mood board and used in my project. All of a sudden I want some hot chocolate. :) 

Here is a video of my project. :) 


Thank you for reading to the end. Have a great day friends! :)


Monday, July 11, 2022

Smile Canvas

 Hello Friends!

I am playing along with the challenge at The Funkie and Frilly Boutique Blog today. The challenge is called Stencil Mania and you are to use 3 stencils on a project. Funny story-I made a card (the post previous to this) using a stencil and a fun technique. I was all happy until I went back to make sure I had everything right-to find out that you need to use 3 stencils and not 1. LOLOL. So here is my project :) (And I'm glad I double checked!)


So I made this canvas board a long while ago. I guess I get distracted and this stays like this until now. (I have many other things started and not finished. I may have a problem.)  I painted it (with what I apologize I don't remember) and I used Finnabair stencils. They were probably new at the time and I just wanted to do something with them.


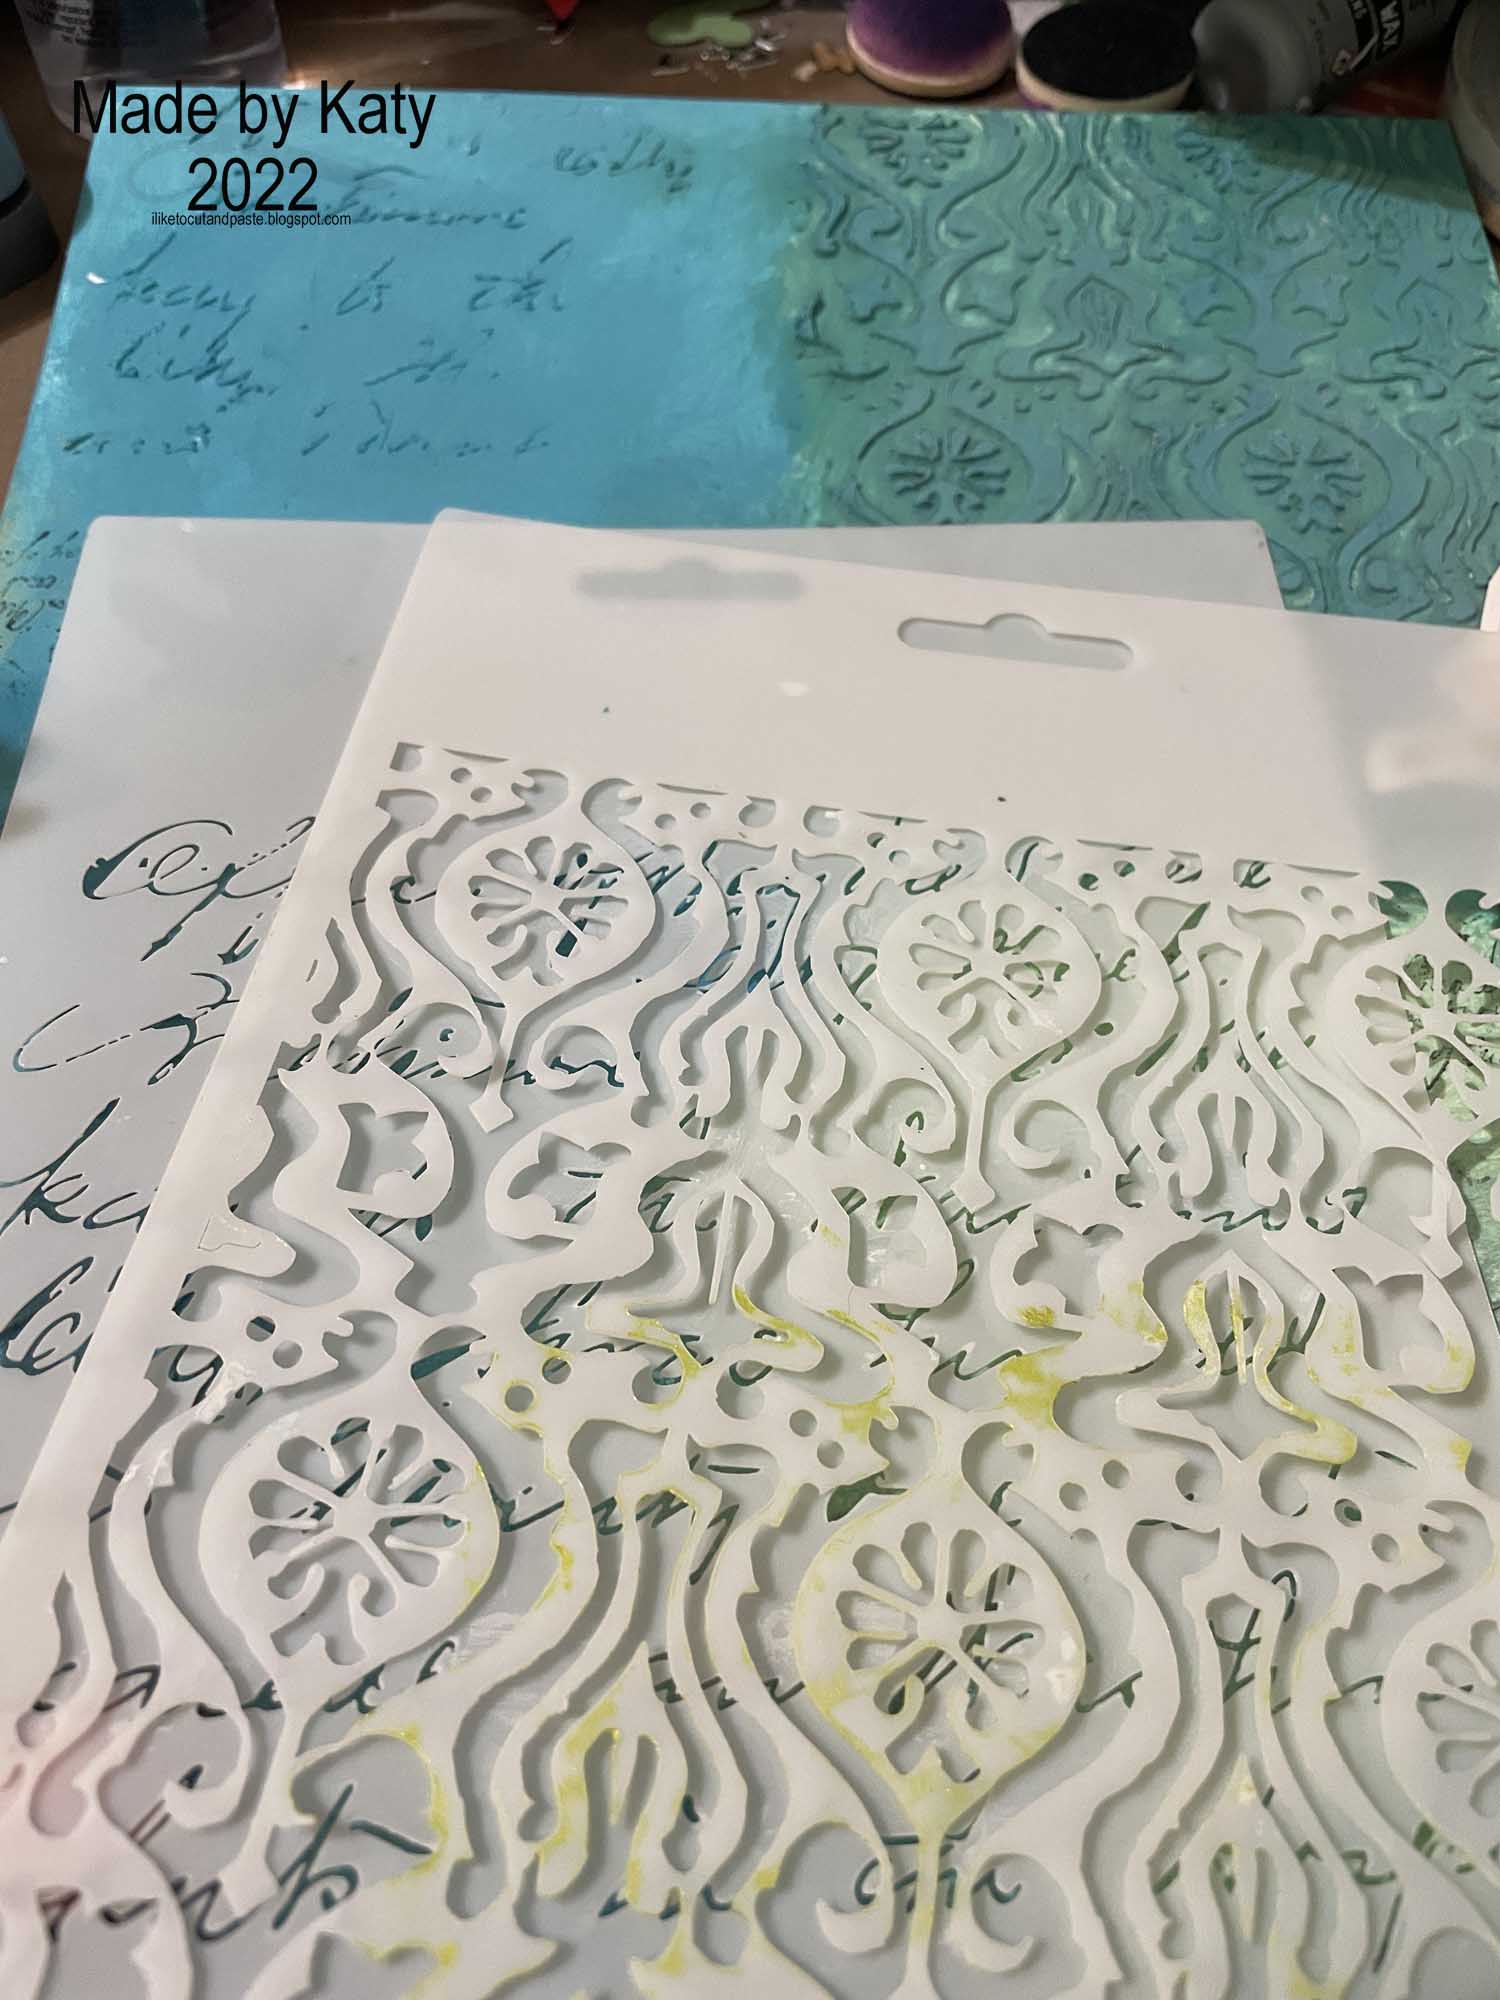
Here are the 2 stencils. (wait shouldn't there be a third? wait for it... ;) )


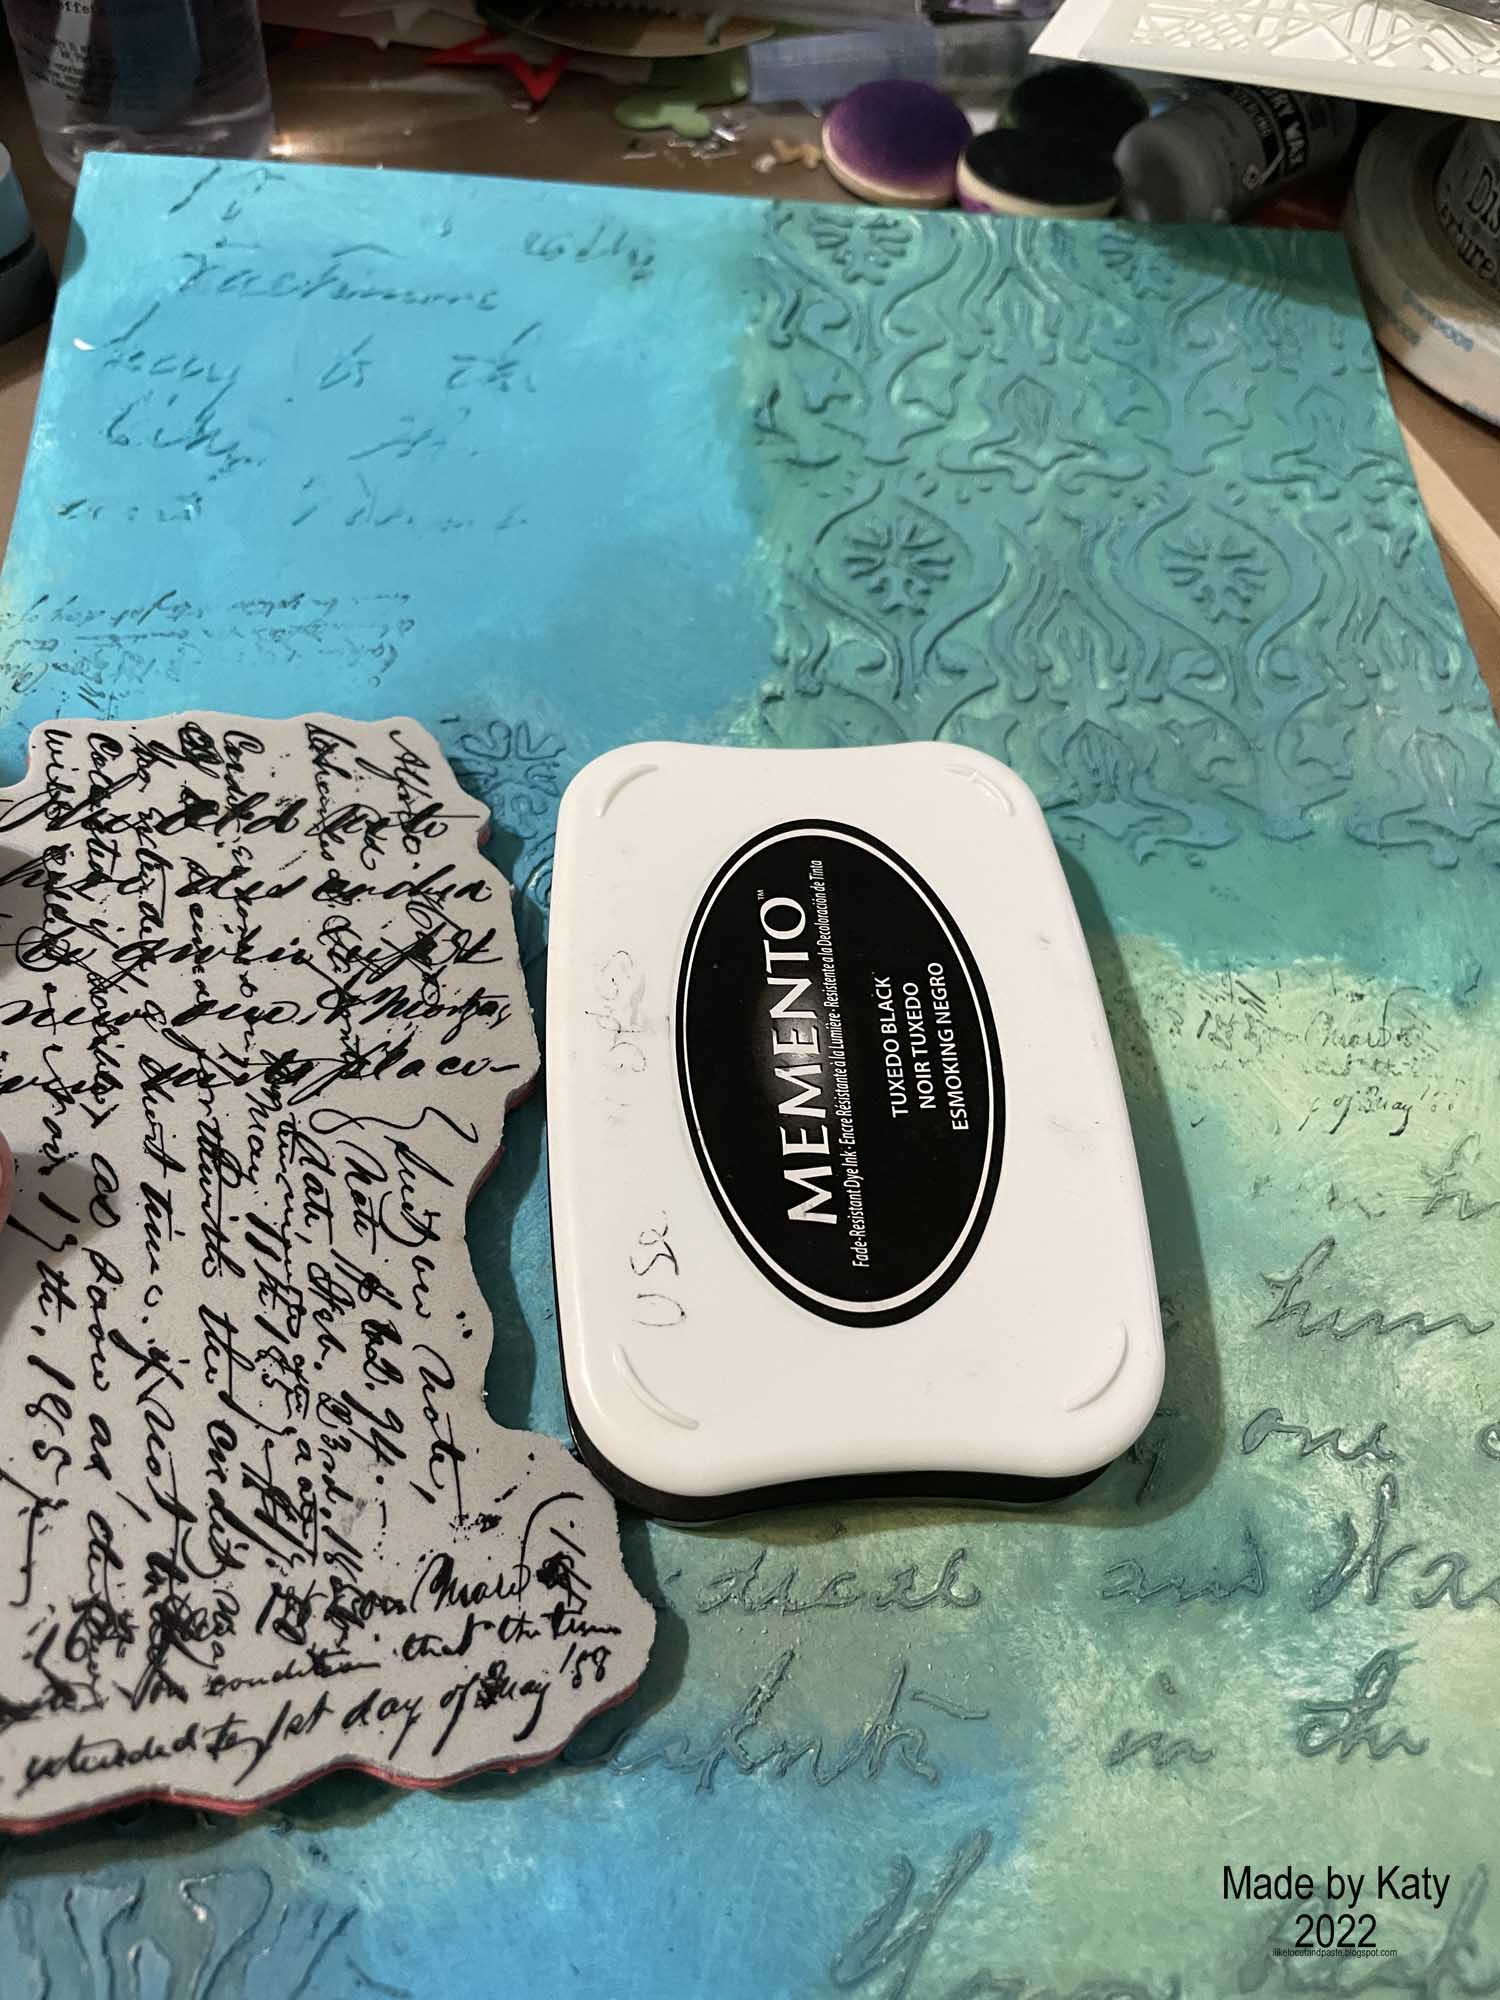
I also stamped a partial of this stamp in 3 areas, but 2 of those places were covered up. 


Here is the 3rd stencil. :)  Those are two clay bolts from a finnabair mold painted with raven black sparks paint.  Tim Holtz smile flash card-torn and inked with vintage photo.  And I think the paper with the words is a Tim Holtz snippet or something. (I have layers, ephemera, and snippets all in a bag so you know it's a little crazy in that dept)


This is a Paige Taylor Evans stencil and I used Peacock wax by Finnabair.


Here is the base. It's an artboard so it's thick but maybe not a thick as a thin canvas? I don't know.  These looked like possibilities when I bought them. So far 1 possibility so not bad :)  Oh and they measure 9 inches wide 12 inches tall.


So this is a little creative process here. I make the molds ahead of time. And I have a good many.  I love making them. :)  So this is me trying to figure it all out.


This lady and this whole piece here is a photo transfer from Finnabair. Like a big rub on in color. I just put it on a piece of cardstock and cut out the cardstock. I am sure they are meant to go in journals and stuff but my journal is small and I really just love this and thought it made a great centerpiece.


So here is how everything played out.  Gears, clocks, postage stamp, and an ornate metal piece.  I used these paper (I guess) ball like things and painted them purple to anchor all of the pieces. And I painted everything with a sparks finnabair paint. Some I rubbed a little wax on like the big clock-vintage gold. Oh and I highlighted parts of the background with Unicorn's Hair (one of my faves).


For the construction I used craft foam to lift some of the pieces. Like the camera girl got 4 pieces and then the pink clock 3 and the square stamp 2.  This is how I layered them-and I used hot glue-between the craft foam layers and the gears, clocks, etc.  The paper balls-I used glossy accents and a pin to move around the glue a little bit.  For the smile piece I used zip dry because I find that it doesn't wrinkle paper. I love this glue for banners also :)


And here is the finished piece again. Thank you for stopping by! :)


Wednesday, March 30, 2022

First Place At the World Fair

 Hello Everybody!

I am super excited that I am the Guest Designer for the 2nd time in a row at The Funky Junky Challenge! I am so honored that they chose my project.  :)  

This challenge's theme is Industrial Grunge. Did they say GEARS?!? Yes Please! :)  Here is my project and then I will break it down. :)

The story is that this fella won first place at the World's Fair :) 


Here is a closer look of the inside of the vignette box.  I used the corner die cut from Sizzix Gearhead on the outside of the vignette box and then there are clay gears and one wood gear on the inside.


I cut out all of these gears-LOL. I got this for Christmas and this is my first time using it so yay! This is Tim's gold foil cardstock.


On the left is silver Tim cardstock and on the right is Ranger's/Tim foil adhesive sheets. There's a difference in that the one on the right has a texture where the cardstock is smooth. I used both but I thought this was a cool observation.


I used black gesso and painted the biggest vignette box. On the bottom I missed a few spots-but turns out this added to the charm of this little display.


On both pieces I used these alcohol ink colors and pounced with the felt tool. (rust, mushroom, slate, caramel, pitch black, latte)  I used the mini foundry embossing folder.


The foil tape was the longest of the two so I applied it to the top and the foil cardstock pieces to the sides.

I cut out green tim foil cardstock and embossed it with circuit. I tried to put black alcohol ink on the raised part-fail. LOL its on the center left because I didn't start over. I just went with it. I used a gold prisma color marker and highlighted random lines. I was thinking this guy was into clean energy-so the gears aren't full of oily gunk ;) lol


The gears were fun. I had previously made them with clay and Finnabair moulds (mechanica and large gears). I have a whole collection of clay pieces because it's just fun to make them LOL.  It is more fun to use them in projects :) So I painted them with this gold paint (no gesso or anything), and then I used slate and pitch black alcohol ink to lightly go over the gears.  Clean energy still needs a little bit of grease ;)

The bottles!! So fun to make. I was looking around Pinterest trying to figure out how exactly I was going to do this box with grungy goodness. And then I saw this pin/post from Emma Williams-Toxique.  Her project is awesome and she tells how she made these bottles which I did here.

The bigger bottles are from the dollar tree and the small one is from the miniatures section at hobby lobby. I painted collage medium on them and put some hot glue drips. These bottles are small by the way.  I also added some rock candy crackle to them.


Emma uses greens and blues on her bottoles and I thought that was really cool. Like maybe I would have just used brown. I like the pop of color these give.  Then I added gold and silver alloy to the tops of the hot glue drips. I also find a tiny label in my snippets and add a skull rub on from this years Halloween rub on sheet. I also use another rub on directly to the bottle from the same Halloween rub on sheet.


I was watching Tim's Easter crafting video (from Sat.) while I was making this on Sunday. And that is where I thought coloring the baubles was a good idea. It's possible something else influenced that but I can't remember where. I used red pepper, currant, and pitch black. Again the little pops of color are fun.


Here's a close up of the finished bottles and baubles.


In looking for tiny bottle labels I found this geometry equation looking ephemera in this year's Halloween pack. I hot glued it to the box and you can see some of the hot glue.


I took black paint and Tim's grit paste and mixed them creating a gray mixture that I used to hide the hot glue and I put it on the "seams." To me this is just a nice finishing touch to the project. I went back and painted black paint on top of the grit paste to make it darker and more grimy. 


It makes me nervous to color the paper dolls LOL. And he seems really good already and I didn't have another guy like this so all I did was color his flower yellow with a prisma color marker. It's a very little thing but it's there LOL :)


This is going back a little bit-I put single gears on both of the insides (left and right) of the box. The clay gears are hot glued in. There is also one wooden gear that fit the size I needed (it has less detail that the clay ones and is partially hidden with the corner gears.


Here's a close up of him standing on a gear. This is a sizzix die cut gear.


Here's a closeup-there is a light bulb from Tim (a loooong time ago) that I used sunshine yellow alcohol ink and hot glued to the top. I love light bulbs-which is why I still have a pack of unused Tim lightbulbs. They are for special occasions LOL.  The exhibit a strip has fossilized amber distress crayon to make the letters pop. It is also hot glued in so it stands. I have wire on the sides through the holes. I took a little black paint and went over the top. And there is the gray grit paste to help cover the hot glue.  I also put a few spots of grit paste in the bottom of the box.


Here is a one side view of the vignette box.


Here's the other side view. Here you can see his blue ribbon :) This is an ideology piece that I used sailboat blue alcohol ink to color. Oh-I also used an ideology hardware piece that screws into the vignette box and then I used a jump ring to connect the ribbon charm to the piece that screwed into the box.


And that's all I did. LOL.  This was super fun to make. I am so happy that I was able to be a Guest Designer of The Funky Junky Boutique Challenge. I hope you will the challenge! :) (you could be a guest designer or winner of a $25 gift certificate!)


Thank you for stopping! :)

Sunday, February 27, 2022

Art Journal Page

 Hello Friends!

Over at Simon Says Stamp Monday Challenge the challenge was to create an art journal page. I was so happy about this prompt. I have started an art journal and it makes me very happy when I have an opportunity to create in it. 

My book size is 6 by 4. Here's my page:


Here is an up close pic:

I used a lot of Tim Holtz product-crackle paste, a stencil, the lady with villainous potion glaze on her, Media Marks die cuts, clippings stickers, and distress crayons hocus pocus and seedless preserves.  I used the crayons for the background and on the stars.

The background paper is a pack from Amazon that my hubs got for me for Christmas. The star stencil is Dyan from Ranger, and the paint on the pattern on the bottom right is Finnabair Sparks Raven Black (it sparkles and is just fabulous).  Oh and some golden black paint behind the words. The words are how I think I felt yesterday lol.

Thank you for stopping by! Until next time my friends keep creating! :)


Friday, February 18, 2022

Metal Heart Wall Decoration

 Hello Friends!

I am super excited to show you a metal heart that I decorated. At my work there were two metal hearts that were donated and my friend at work said we should have each make one and have a contest. Now my friend has mad skillz and paints like for real paints lol. I just do what I do. So I said ok. And then there was a little stress because I wanted to make an awesome. So here's mine:


I have some pictures of the process. Before I get into that I want to take care of business. I am entering this heart into the Funkie Junkie Boutique Blog: Valentines.

So the heart started like this-plain and shiny.


So the question with a metal heart--do I let the metal shine through? Do I cover it with paper? It didn't seem right to cover it all up. Also, I wasn't sure how things would stick to the metal so I covered it in clear gesso.


The gesso dulled the metal, but the metal was still there.


I used a finnabair stencil and some matte paste.  I love this script.


Then I used a Simon Says Stamp heart stencil with crackle paste.  Oh the crackles!


I have 4 different color pink paints. I was going for an antique look with pink and beiges. But sometimes the piece talks to you and the idea changes. So I used this pink paint sparingly and added water.


Here it is finished. It's also tough not knowing how I was going to cover the center. But I loved how the stenciled parts and paint turned out.


The window is a Etcetra window which means it's laser cut out of a thick material. I painted crackle paint over it. I cut a piece of watercolor paper to size and sprayed it with a distress oxide and one of the Christmas mica sprays.  The shimmer is so pretty!


Here's the middle. I used foam and hot glue to adhere the window. I knew I was going to tuck things under the window so I needed some depth.  Some of the flowers are from Hobby Lobby and some are those little flowers used in weddings. I believe the silhouette of the lady and the frame are Kaisercraft and I painted them with a pink sparks paint form finnabair and a black sparks on the frame. Then I used some finnabair wax to tone it down.

I cut some flowers and greens from Tim Holtz Sizzix Garden Greens and Funky Floral #1. The silver glitter leaves are cut from a table runner I bought at the Dollar (25) Tree in the party section. I had the ideology arrow and word coin. For the coin I used the picket fence crayon to make the word love pop. I used a wire to add the coin to the arrow. I glued flowers and added some micro beads on the bottom. 

There is some lace under the window and then the flowers and greens. The flowers look like little circle but I think they are supposed to be Lantana or something. LOL. And then the rest of the leaves layer up from there.


Here's another picture of the heart. I also added a clay bird sprayed with the mica spray winterberry-but very light. 


So that's my heart-but I know if I was reading this post I would wonder what did the other heart look like?

Here is the my friend's heart:


So she put a song Jack sings-like the sheet music in the background and burned the edges to reveal the metal heart. She painted Jack and Sally (I told you she had mad skillz). And she made the jar of Deadly Night Shade out of clay. So beautiful! 

Thank you for stopping by!