Showing posts with label vignette box. Show all posts

Wednesday, March 30, 2022

First Place At the World Fair

 Hello Everybody!

I am super excited that I am the Guest Designer for the 2nd time in a row at The Funky Junky Challenge! I am so honored that they chose my project.  :)  

This challenge's theme is Industrial Grunge. Did they say GEARS?!? Yes Please! :)  Here is my project and then I will break it down. :)

The story is that this fella won first place at the World's Fair :) 


Here is a closer look of the inside of the vignette box.  I used the corner die cut from Sizzix Gearhead on the outside of the vignette box and then there are clay gears and one wood gear on the inside.


I cut out all of these gears-LOL. I got this for Christmas and this is my first time using it so yay! This is Tim's gold foil cardstock.


On the left is silver Tim cardstock and on the right is Ranger's/Tim foil adhesive sheets. There's a difference in that the one on the right has a texture where the cardstock is smooth. I used both but I thought this was a cool observation.


I used black gesso and painted the biggest vignette box. On the bottom I missed a few spots-but turns out this added to the charm of this little display.


On both pieces I used these alcohol ink colors and pounced with the felt tool. (rust, mushroom, slate, caramel, pitch black, latte)  I used the mini foundry embossing folder.


The foil tape was the longest of the two so I applied it to the top and the foil cardstock pieces to the sides.

I cut out green tim foil cardstock and embossed it with circuit. I tried to put black alcohol ink on the raised part-fail. LOL its on the center left because I didn't start over. I just went with it. I used a gold prisma color marker and highlighted random lines. I was thinking this guy was into clean energy-so the gears aren't full of oily gunk ;) lol


The gears were fun. I had previously made them with clay and Finnabair moulds (mechanica and large gears). I have a whole collection of clay pieces because it's just fun to make them LOL.  It is more fun to use them in projects :) So I painted them with this gold paint (no gesso or anything), and then I used slate and pitch black alcohol ink to lightly go over the gears.  Clean energy still needs a little bit of grease ;)

The bottles!! So fun to make. I was looking around Pinterest trying to figure out how exactly I was going to do this box with grungy goodness. And then I saw this pin/post from Emma Williams-Toxique.  Her project is awesome and she tells how she made these bottles which I did here.

The bigger bottles are from the dollar tree and the small one is from the miniatures section at hobby lobby. I painted collage medium on them and put some hot glue drips. These bottles are small by the way.  I also added some rock candy crackle to them.


Emma uses greens and blues on her bottoles and I thought that was really cool. Like maybe I would have just used brown. I like the pop of color these give.  Then I added gold and silver alloy to the tops of the hot glue drips. I also find a tiny label in my snippets and add a skull rub on from this years Halloween rub on sheet. I also use another rub on directly to the bottle from the same Halloween rub on sheet.


I was watching Tim's Easter crafting video (from Sat.) while I was making this on Sunday. And that is where I thought coloring the baubles was a good idea. It's possible something else influenced that but I can't remember where. I used red pepper, currant, and pitch black. Again the little pops of color are fun.


Here's a close up of the finished bottles and baubles.


In looking for tiny bottle labels I found this geometry equation looking ephemera in this year's Halloween pack. I hot glued it to the box and you can see some of the hot glue.


I took black paint and Tim's grit paste and mixed them creating a gray mixture that I used to hide the hot glue and I put it on the "seams." To me this is just a nice finishing touch to the project. I went back and painted black paint on top of the grit paste to make it darker and more grimy. 


It makes me nervous to color the paper dolls LOL. And he seems really good already and I didn't have another guy like this so all I did was color his flower yellow with a prisma color marker. It's a very little thing but it's there LOL :)


This is going back a little bit-I put single gears on both of the insides (left and right) of the box. The clay gears are hot glued in. There is also one wooden gear that fit the size I needed (it has less detail that the clay ones and is partially hidden with the corner gears.


Here's a close up of him standing on a gear. This is a sizzix die cut gear.


Here's a closeup-there is a light bulb from Tim (a loooong time ago) that I used sunshine yellow alcohol ink and hot glued to the top. I love light bulbs-which is why I still have a pack of unused Tim lightbulbs. They are for special occasions LOL.  The exhibit a strip has fossilized amber distress crayon to make the letters pop. It is also hot glued in so it stands. I have wire on the sides through the holes. I took a little black paint and went over the top. And there is the gray grit paste to help cover the hot glue.  I also put a few spots of grit paste in the bottom of the box.


Here is a one side view of the vignette box.


Here's the other side view. Here you can see his blue ribbon :) This is an ideology piece that I used sailboat blue alcohol ink to color. Oh-I also used an ideology hardware piece that screws into the vignette box and then I used a jump ring to connect the ribbon charm to the piece that screwed into the box.


And that's all I did. LOL.  This was super fun to make. I am so happy that I was able to be a Guest Designer of The Funky Junky Boutique Challenge. I hope you will the challenge! :) (you could be a guest designer or winner of a $25 gift certificate!)


Thank you for stopping! :)

Thursday, September 16, 2021

Beware Vignette Box

 Hello Friends!

I made this creepy vignette box, and I am so excited to share it with you!  

This is the largest of the Tim Holtz Vignette Boxes. And this is a box topper that was sold in 2018. (Thankful for YouTube because I couldn't remember when I bought the covers.) After I decorated the inside I glued the panels down with collage medium.


From the top: I made this candles using Tim's directions from last year. And I painted them black. The skull is Ideology a few years ago. That is cheese cloth that I sprayed with black soot distress stain, hickory smoke oxide spray, and empty tomb mica spray. In between the candles and skull I added Tim's midnight mica flakes. Originally, I was thinking mirco beads and then I was like I have something cooler than that! :)


This is a Tim Holtz ghost die cut that I inked with a little peeled paint around the edges.


The background paper is from Tim's Region Beyond paper pack. I stamped bats on the this side of it. But the bats are actually from one of Tim's embossing folder. I used a Simon Hurley Stamp block-heated it and then took the impression of the embossing folder. So Cool!


On the inside sides of the box I applied Crypt grit paste. On this side is a die cut spider (the one from just the web and spider-Tim Holtz). I used some stickles to try to make it stand out a little. So it's just kind of creeping around back there LOL.


Here is the other side with the crypt paste.


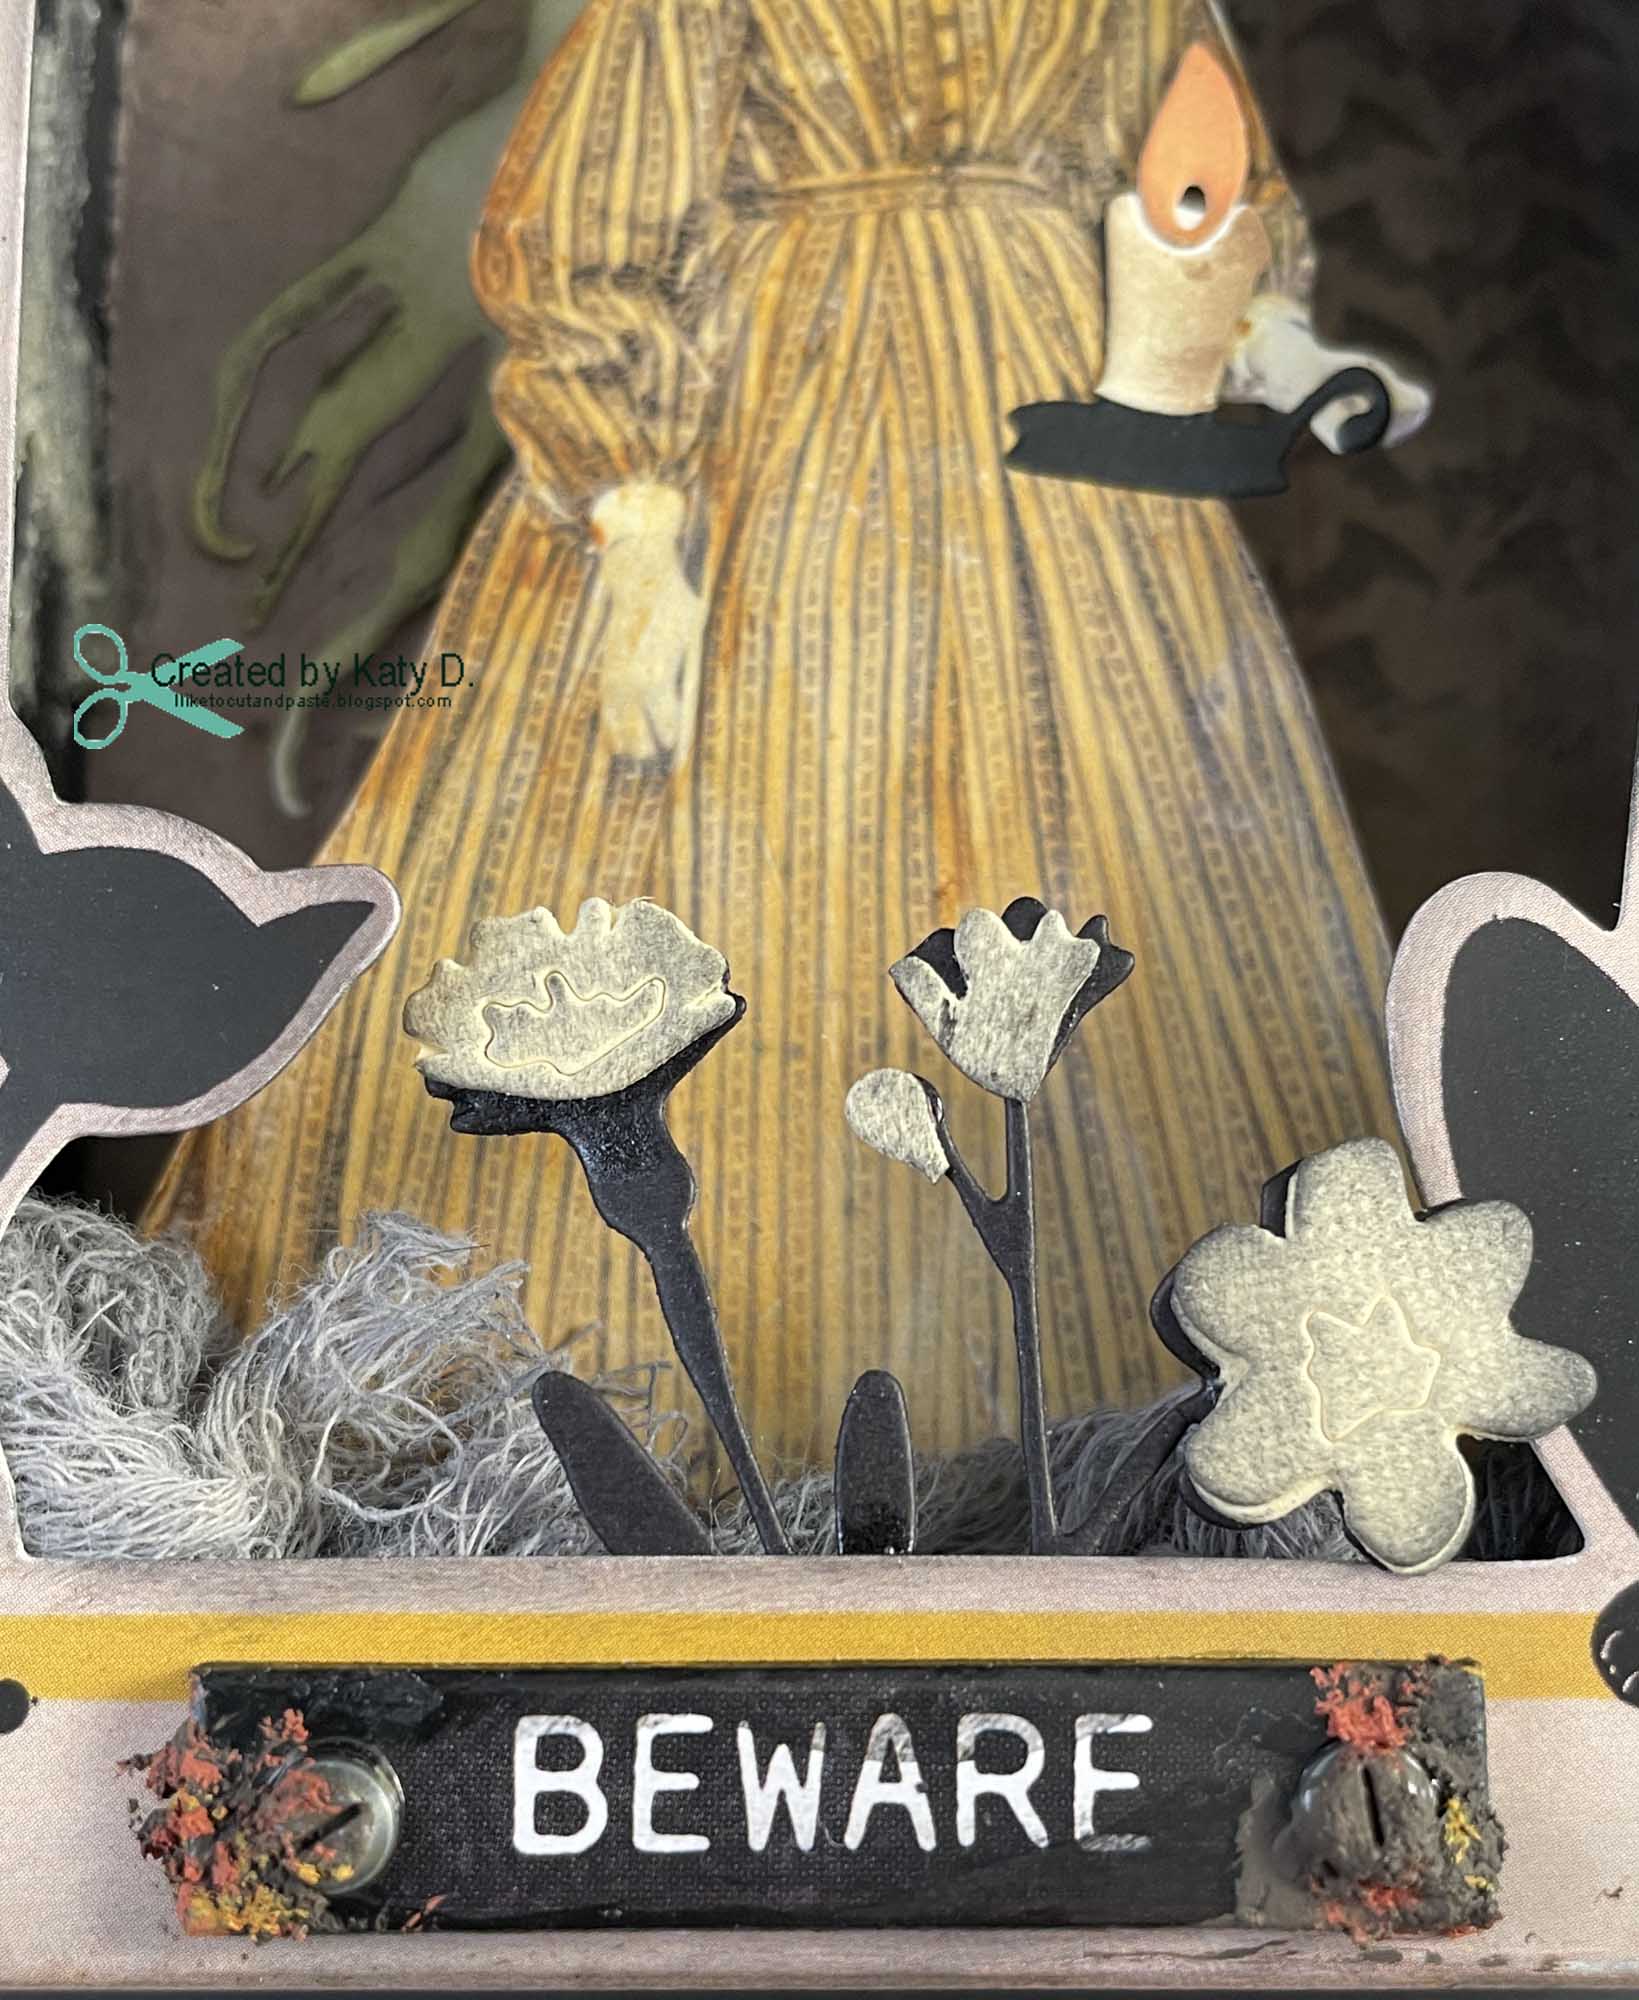
These flowers are from Funky Nature. I used some black soot distress ink on the yellow blooms to make them less bright and more spooky. The Paper Doll's dress is from a spiced marmalade distress crayon and a little water.  The candle die cut is from Tim's Frightful Things. 

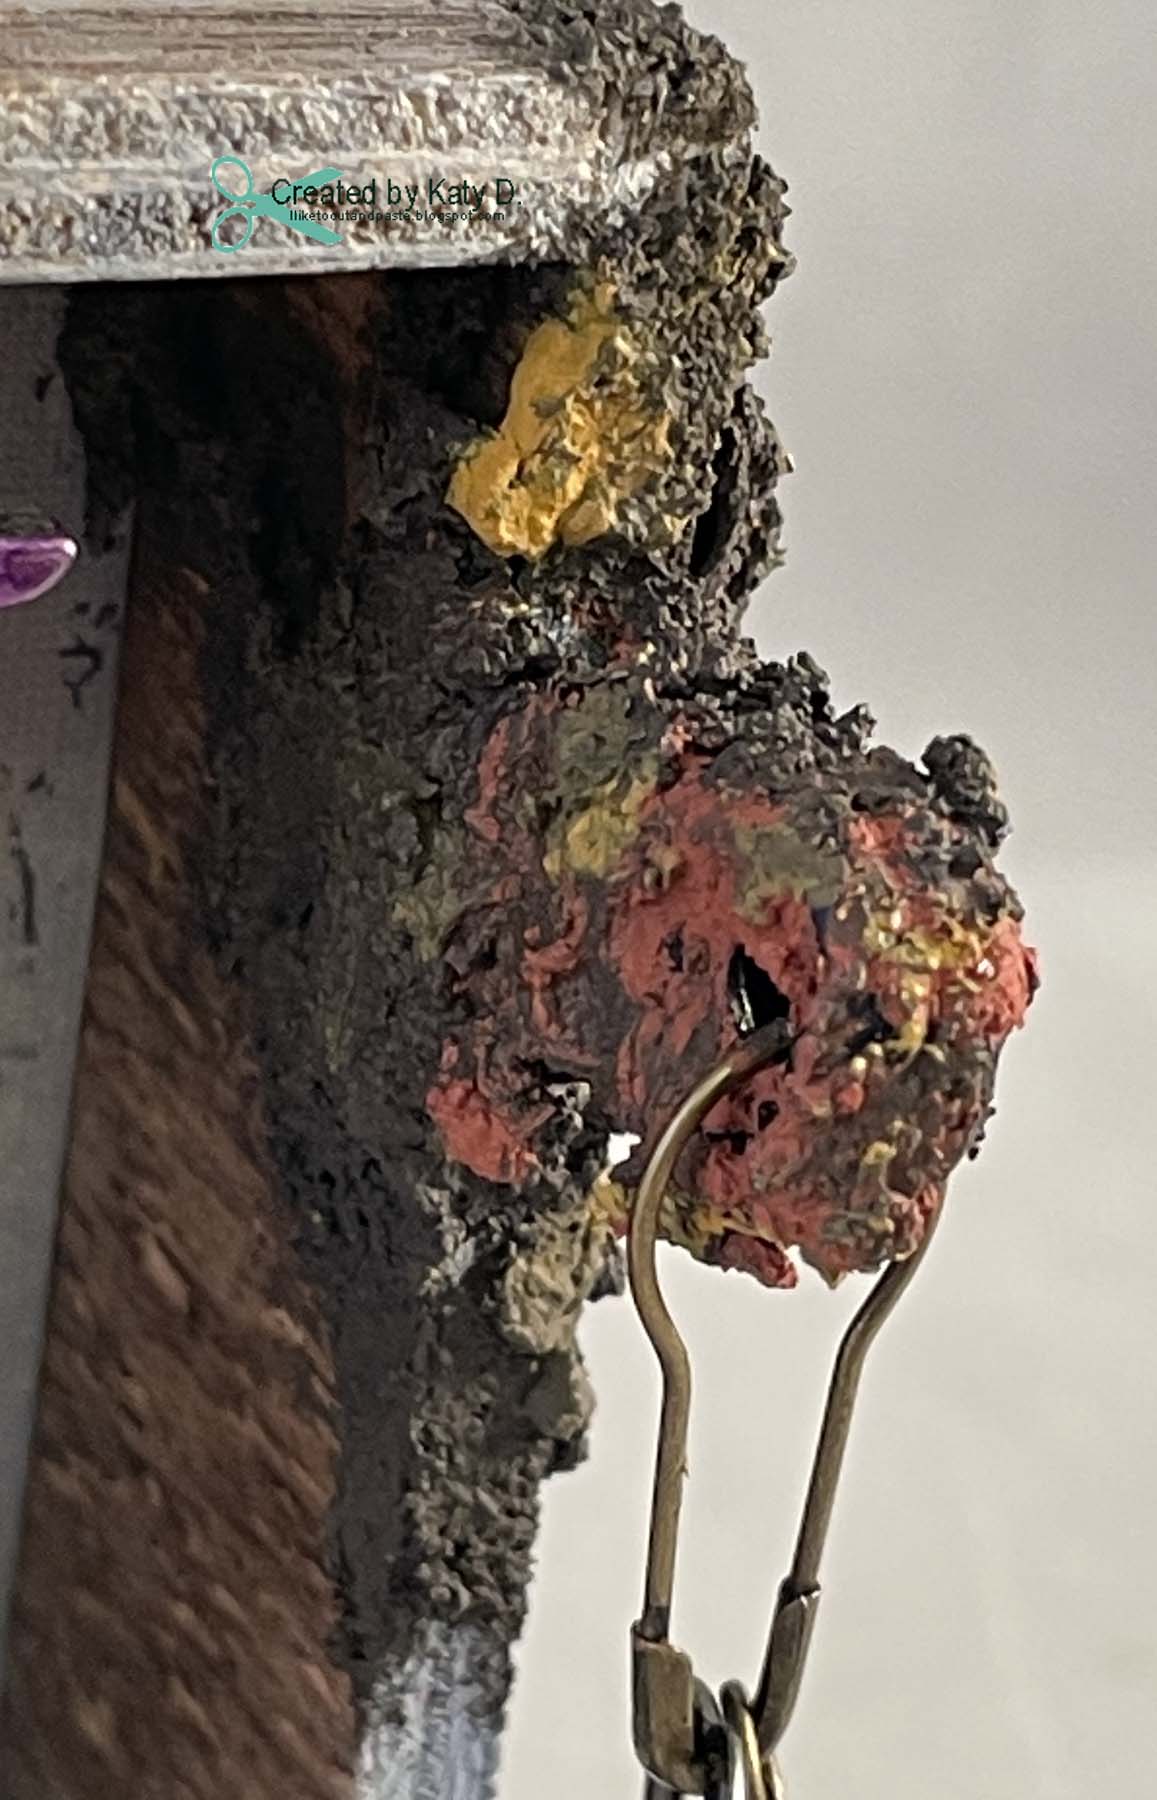
There is also a Halloween Quote Chip and 2 hardware heads. The rust is from Finnabair. 


So this is cool.  Here is the finished box.


If you look you can see the paper doll's shadow. This is cool because it's like the candle is really working to create a shadow behind her. Eek! 


I am submitting this into the following challenge: 

TFJB Challenge: Creating Die-Na-Mite-use dies--Spider, Ghost, candlestick, and flowers

Thank you for stopping by today! :)


Monday, July 19, 2021

A Birthday Vignette Box

 Hello Friends!

It was my husband's birthday and I wanted to make him something special. Combine that with my love of making vignette boxes-and a special gift was made :)

This is the second biggest vignette box in the set of 4 when you buy them. I also added the wood frame that are sold separately. So here is the box.


Then here is the box with tiny lights! I love tiny lights. Tim suggested a Fiskars hand drill to help put the lights through-and my husband bought me one.  It is very handy and not intimidating.  I don't usually use drills and stuff so for me this hand held drill is really nice.


Then here is the vignette box with tiny lights in a dark room. LOL. Those lights are just magical!


Starting here I love this because this is a little fish tank made with:
Red Foil paper and the smaller fish from Under the Sea die
Dimensional dome and the circle to cut it from Tiny Snowglobes dies
Baubles painted with Aqua and Sail Boat Blue Ranger Alcohol Inks
Googly Eye

The baubles look like real bubbles with the tiny lights on. And there is no filter! :) 


This Tim Holtz decorative dome has little bead dice from my stash. I glued them together using collage medium. Some how some magic happened here too and the dice look like they defy gravity. lol


These chess pieces are plastic and I used pitch black and gold alloy to dress it up a bit. This is the king piece :)


This is a Tim Holtz base that I bought for this project. I thought it would be fun to take the Vignette Box a step further. The package comes with two different sizes-this is the larger size. I used gold gilded alloy in the recesses and black on the embossed. 


Here is one side of the vignette box. First I painted the whole box and frame with black gesso. Then I painted collage medium over it. Then I tried to use some grit and crackle paste but I'm not good at that yet. I don't know how to get it mixed because I tried mixing it with paint. So I painted over it with brown and black paint. Then I got out my Finnabair Rust paint effects and created the rust. I left the crackle. The I went over the black it Finnabair vintage gold wax. That's what makes the frame dots on the front gold also.


Here is the other side of the box.


Top of the box. That little record player is from Hobby Lobby a long while ago. I love minatures but I don't need another hobby. So when they are on sale and I think I can use them-I will buy them. But I really have to think if I can use it and not buy it just because it's cute LOL. (The struggle is real.)


The sweet lightbulb is from Prima many years ago.

Metal gears in my stash (could be Tim's).


The pen nub and pen chipboard are both Tim's. The background paper is 7 Gypsies. I used a bit of walnut ink distress oxide here and there. Also-I used some washi tape with gears to hide the hot glue on the tiny lights wires. 


The laugh was a token I bought at a thrift store with my husband. There was a small handful of them. I finally used one! :)  Yay! And an awesome paper doll.


Thank you for stopping by today!


Tuesday, April 13, 2021

Orchid Vignette Box

 Hello Friends!

I am so excited to share a cool vignette box that I made for a friend of mine. :)  My friends loves and takes care of orchids-so I had to make sure I incorporated that into this box. It was a thank you from me to her. Sometimes cards just aren't enough ;)

So here is the vignette box:


I made these orchids using a silhouette design store file and wilted violet and wild honey distress oxide inks. The leaves are from a tim holtz funky floral die cut set and I trimmed the leaves to look like this. I did a little paper shaping, also.  I used a botanical rub on on from tim holtz in the background.


This is an adornment metal charm from tim holtz. I made it purple with alcohol ink.  And the dreamer of dreams is another rub on from a different set. 


There's another picture of the orchids because I love how they turned out. They are in a little tim holtz jar (corked vials) and I glued the stem to the side of the jar to keep the orchids from moving around.


The background is a tim holtz wallpaper that I colored with vintage photo and broken china distress oxide. The bird is clay and made from a mod podge mold. I painted it with a finnabair sparks paint-butterfly spells.


Rust! I love to create rust! I used finnabairs 3 paint/paste rust effects. This is over a clip thing that has a whole in it. Originally, it was an orange clip from Making Memories. Then I painted black gesso over it and clipped it to the side. I made the rust happen and used extra jump rings for the time coin and antique gem- both are tim holtz.


Here's a side view.  I sprayed stormy sky distress oxide spray onto the box so it has a blue tint.


Look at that rust!


Another view.  The paper doll is from tim holtz.


This is the 2nd smallest vignette box that Tim sells. I also added antique glass glitter from Melissa Francis along the corner on the left and the bottom.  I feel that I need more glitter in my life and used it here. :)


I am submitting this cool vignette box into the following challenges:

Path of Positivity Challenge: #90 Smile/Laugh This is a thank  you for my friend for helping me. I know she will smile when she sees the orchids. :)

Use Your Stuff: #420 Spring Easter

Thank you for stopping by! :)