Hello Friends!
I am so excited to share with you my project for being the Guest Designer this week at The Funkie Junkie Challenge! This week it's about Friendship. Be sure to check out the Design Team's project and maybe submit one of your own! :)
A first I didn't know what I was going to make. I am in Halloween mode-LOL. And I didn't know who I would make something for-my husband and sister get many things as it is. :) And I love all of my friends-but it hit me-I would make something for my friend that lives down the street. She makes life easier and definitely more fun.
I started off with an altoids tin. And I altered it using mostly Tim Holtz products and a little Finnabair. Funny side note--I don't eat altoids. A different friend of mine a long time ago gave me tins, and this is from her collection.
Here is the front:
And when you open it...
So if you would like to see how I created this stay with me. If not-I understand that too :)
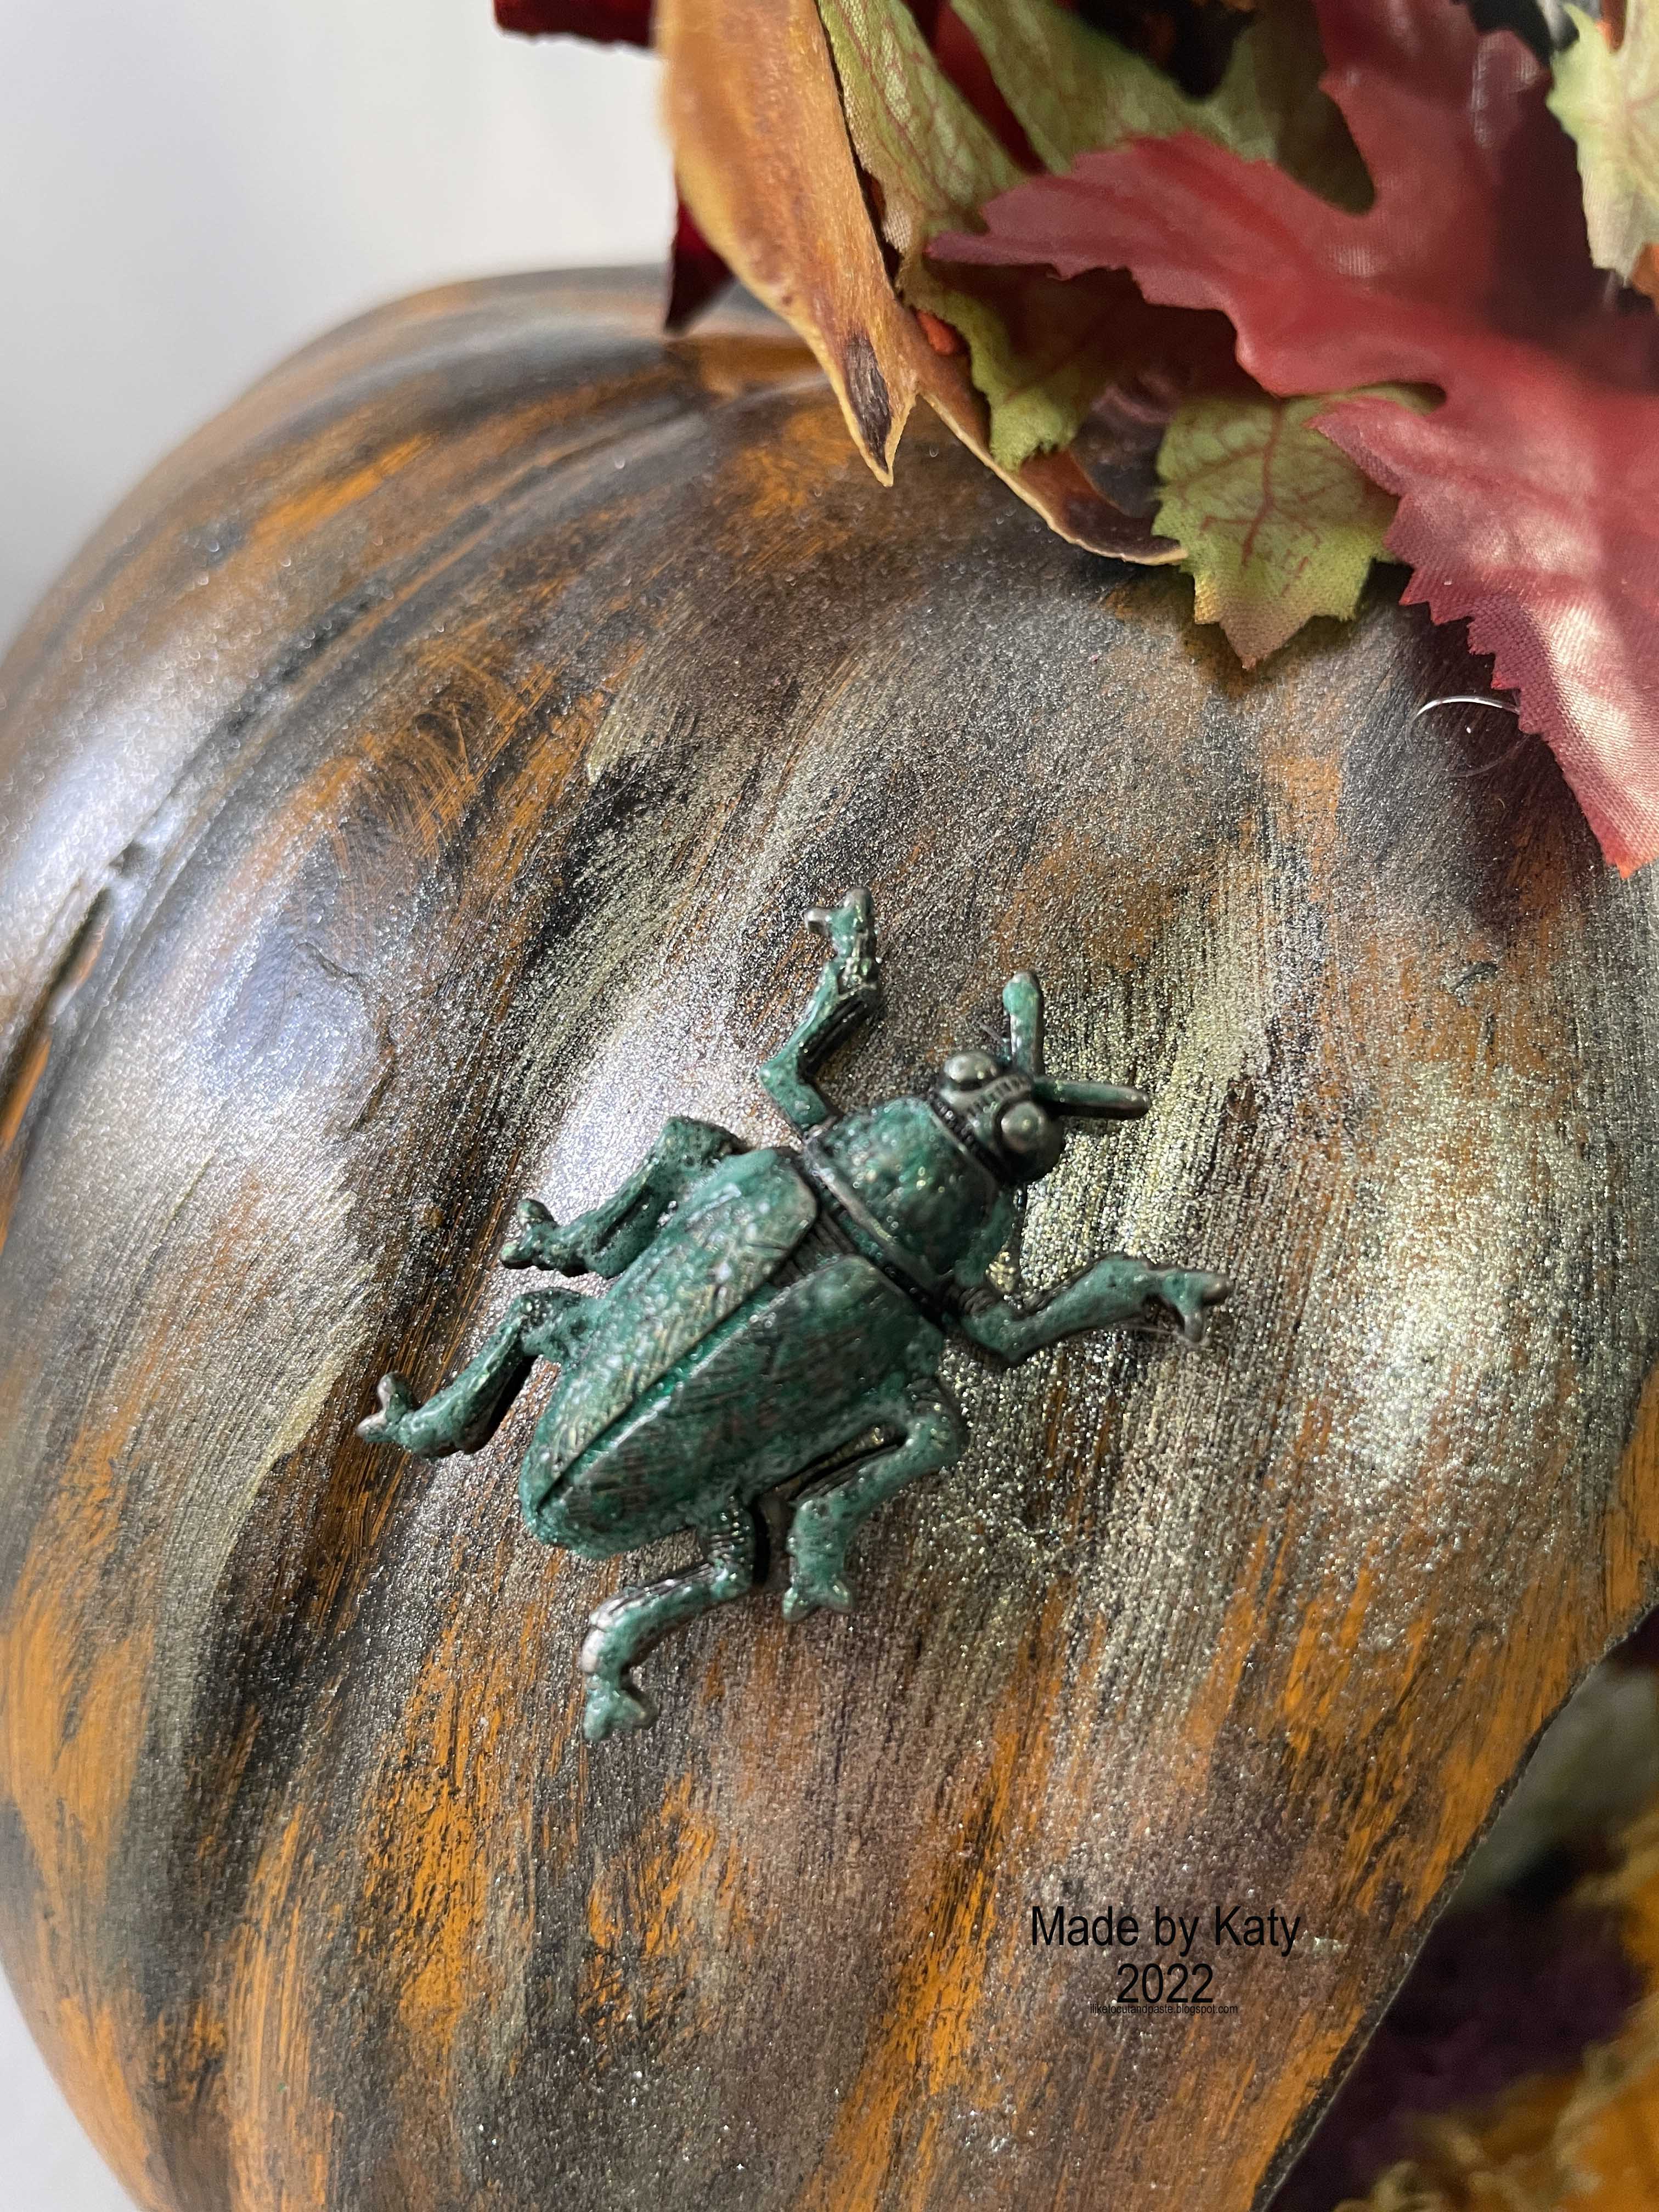
I gessoed the tin with black gesso around the outside. I put light modeling paste on the lid and let that dry. Then I used Tim's matte texture paste and a Tim stencil to create the stars. I used distress stains-mustard seed and carved pumpkin. I also took a little prize ribbon and used the spray tube to add drops of color. Then I spritzed with a little water and let that dry.
I sprayed some more stain on a piece of cardstock and added a little elixir mica spray. Then I used a garden green sizzix die to cut some leaves. I didn't use the leaves like how they are cut in the die. I cut the leaves in their little sections and created a bunch behind the flair piece.
To make the friend word card more fun I used this stars die cut which was the special die last year from Simon Says Stamp. Then I used gathered twigs distress ink around the card.
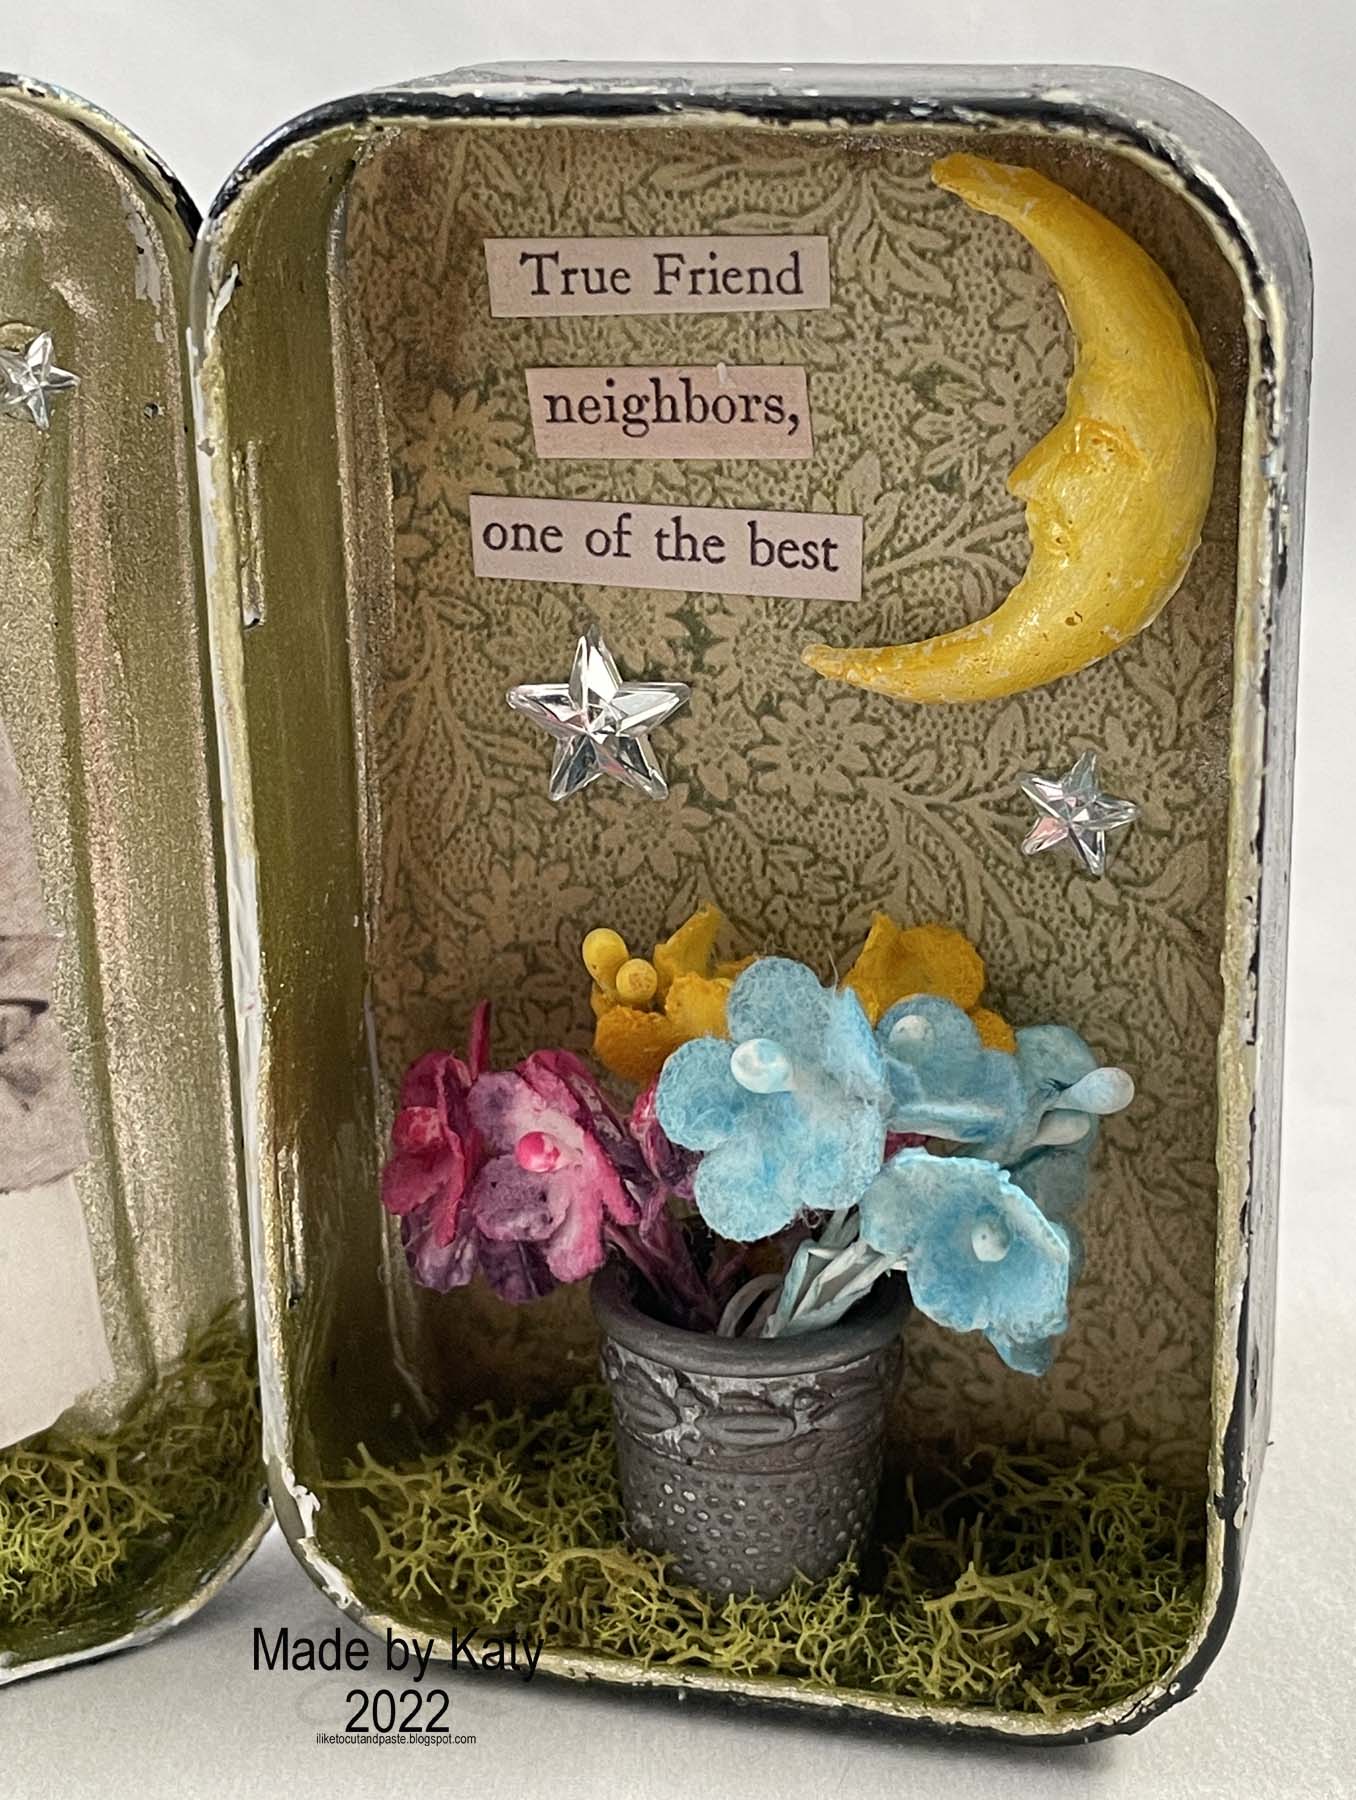
For the inside I used liquitex gesso and a piece of paper from Tim's backdrop volume 1 papers.
I added walnut stain with a small brush to get into the corners.
Then I painted the inside left and the frame part of the right this beautiful finnabair sparks paint-unicorn hair. so magical :)
I just have to share that I love these thimbles as pots for the flowers. I used them before and glazed them with Tim's embossing glaze but the few colors of glaze didn't match what I was going for here. So I got out the Finnabair wax rusty brown and here's the difference.
I sprayed my flowers-I think with tumbled glass and snowflurries mica for the blue, raspberry and hocus pocus mica for the pinkish, and flickering candle mica for the yellow. I did think that the flowers would stay nicely in this thimble pot. But they don't--LOL and I had to go back and glue them down with hot glue.
For the paper doll ladies I cut some craft foam and adhered it using glossy accents so they would have a little dimension. And I added craft moss-I used the q-tip to put the glossy accents on the bottom of the tin. Also, I glued the thimble in first so I had small spaces on both sides to put the glue so the q-tip was awesome. And then I used craft tweezers to add in the moss.
Here is the left inside. The stars are last years ideology christmas stars--I didn't know they had stars so small. It was a great surprise (and it was a brand new pack which means I guess I haven't needed any stars in like 11 months.)
The moon is made from paper clay I bought and a Finnabair mould. Those nice words are from the everyday clipping stickers and some more little stars.
My friends-here is the back. I took a piece of cardstock and added distress ink--crushed olive, scattered straw, oxide antique linen. Then I stamped the lines using a super old stampin up journaling stamp (2002 lol) and distress ink gathered twigs. Later I will tell my friend how great she is :)
Thank you for making it to the end. I appreciate your vising. :)