Showing posts with label Tattered Angels. Show all posts

Thursday, April 12, 2012

Tag of Words

Hello Everybody!

If you are here to see my project for For Fun Challenges click here.  Otherwise- scroll on down and check out the the card I made with a different tag!

This project was inspired by 2 challenges.  At Frilly and Funkie the needed ingredient of this weeks challenge is Words.  Over at Simon Says Stamp and Show the needed ingredient for their challenge is a technique from Tim Holtz (also known as Lord Tim) :)  Thus this card was born...


Here's the inside.  Scroll down, and I'll show you some highlights.

The sentiment is from the computer and then I distressed it.  For the distressing I used rusty hinge, walnut stain, tattered rose, shabby shutters, and weathered wood.


Here is a close up of the tag.  I embossed a piece of blue Coredinations paper with one of Tim's embossing folders.  I rubbed walnut stain Distress ink over it.


On the main tag I used the resist technique.  I stamped this with versamark, used clear embossing powder, and heat embossed it-which I love doing-so magical!  I made the actual tag from the George cartridge on the Cricut.


Here is the finished heat embossing.


Then I took the 5 different Distress inks and put them on my mat.  I don't have a spray with water so I tried to used Tattered Angels.  It wasn't quite what I had in mind, but there was a glitter effect which was cool.  You can see the heat embossing through the ink which is so cool!


I just got my copy of Paper Crafts magazine and on page 37 Emily Branch made lace flowers for her beautiful card.  And I bought these Glubers a couple of months ago...


And I have lace...

Woo Hoo!  I LOVE this flower!  The pearl is from Making Memories.  Love. This. Flower.


So I have these stamps from Just Rite stamps from many many moons ago.  And they self ink and still work and I still love them.


So I stamped different words on a piece of white cardstock and distressed it with the same color inks I used for the tag.  I cut out words and that's when I realized I had extra words.  I put them on the inside.  I didn't plan on making an Anniversary card, but I am so glad that that is what I made.  Our anniversary is in a couple of weeks--and I'm prepared!  Or at least for the card part :)


Here's my card again.  The metal washer says destination.  The first word together is under a fragment so I like to think of this as Destination: Together.  I used my gold leaf pen to outline the outside of the card.  Oh!  And I put the words on a piece of kraft paper that I also distressed.  To balance out the tag I put the metal spiral opposite of my favorite flower.

I hope ya'll like this card as much as I do!  It was lots of fun to make!  Until next time my friends...get out your words and Tim Techniques--something fun awaits!  :)

Tuesday, March 20, 2012

Circles and Glimmer Mist-A Fun Combination

Hello Everybody,

I realize that as I am typing that today is Tuesday.  With only like an hour left for being Tuesday and I totally spaced doing the Tuesday Tidbit.  My brother-in-law was in town for 6 days (hence no postings) and we took him back today and it didn't even occur to me!  Yikes!  Sorry about that.  Hopefully this will make up for it!

I am entering this card in 2 challenges.  The first one is For Fun Challenges: Circles.  The second one is for Simon Says Stamp and Show: make your own background.

Here's my card.  Scroll down and I'll show you what I did!


I got out my shadow box and circle punches and masks.  And I have Smooch Spray and Tattered Angels Glimmer Mist.  (Although not enough colors in my opinion!) LOL


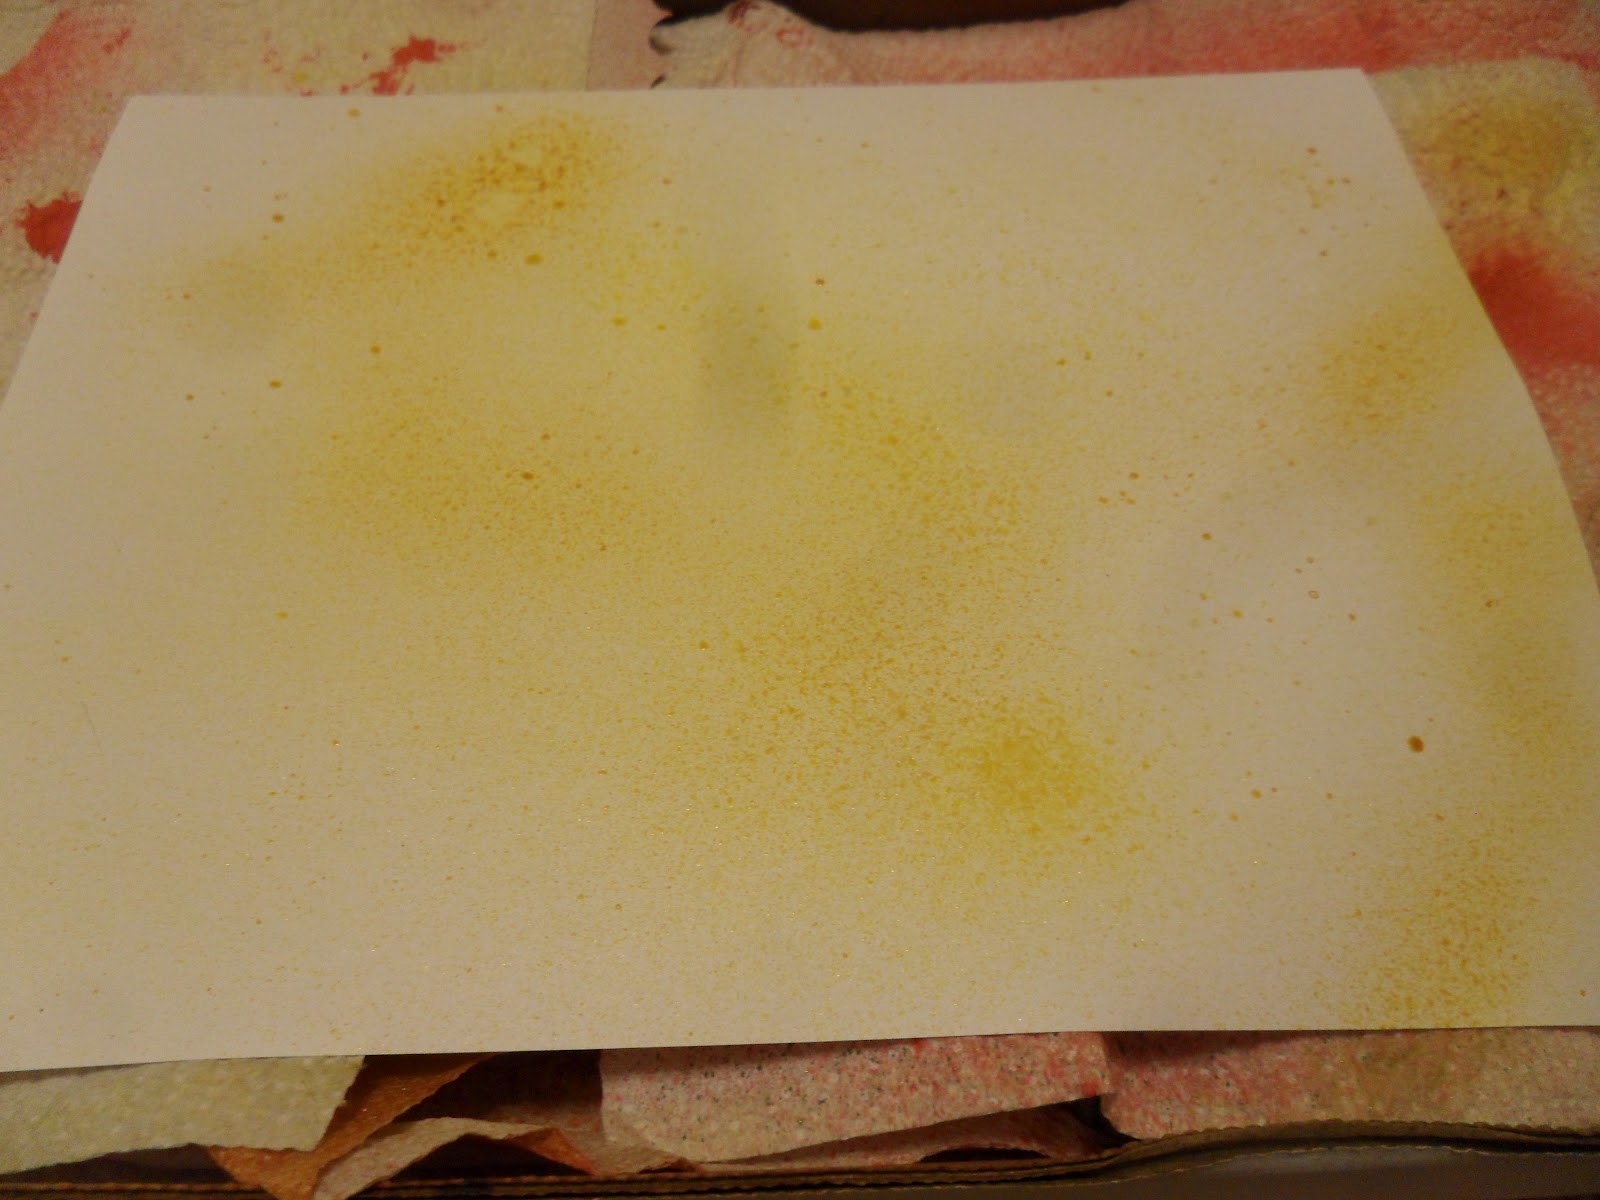
Start with the lightest colors and go dark.  It's easier to add then take away.  Here is a yellow Smooch and Jack o' Lantern from the Angels.  This is white cardstock from Recollections (Michaels house brand.)


So I took masked and spayed and masked and sprayed.  So fun!


Here is a piece that is a little more calm.  :)  I cut some circles using my Coluzzle and since they are sprayed they are now pretty die cuts.


This is the beginning of my card.  I took the sprayed circles and mounted them on a piece of black cardstorck.  Then I added the 2 circles near the right hand upper corner.


Here's a picture of the circle on the Xron machine.  I used the Xron for the circle paper as well.  This is so it will be flat.  I just liked the way this look.  Like a cool frame.  Maybe for later down the road!


Here's a side view of my card.  There is one little circle that has been pop dotted. :)  And the green circle in the fore front does come off of the card a little bit.  Salutations is a sticker from DCWV sentiment stickers from way back in the day.  I am using them but I love them!


Here is my card again.  Until next time my friends...time to play with spray!  :)

Monday, November 14, 2011

Tattered Angels Thanks Card

Hello Everybody!

Here's in my 2nd entry into these Challenges:

The challenges that I am entering this card in are:

So here is my card....Scroll down, and I'll show you how I made it!


First I select my black and white paper.  I think this is French, but I have not idea what it says.  I can't read French or really bad handwriting...(LOL!)


Next I stamp Thanks onto white cardstock.  Then I cut it trim off the extra.


I sprayed the Thanks with Tattered Angels Jack O' Lantern.  I did spritz it with one shot of yellow to bring out the orange better.  So the tag isn't just orange, but shimmery also.  Then once it dried, I inked the edges with a black ink pad.


I put the Thanks through my Xyron machine to make sure it would stay flat on my card.  


And here it is...

Until next time my friends...stay thankful :)

Friday, October 21, 2011

Tattered Angels Halloween Cards

Hello Everybody! and Happy Friday!

I'd like to extend a Welcome to our new Followers that joined this week!  Thank you!

I have to say I am pretty proud of myself---each blog entry has been about Halloween for the month of October!  I wasn't sure if I could do it--but as fast as the end of October is approaching--I was able to!  Yay!

For these cards I used Tattered Angels small scale Stencils that I bought at the Scrapbook Expo back in May.  It looks like you can still buy them...just Google!  They are called Glimmer Screens.

Also, I used the Tattered Angles Glimmer Mist.  (Love it!)

So for my first card I used repositionable glue and centered my pumpkin stencil on my card (the blank cards I get at Michael's.)


I have a box set up where I spray my projects.  I line it with paper towels so I can capture some of the off spray for another project.  You could easily put paper also.

So I first spray with a yellow Tattered Angels (it's best to go from lightest color to darkest).


Then I "rub" off the excess using a paper towel.  You can also blot, so it depends what look you are going for.

By accident I picked up the yellow again.  So I will rub off the excess again.  I learned that is sort of intensified the color.  Yay!


Here I added the orange mist and rubbed off the extra.


Now the card is wet-even after removing the excess.  I allow it to dry for a few minutes (depends on how saturated the paper is).  Then I remove my pumpkin.  Do you see how it is curling at the bottom?  I put it under a heavy book so it will flatten out.  And my card is all done!  Just put a sentiment on the inside!


 Here is another card I did using the spider web stencil.


What else did I learn from my first card?  A little mist got on the inside.  It's not a terrible thing, but to prevent that from happening again, I put a piece of paper in between the front and back of my card.  The paper will turn out pretty from the sprayings!


This time I used yellow, orange, red, and a blue color.  The blue I did lightly.  It's cool to see the different colors layer.  You can see where I rubbed the extra.


The web is a bit challenging to rub.


So I blot.

Here is the finished card without the spider web.  And this is a nice picture showing the different colors.


Until next time my friends, keep misting!