Showing posts with label City Crafter Blog. Show all posts

Thursday, September 28, 2017

Birthday Bird

Hello Everybody!

I have another late birthday card today.  I hope to get it sent out today-but no promises!

City Crafter Challenge #381 is about using Colorful Birds on your project.  So I got out my Crazy Birds from Tim Holtz.


The background is Tim Holtz Distress Paint.  I used a distressed diamond stencil on the right side and used picked raspberry paint with the stencil.  I love how it just pops.  I used two Tim stamps in the background using wilted violet oxide distress ink and iced spruce oxide.  

I put a square of vellum to help the bird not get lost in the busy background.  I colored the bird, hat, and balloon with distress markers.  Lastly, I added a piece of twine to the popped up balloon for a string.

The sentiment is Tim's, also,  And then I added a little gold bling.

Thank you for stopping by!  Until next time my friends...keep flying! :)

Saturday, September 29, 2012

Happy Witch Card

Hello Everybody!

I wanted to share this card with you.  It has lots of glittery goodness.  Also, I was crazy and made my own chevrons out of red-line tape!

I am linking this card to the following challenges:

Simon Says Stamp and Show: For the Love of Sparkle

City Crafter Challenge Blog: Week 128 An Early Boo

The sweet witch is from Sparkle N Sprinkle's new digital line from Michelle Perkett.  You can find this Candy Corn Witch here.


Here is the inside.  I used the sentiment that came with the with and used distress stain to color the paper.  I printed the image a 2nd time to get the broom.


Here's how I made the chevrons.  I cut out 1 inch pieces from 1 inch wide red-line tape.


Creating Keepsakes magazine had featured making your own chevrons out of paper.  I thought how cool would it be to do it out of sticky tape and pour glitter on them?!?! Not that cool really LOL!


The tape is quite sticky.  Here is one row of tape glittered.  Now I start the 2nd row.


I mounted it on black cardstock.  It seemed to get lost on the paper I had chosen.


I should have stopped glittering there.  But no, I had to do her dress too.  My chevrons ended up not perfect-to me I would describe them as whimsical.  But it fun to try something new!


Other Supplies:
My Mind's Eye paper
Copic Markers
Martha Stewart and Sparkle N Sprinkle glitter
Ranger Stickles
Gold Embossing Powder (broom)
Pop Dots

Thank you for stopping by!  Until next time my friends...make it shine! :)

Tuesday, September 25, 2012

Tidbit Tuesday-Boo for You! :)

Hello Everybody!

Happy Tuesday!  I just finished a card for 2 challenges:

The sketch card challenge at Let's Scrap:


Here's my card:


Supplies: paper-My Mind's Eye, Cat's Eye for the black ink around the edges, DCWV letters, ghost stickers-Stickabilities

Today's tidbit is that if you have a sticker that is sort of sheer (like my ghosts), put the sticker on a white piece of paper and fussy cut it out.  That way your sticker looks like it does on the sticker sheet.  :)

Thanks for stopping by!  Until next time my friends...have a bootiful day! :)

Monday, January 16, 2012

Tuesday Tidbit-Cowboys!

Hello Everybody!

Well I have news to share with you in case you didn't know!  I have a Slice cutting machine.  I was at Michael's today and the cartridges for the Slice were $4.99--no lie!  I bought 5.  :)  But Making Memories isn't making that machine anymore--and that Making Memories is going out of business.  If it isn't true-please let me know!  In the meantime I will be stocking up on blades!

So I made a Valentine's Day card with one of my new Slice cartridges---Happy Trails.  It's a Western cartridge.  Now I am not at all a cowgirl, although I did learn a few country line dances back in the mid-90's when country was all the rage-but that doesn't make me a cowgirl by any stretch!  But this cartridge is so fun! 

So much fun that when I was done making my card, I realized that it fit into 2 challenges!

City Crafter Challenge Blog--#91 Back to Black-using silouttes--my cowboy

Moxie Fab--Die Cutting Challenge in the Moxie Fab World--my cowboy and howdy

There's still time to play Moxie Fab so come on!  City Crafter ends in a little over an hour--so if you're quick you can still make it! ;)

Here's my card....Scroll on down, and I'll show you what I did!


I'll be honest--I love this card!  I was just going to post it been I love it so much that I had to share it with a few challenges :)  So here's my cool silouette cowboy from my new Slice collection.  It's 1 of 5 so be prepared to see more!


My square is 3X2.2.  I used this color box around the edges.  It's a subtle difference.


I used embroidery floss here.  It's the kind that goes from dark pink to light pink.  Then I took a different piece and made a bow at the center.


These are Making Memories letters that I put on a piece of white cardstock.  But then I used a pink dew drop to turn it pink.  The white was to bright so the pink helped to soften it.


This litte heart puncher made all of those cute hearts!


And here we are again!  A fun Valentine's Day card.  The Tidbit for today is that you can find Valentine's in unsuspecting places!  Until next time my friends...Yee Haw!

Friday, December 30, 2011

Cute Digi Coffee Mug

Hello Everybody!

Here is the 2nd post of the night and my 2nd card.  This is really cool.  At Market Street Stamps they are hosting a challenge with CAS-ual Fridays.  There is still time.  Head over there-check 'em out and get their free digi stamp.

I am entering this card in the following challenges:  Market Street Stamps-Kraft, Baker's Twine, and Market Street Stamps


CAS-ual Fridays CFC#33


City Crafter Challenge Blog: Make the Cut CCCB #89

So here is my card: Kraft, Twine, the free awesome digi stamp-the coffee cup which I cut out of white cardstock.  Scroll down,  and I'll show you what I did!


I didn't take as many pictures and I thought I did.  I just jumped right in!  Well I printed out the coffee cup and colored the heart, rim, and handle pink.  I used pop dots to adhere it to my Kraft card.  Then I have these letter from EK Success.  I put them on white card stock and cut them out as one word.

Then I used my mini staple gun from Tim Holtz to put the Baker's twine on as a frame.  This is Martha Stewart's baking twine.  On my 3rd go around with the twine I had to not staple it until I got back to the beginning because I wanted the same number of staples in each corner.  Then I went back and stapled the other corners.


Here's a close up of my sentiment.


Here's my card...

Until next time my friends...go get that cup of coffee!


The Cable's Out!

Hello Everybody!

LOL Thankfully the real cable isn't out!  You'll see why I called this post that in a second.  First I want to thank  everybody who stops by!  My blog has reached a milestone of 2,000 views!  I am totally excited about that!  Thank you so much!  As the New Year is just about here, I am excited for the new projects I will make and share with everybody!

So this card was inspired by Moxie Fab's Tuesday Trigger: Stripe-tastic.  There's still time to play--Go check it out!


Also I am entering this card into the City Crafter Challenge Blog: Make the Cut CCCB#89 and Simon Says Stamp Challenge Anything Goes!  Go check out these awesome blogs as well!  There's still time to play!


So here is my card!  I got new Paper Smooches stamps for Christmas (from my wish list at Simon Says Stamp!  Thanks sis!)  And I have been really wanting to use them--I got the boob tubes set.  And I looked at the stripes.  And then I had to completely go through my die cut drawer (that is a story for another blog entry!)  And I saw the zig zags...and thus this card came together...Scroll on down and I'll show you what I did!


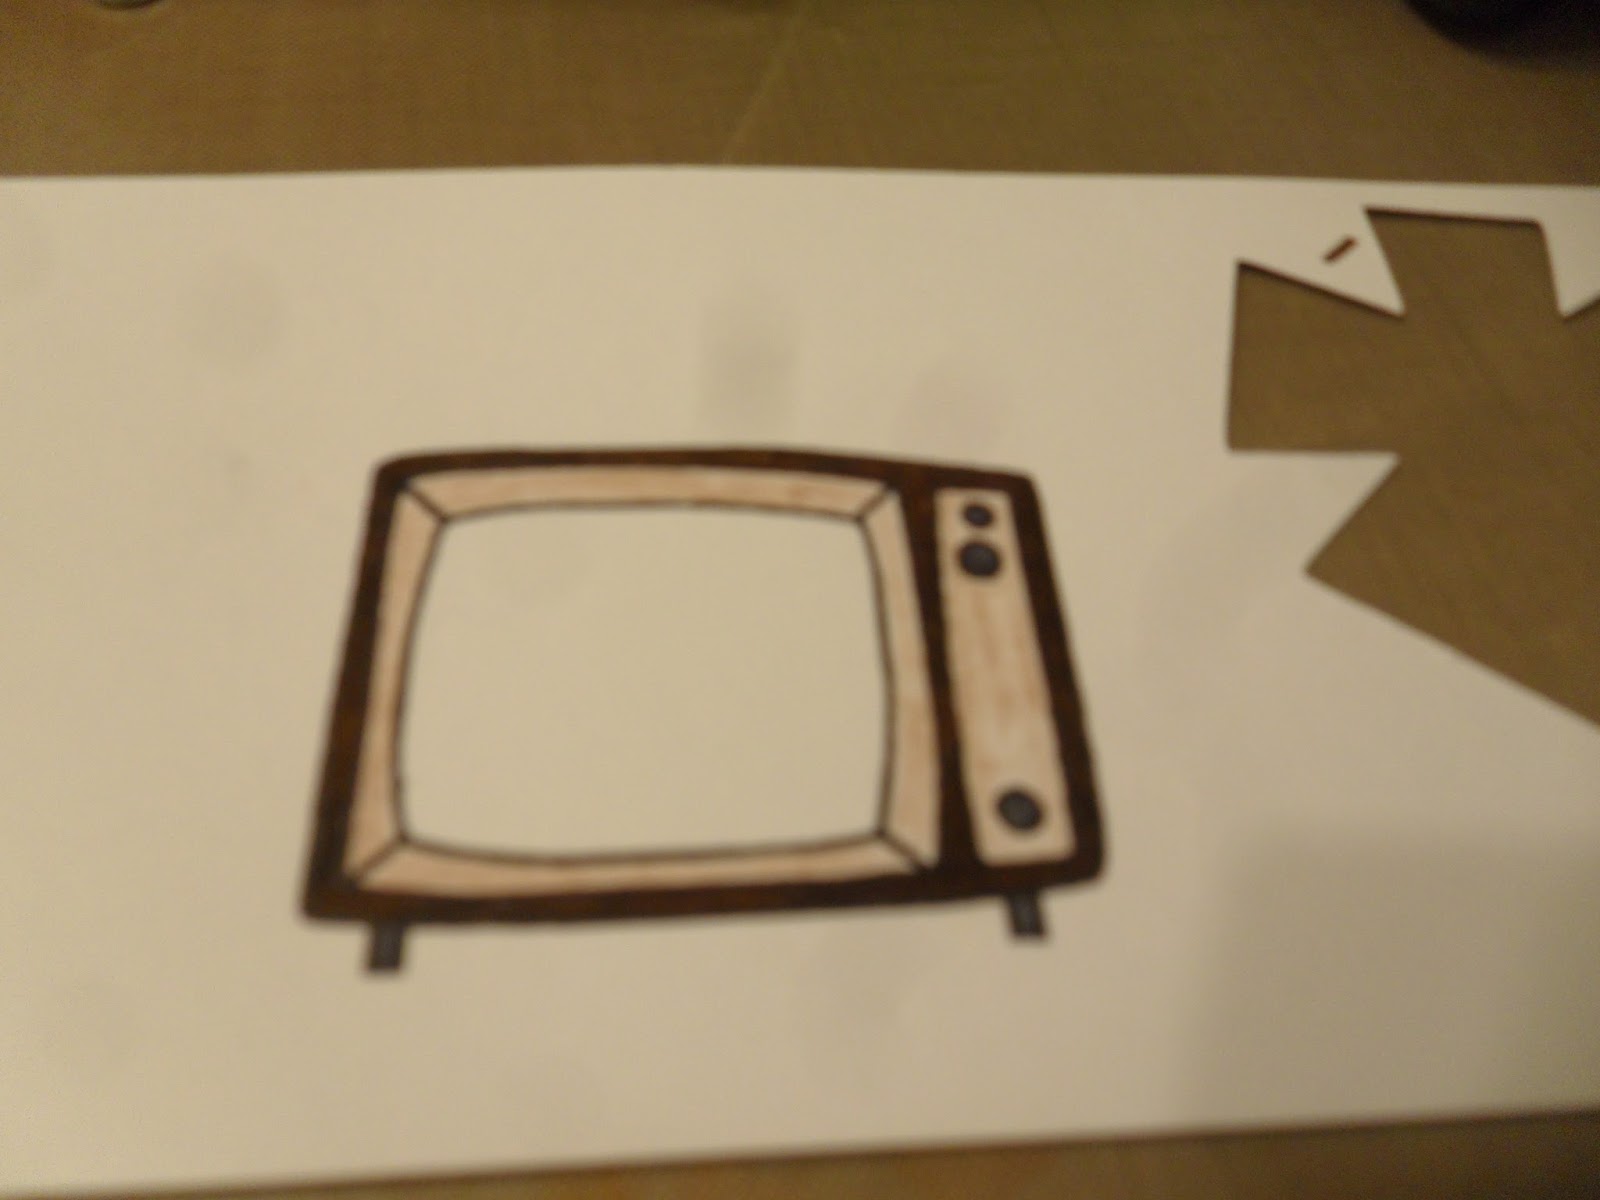
I stamped my square TV onto a scrap piece of white card stock.  You can see where I made a flower with it at some point.  I used Crayola markers and colored pencils to color it in.  I don't have a brown Copic marker :(  But no worries, I think it came out nice.  Then I cut it out.


Ok, let me tell you about these zig zags.  If you have been scrapping for a long time (say at least 10 years or so ago) you may have even seen these.  They came in a pack and each color sheet had zig zags, squares, squiggly lines, and other shapes.  I am not sure where all mine have gone, hopefully in scrapbooks of yonder year but here are some that remain.  I think Fiskars made them, but don't quote me...that packaging is long gone... So I cut these down to size and these are on my tv.  Like what sorta happens if your cable goes out ;)


Since I'm not using an 80 inch TV (haha!) I used tape to help keep the zig zags together so I could put them and the tv together.


I cut out the center of the tv to make a black center to build the zig zags on.  I know some of the background of the tv would show through, and I thought black just looked better.


So here is my TV.  I used pop dots and put it on a yellowish piece of scrap paper (I think it's from Making Memories).  Then I put it on a piece of Kraft paper.  The background is 7 Gypsies.  The sentiment I made up and hand wrote--I'm off without you!.  I used decorative scissors that were kind of wavy to bring that whole TV waves through the rest of the card.  I also inked the edges of the both pieces of Kraft paper.


Here's the inside.

Here's my finished card.  Until next time my friends....where's the remote control?  ;)

Sunday, December 4, 2011

Santa Claus Christmas Card

Hello Everybody!

I hope you all are having a great weekend!  We have put up our tree and decorated so I am feeling really productive!  And Festive!

And being Festive I created this Santa Claus card for 2 Challenges:

1. City Crafter Challenge Blog Week #85: Santa is Coming...

2. Wee Memories WMC77: Free for All

Both are awesome blogs so please stop by!  For the City Crafter Challenge, we needed to use a Santa Claus which is what inspired this card...To see how I put it together, please scroll down!  :)


I used Core'dinations cardstock for the background.  You can see the different colors in the paper.  It's cool because when you emboss it, a different color comes through.


I dug out my old school Fiskars embossing plate.  It is the only embossing thing I have with snowflakes.  But I don't emboss my hand.  I use my CuttleBug and tape the paper to the embossing plate.  Then I stack up the inserts for the Cuttlebug...however Sizzix had a rubber mat that came with a beginning embossing set so I use that and then the B plate (all on top of an A plate) to emboss.  I am sure that is very confusing so if you have any questions, please let me know.  Anyways it works somehow....


And this is what I got after I used a sandpaper block and rubbed some of the raised snowflakes.


My Santa is a sticker from Me and My Big Ideas.  I mounted it on white cardstock and cut around it.  If I had put it directly on my embossed paper, the image wouldn't have turned out so bright.


Here's Santa...

So before I adhered the blue cardstock to the card, I wrapped Martha Stewart twine-red and green-around and made a bow.  I put Santa on and a Merry Christmas that I think my mom-and-law gave me (a pack of like sequin-ish Christmas things like that), and snowflake buttons.


Here's the inside with a great Ho Ho Ho! sentiment.  Until next time my friends....stay festive!

Monday, November 14, 2011

Tattered Angels Thanks Card

Hello Everybody!

Here's in my 2nd entry into these Challenges:

The challenges that I am entering this card in are:

So here is my card....Scroll down, and I'll show you how I made it!


First I select my black and white paper.  I think this is French, but I have not idea what it says.  I can't read French or really bad handwriting...(LOL!)


Next I stamp Thanks onto white cardstock.  Then I cut it trim off the extra.


I sprayed the Thanks with Tattered Angels Jack O' Lantern.  I did spritz it with one shot of yellow to bring out the orange better.  So the tag isn't just orange, but shimmery also.  Then once it dried, I inked the edges with a black ink pad.


I put the Thanks through my Xyron machine to make sure it would stay flat on my card.  


And here it is...

Until next time my friends...stay thankful :)