Showing posts with label Simon Says Stamp. Show all posts

Sunday, September 23, 2012

Mummy Halloween Card

Hello Everybody!

Hope y'all had a good weekend.  I did. :)  I helped move a friend into her apartment-but no heavy lifting-just emptying boxes and putting stuff away.

This evening a made a card for the following challenges:

Freshly Made Sketches-using this sketch:


Simon Says Stamp Challenge Blog: Embossing-heat and/or dry-the mummy is heat embossed, background is dry embossed.

Here's my card.  I wanted to make a birthday card for my sister, but my creativity was screaming Halloween!  Ok maybe not screaming but talking very loudly! ;)


Here's a closeup of the mummy that is embossed with White Embossing powder (Snow by Recollections).  The mummy is from the Michael's $1 bin-Score!  And the pattern paper is from My Mind's Eye.  The black cardstock is embossed with a Tim Holtz texture fade.


Thanks for stopping by!  Until next time my friends-have a great week! :)


Monday, September 3, 2012

A Distress Stained Halloween Card

Hello Everybody!

Hope all is well!  Happy Labor Day to those who don't actually have to labor on it! ;)

Tonight I made card for Halloween.  I am entering it into the following challenges:

retro sketches #27


Here's my card!  I made the colored papers with white card stock and Distress Stains: spiced marmalade, stormy sky, and bundled sage.  The background paper has all three and then each layer after is each color by itself.

The pumpkin is the resist.  I used clear embossing powder on the Martha Stewart Stamp.  After I heated it, I swiped it through the Spiced Marmalade Distress Stain.  I used a Martha Stewart spider web punch for the bottom of the black layer.  I used Maya Arts twine.

The wings are the 2 bats (I didn't think I had the wings....and then I found these little bats from Cloud 9).  Yay!! :)  The sentiment is a plastic embellishment from Recollections at Michael's.

Thank you for stopping by!  Until next time my friends...no tricks--only treats :)


Tuesday, May 29, 2012

Father's Day Card

Hello Everybody!

Simon Says Stamp and Challenge is having a DT call-so if you are interested go check it out!  You can go here for the information.

Simon Says Stamp and Challenge's current challenge is Father's Day/Special Male.  This is a great challenge because Dad's Day is quickly approaching and I don't know about you--but I have a few cards to make and a few gifts to buy!

Here is my card:


All of the papers are from DCWV The Guy Stack.  Even the sentiment is from that Stack.  The screws are brads from Michaels.  There are beige rub-ons under the sentiment, and they are from Prima (circles and stars).  And that awesome moustache is from Mambi.

Until next time my friends...don't forget about Dad!

Tuesday, April 3, 2012

Easter Card

Hello Everybody!

I'm working on Easter cards tonight.  I don't know if I will finish but I wanted to show you one of them.  I am going to submit them to 2 challenges:

Sparkle N Sprinkle Sketch for April:


And the Anything Challenge over at Simon Says Stamp.

Here's my card:


I used Sparkle N Sprinkle Easter stamps, Bazzill Cardstock, the pattern paper is from my scrap pile.  I used Copic Markers to color the images.  I used yellow and purple Stickles for the glitter.

Until next time my friends...have a good night! :)

Sunday, March 4, 2012

Home is Where the Heart Is!

Hello Everybody!

I love the project I created this evening.  And I love that I get to share it with you guys!

I am submitting it to the following challenges:

Simon Says Stamp and Show: use Tim Holtz's Ideaology line--Paper, Key, Metal Flower, Bird, Letters and the key, crown, and star at top, Stickles, and Distress Inks.  I just realized that I used the same saying as the first DT's project!  Now that is some real inspiration!  :)

Moxie Fab:  Tuesday Trigger--Here is the inspirational photo...I had houses on my mind so that helped to direct this project.  Ideaology inspired which products to use!  :)


Simon Say Stamp: Anything Goes


Unique Crafters Challenge: Anything Goes.  This is a new challenge so go check it out!

So here is my project which is a wall hanging....


Here it is in better lighting.  The background paper is from Tim Holtz's Retro Grunge paper set.  This is the 2nd time I've used them.  I made a card with them for the Blog Hop and liked working with it.  Before I would just thumb through the paper stack.


I started off with a flap to an empty box of diapers.


I got out some of my Ideaology stuff...


I think the letters looked so pretty together after I ran them through the Xron machine.  I will be doing this again!


So here is the wall hanging.  Scroll on down and I will show close ups.


I used a few Tim Holtz stamps on the paper.  The key, crown, and star are from the grungeboard letter set.
I put Stickles on top of them after I distressed them.


The bird is from the birdcage die cut from Sizzix/Hotlz.  I used a pop dot for the wing.


This heart is grungeboard that I used an embossing folder on then used the Cuttlebug Heart die to cut out.  I distressed it with worn lipstick and then vintage photo....but it still wasn't right.  I sprayed some red Smooch on it and that was the ticket!  I outlined it with my gold leaf pen.  Then once I got the letters on, I used Glossy Accents to make it shiny.


The house is from Prima and I used a little distress ink on it so it wouldn't be this bright white thing.  Now it's less bright ;)  And there is a little Jenni Bowlin rub-on in the bottom corner.


The key says heart.  I used butcher's twine and rubbed it in some distress ink to change the color of it.


Here it is hanging on the wall.  Thanks for checking it out.  Until next time my friends...have a good night!

Saturday, January 14, 2012

XOXOs Valentine's Day Card

Hello Everybody!

It's a month away!  Valentine's Day!  So I don't know about you but I have got to get my rear in gear and get some cards made!  So the next few challenges help to get me started :)

Moxie Fab:  Die Cutting Challenge in the Moxie Fab World
I used my Cuttlebug for this card.

Freshly Made Sketches #17 
This sketch help form my card :)

Simon Says Stamp: Spots and/or Stripes
My square is embossed with polka dots and there are 2 strips :)


So here's my card...Scroll on down and I'll show you what I did!


I think this paper is Die Cuts with a View.  It came from one of those big paper packs...but from a long time ago.  It has since been dismantled and the name isn't on the back :(

So I put the patterned paper on for the stripes according to the sketch.


My square measured around 3x3 inches.  I used my polka dot folder to emboss it.


Here is my heart die cut for use with my Cuttlebug machine.  I made 4 hearts and made the flower with this on my card.

I'm sorry that the shadow is bad!  This is the inside of my card.  I had stamped it on the inside but the stamp wasn't even.  So I restamped it and used my 2 inch Marvy punch to punch it out.  The stamp is from KI Memories.  I used a little red ink on the edges and then put the square through my Xron machine so the whole square would stick to the card.  I meant to do ;)


I used a 1 inch circle punch for the center of the flower.  Yay! 1 Valentine's Card down...and 15 more to go :)  Until next time my friends...have a good evening!

Sunday, January 8, 2012

It's a Boy Card

Hello Everybody!

Tonight I have a card for 2 challenges.

The first is for Freshly Made.  That is where the sketch came from for this card.


The second challenge is Simon Says Stamp!  Their challenge is for a new baby, house, etc.  So that is where my card's theme was inspired.


Here's my card.  Scroll on down, and I'll show you what I did.


The paper for the base of the card is from DCWV.  Then the yellow paper is a yellow card stock scrap I had.


These were the letters that I used.  The "it's a" came from some $1 stamps I bought a Target a while back.


I made some circles and put the foamie letters on them.  Adhered them to the strip, and a card is born ;)  Until next time my friends...sometimes it's good to make a simple card :)

Friday, December 30, 2011

Cute Digi Coffee Mug

Hello Everybody!

Here is the 2nd post of the night and my 2nd card.  This is really cool.  At Market Street Stamps they are hosting a challenge with CAS-ual Fridays.  There is still time.  Head over there-check 'em out and get their free digi stamp.

I am entering this card in the following challenges:  Market Street Stamps-Kraft, Baker's Twine, and Market Street Stamps


CAS-ual Fridays CFC#33


City Crafter Challenge Blog: Make the Cut CCCB #89

So here is my card: Kraft, Twine, the free awesome digi stamp-the coffee cup which I cut out of white cardstock.  Scroll down,  and I'll show you what I did!


I didn't take as many pictures and I thought I did.  I just jumped right in!  Well I printed out the coffee cup and colored the heart, rim, and handle pink.  I used pop dots to adhere it to my Kraft card.  Then I have these letter from EK Success.  I put them on white card stock and cut them out as one word.

Then I used my mini staple gun from Tim Holtz to put the Baker's twine on as a frame.  This is Martha Stewart's baking twine.  On my 3rd go around with the twine I had to not staple it until I got back to the beginning because I wanted the same number of staples in each corner.  Then I went back and stapled the other corners.


Here's a close up of my sentiment.


Here's my card...

Until next time my friends...go get that cup of coffee!


The Cable's Out!

Hello Everybody!

LOL Thankfully the real cable isn't out!  You'll see why I called this post that in a second.  First I want to thank  everybody who stops by!  My blog has reached a milestone of 2,000 views!  I am totally excited about that!  Thank you so much!  As the New Year is just about here, I am excited for the new projects I will make and share with everybody!

So this card was inspired by Moxie Fab's Tuesday Trigger: Stripe-tastic.  There's still time to play--Go check it out!


Also I am entering this card into the City Crafter Challenge Blog: Make the Cut CCCB#89 and Simon Says Stamp Challenge Anything Goes!  Go check out these awesome blogs as well!  There's still time to play!


So here is my card!  I got new Paper Smooches stamps for Christmas (from my wish list at Simon Says Stamp!  Thanks sis!)  And I have been really wanting to use them--I got the boob tubes set.  And I looked at the stripes.  And then I had to completely go through my die cut drawer (that is a story for another blog entry!)  And I saw the zig zags...and thus this card came together...Scroll on down and I'll show you what I did!


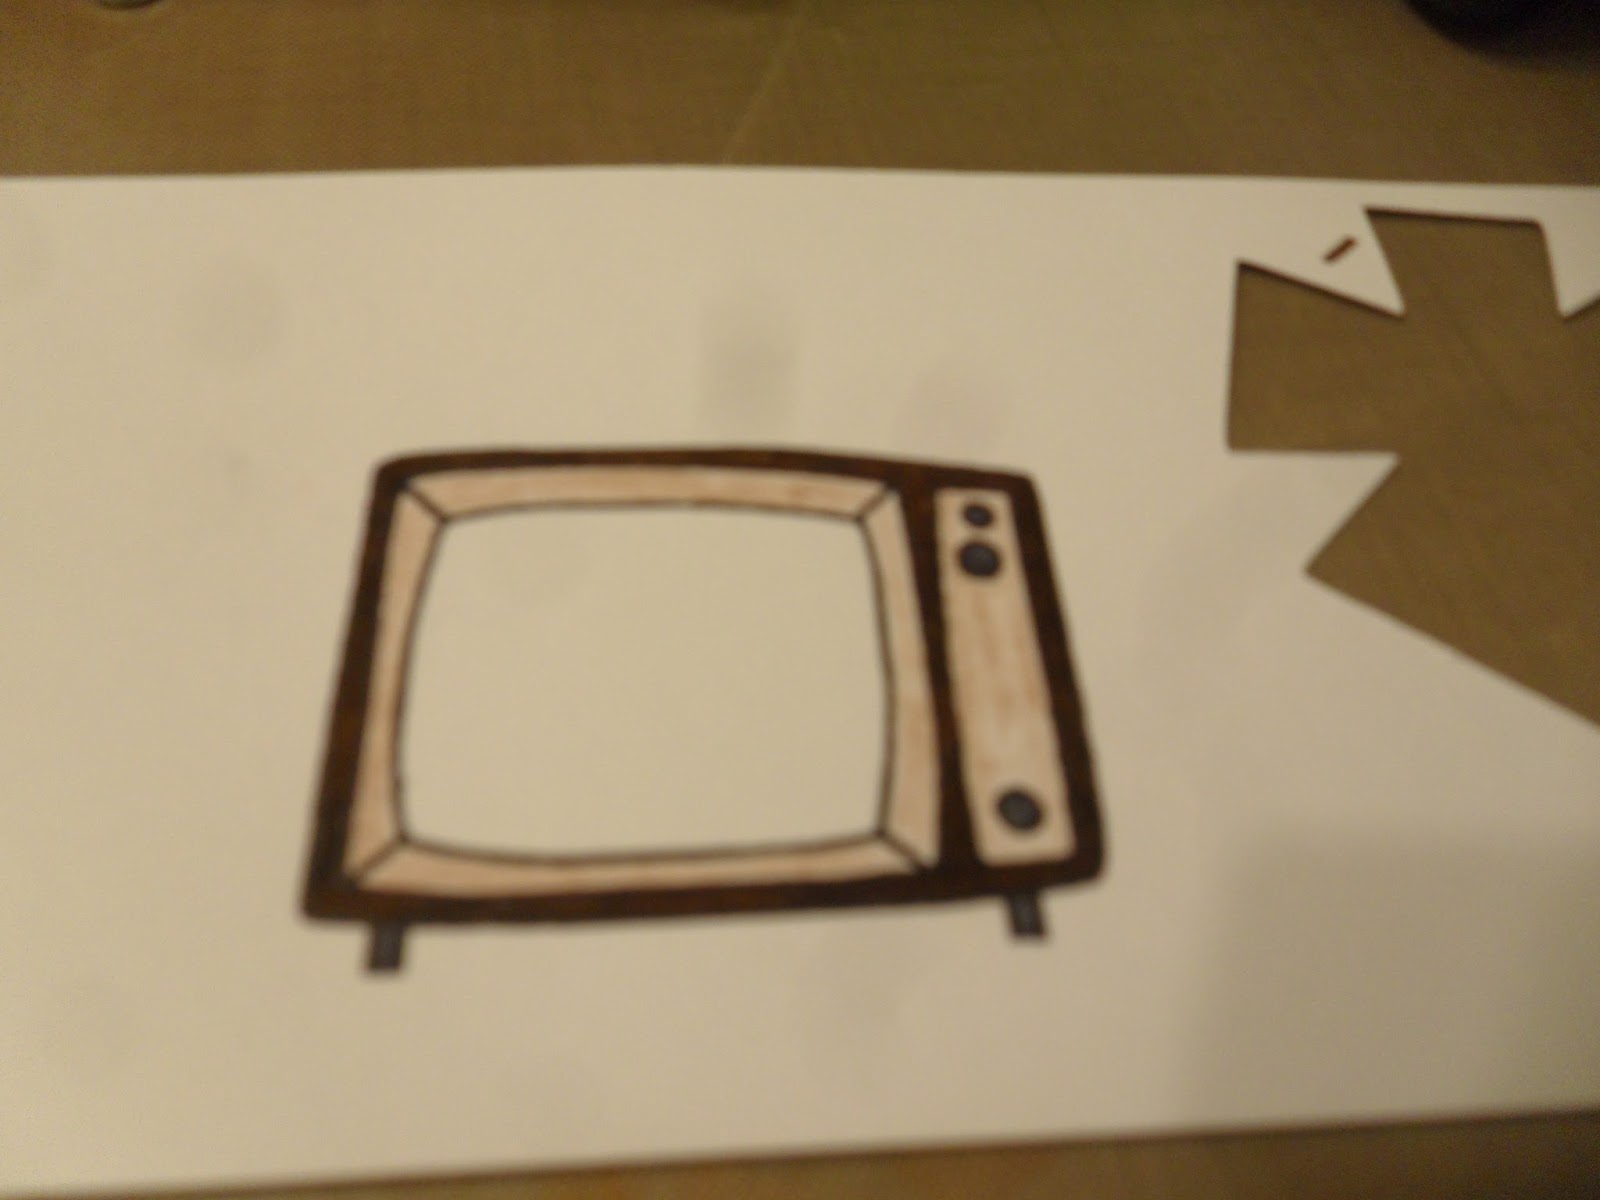
I stamped my square TV onto a scrap piece of white card stock.  You can see where I made a flower with it at some point.  I used Crayola markers and colored pencils to color it in.  I don't have a brown Copic marker :(  But no worries, I think it came out nice.  Then I cut it out.


Ok, let me tell you about these zig zags.  If you have been scrapping for a long time (say at least 10 years or so ago) you may have even seen these.  They came in a pack and each color sheet had zig zags, squares, squiggly lines, and other shapes.  I am not sure where all mine have gone, hopefully in scrapbooks of yonder year but here are some that remain.  I think Fiskars made them, but don't quote me...that packaging is long gone... So I cut these down to size and these are on my tv.  Like what sorta happens if your cable goes out ;)


Since I'm not using an 80 inch TV (haha!) I used tape to help keep the zig zags together so I could put them and the tv together.


I cut out the center of the tv to make a black center to build the zig zags on.  I know some of the background of the tv would show through, and I thought black just looked better.


So here is my TV.  I used pop dots and put it on a yellowish piece of scrap paper (I think it's from Making Memories).  Then I put it on a piece of Kraft paper.  The background is 7 Gypsies.  The sentiment I made up and hand wrote--I'm off without you!.  I used decorative scissors that were kind of wavy to bring that whole TV waves through the rest of the card.  I also inked the edges of the both pieces of Kraft paper.


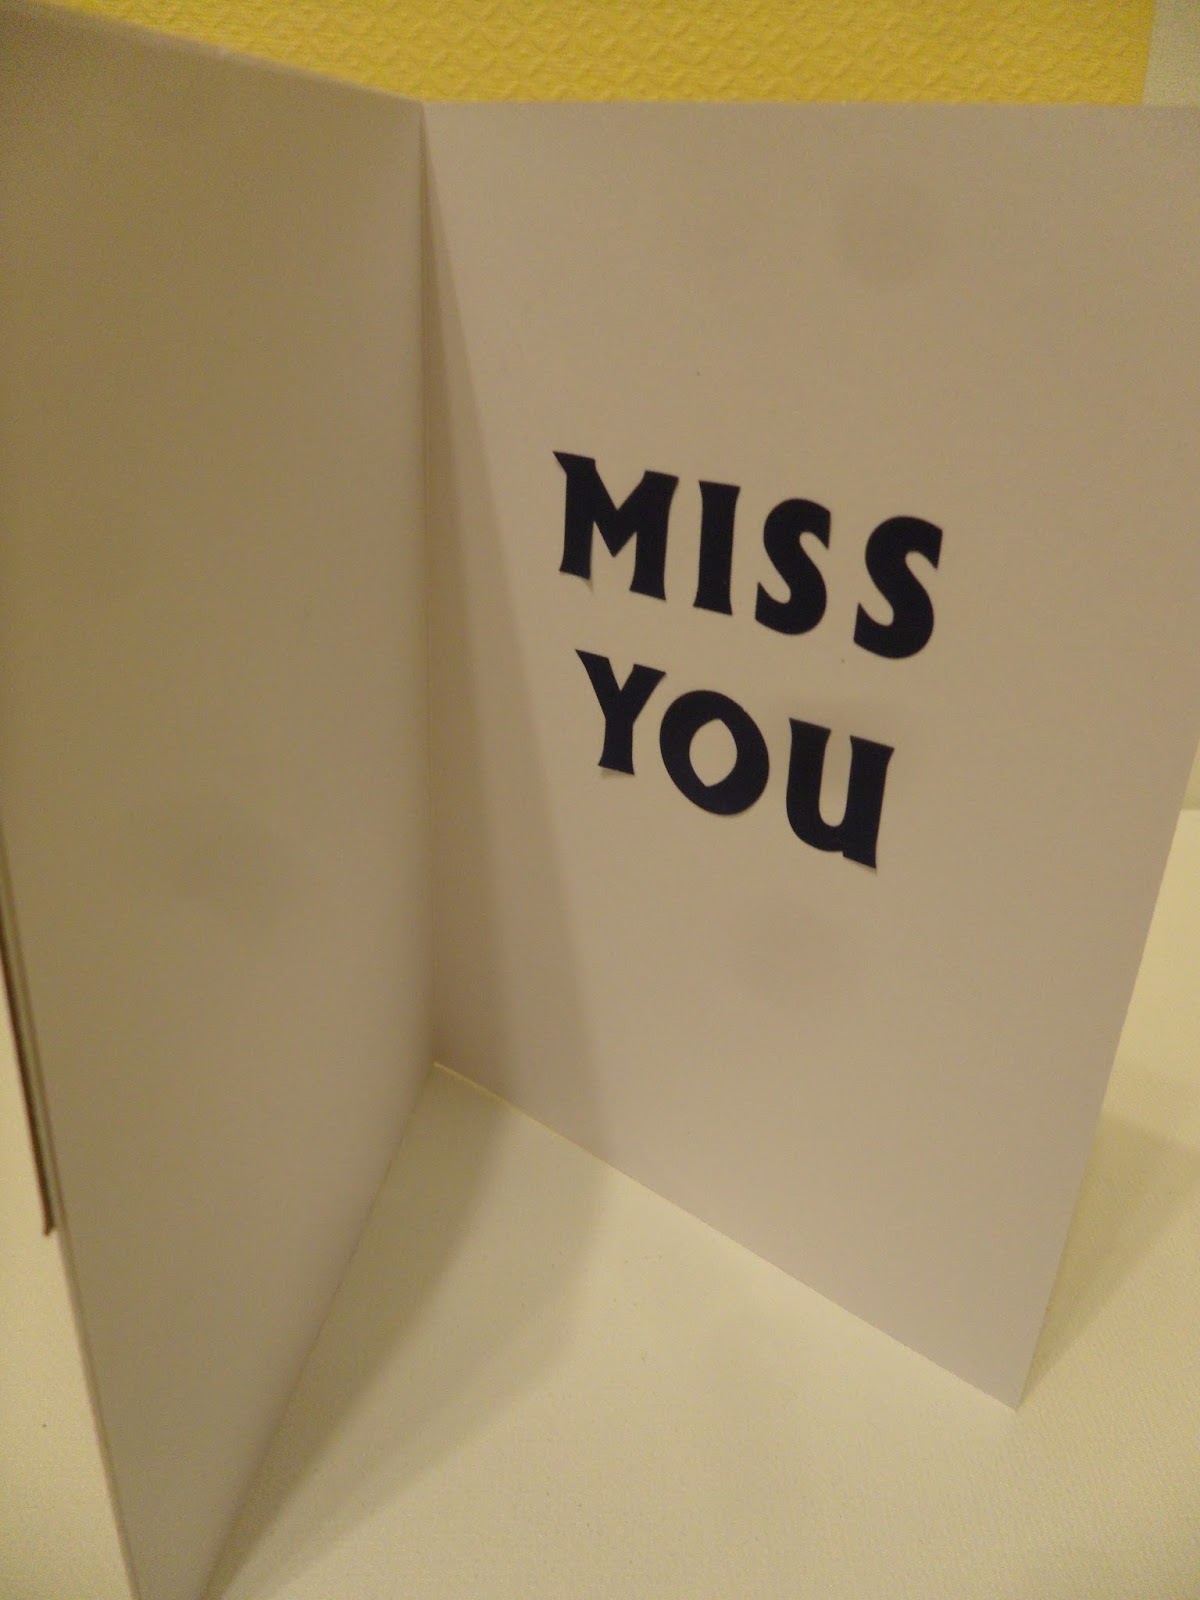
Here's the inside.

Here's my finished card.  Until next time my friends....where's the remote control?  ;)