Showing posts with label CAS-ual Fridays. Show all posts

Tuesday, September 27, 2016

Candle Shaker Card

Hello Everybody!

So for this card I was inspired by the Shaker Challenge happening now at CAS-ual Fridays.  I have been wanting to make one and I bought a whole bunch of stuff to make one from the Scrapbook Expo a few months ago.  And now-finally some inspiration.  :)

It's also my sister's birthday.  (ok a little past but who's really keeping count?  ok maybe she is!) ;)  And I just found out that her favorite color is red.  So between the challenge of shaker cards and the favorite color red, this is what happened:


So fun, right?!  So I used the silhouette for the flame (from a different candle cut) and made the frame for the shaker part of the candle.  Now the foam is from Queen and Company.  Just the foam.  I didn't buy the die cuts.  I figured it out on the silhouette.  It took about 4 tries, but I finally got it.  I had to get into those 8th measurements (blarg) but I did it.  LOL!  And the cute sequins on the inside--Also Queen and Company.

At the Expo I had to decide-cute sequins or die cuts....totally the cute sequins!  Their pearls and a few of Q&CO diamonds are in there too.  The sentiment is an old fabric sticker.  The background paper is from TPC studio.

I glued a couple of the sequins on the background to make it seem a little fuller.

I am linking this up to the following challenges:


Thank you for stopping by today!  Until next time my friends...Make a wish!

Wednesday, December 5, 2012

Christmas Tags

Hello Everybody!

I learned last year that I love making Christmas tags!  They are super fun and can be as easy or intricate as you want them to be.  They end up being little pieces of art under the tree! :)

So here are my tags:


I am participating in the following challenges:

CAS-ual Fridays-Clean and Simple Gift Tags CFC80

Shopping Our Stash-Winter Holiday

The stamps are from Craft Smart which are in the $1.50 bins at Michaels.  On the reindeer and snowman I used Washi tape from Recollections.  For the Santa tag I used KI ribbon that had adhesive already on the back.  I trimmed the excess and added the silver ribbon.  Now they are ready to go!

Thank you for stopping by!  Until next time my friends...A little washi tape goes a long way! :)

Sunday, November 18, 2012

Wishful

Hello Everybody!

Today I am sharing a Christmas card I made for the following challenges.  Each challenge inspired an element on this card.

Simon Says Stamp and Show: Stamping Without Ink-I used silver embossing powder on the snowflake stamp


Unscripted Sketches: Sketch 185


CAS-ual Fridays-Winter project featuring blue-CFC79


Here's my card.  I just bought some Martha Stewart snowflake stamps.  This is one of them (yay! I am already using them!)  I embossed it with silver embossing powder.  The white square behind it is where I took the Versamark pad and made the square and then used white embossing powder behind it.  Wishful is from the Tim Holtz word stickers.


Here's a closeup.

Thank you for stopping by!  Until next time my friends...It's beginning to look a lot like Christmas! :)

Monday, January 23, 2012

Many Thanks-Thank you card

Hello Everybody!

I am trying to make as many Thank You as I can because I always like to send them out.  I am a little behind--I like to thank my friends and family for Christmas gifts and I have like 8 more to go.  You would think I would have a stash by now--but then my pickiness sets in.  I'm like--I don't like that one, and so and so wouldn't like that one.  It's ridiculous but it's true!

So thankfully these 2 challenges have helped me create a cool card that I am excited to send out!

The color scheme is from CAS-ual Friday's--Penguin Suit.  You can only use black and white.


Let's Scrap is where the awesome sketch came from!  Debby de Wilde designed it.  There is still time to play-so come on by!  Plus, at Let's Scrap there is an awesome Blog Hop coming up!!  And I'm gonna be in it!  So stay tuned! More details to come!  :)
 So here's my card.  I didn't take that many photos as I made it.  But scroll down, and I'll show you a close-up and tell you what I used.

The left side with lots of "thank yous" is from an Inkadinkado stamp my Mom-in-law gave me at Christmas.  The swirls are embossed from one of the Tim Holtz folders.  The parenthasis is from the George cartridge on the Cricut.  And the Many Thanks is heat embossed, and the stamp is Fiskars.


Thank you for stopping by!  Until next time my friends...more embossing!!

Wednesday, January 18, 2012

Blue and Yellow Thank you Card

Hello Everybody!

Hope all is going well mid-week.  :)  Tonight I finished a card for 2 challenges:

Freshly Made Sketches #18 -The sketch for my card.


CAS-ual Fridays CFC #35-scallops (and not the kind from the seafood counter!) ;)


Here's my card.  Scroll on down, and I'll show you what I did.


This is where my paper came from.  This mat stack is from Making Memories, and I bought it at an uber good price at a Scrapbook Expo 1 or 2 years ago.  Love it!


My scallop scissors that made the the two boxes on my card.


This DCWV stack is where I found letters that matched exactly the blue paper I had. 


Then there are 2 blue and 1 yellow pieces of Ric Rac.  And the felt flower and button center are from Fancy Pants.  Until next time my friends...stay coordinated!  :)

Wednesday, January 11, 2012

Maps and Flowers Card

Hello Everybody!

Tonight I am sharing with you a card I am putting in 2 challenges.  Both were inspirations that help put this card together!

Moxie Fab World:  Map to Your Heart Challenge in the Moxie Fab World.  This challenge is to use maps in an innovative way.  And there is still time to play so come on!

CAS-ual Fridays:  CFC34: Using chipboard.  This challenge is to use chipboard.  Go check it out!


Here is my card.  I took chipboard and covered it with maps from a map book.  I used My Mind's Eye Twine for the background-just wrapped it around the card.  The letters are from Kaiser Scrapbook/Kaiser Craft.  The center of my flower is a crystal sticker from Michael's.  Scroll on down, and I'll show you what I did!


Here is my map book or atlas :)  Yup 1996 and only $4.27.  Wow how things have changed! It looks like a cut a piece out for a previous project!  LOL!


My chosen maps.

My chipboard flowers which I don't know what brand they are, but I have had them for a long time.  :)


I put glue on the front of the flowers and spread it out.  I used a makeup sponge applicator because I want to make sure the glue gets all the way to the ends of the flower.  I used Glossy Accents, but a craft glue can do the same thing.  I did use a brayer to make sure there were no bubbles.


I used an exacto knife and scissors to make cut these out.  I did not punch out the centers.  There isn't any need to.

I inked the edges with a black Copic marker.  It's so nice to get into the small spaces!  The flowers needed something to stand out.  I like the maps and the miss you.  I think it's a sweet way to let someone know that you do miss 'em! :)  Until next time my friends...send a card to a far away pal!
 

Friday, December 30, 2011

Cute Digi Coffee Mug

Hello Everybody!

Here is the 2nd post of the night and my 2nd card.  This is really cool.  At Market Street Stamps they are hosting a challenge with CAS-ual Fridays.  There is still time.  Head over there-check 'em out and get their free digi stamp.

I am entering this card in the following challenges:  Market Street Stamps-Kraft, Baker's Twine, and Market Street Stamps


CAS-ual Fridays CFC#33


City Crafter Challenge Blog: Make the Cut CCCB #89

So here is my card: Kraft, Twine, the free awesome digi stamp-the coffee cup which I cut out of white cardstock.  Scroll down,  and I'll show you what I did!


I didn't take as many pictures and I thought I did.  I just jumped right in!  Well I printed out the coffee cup and colored the heart, rim, and handle pink.  I used pop dots to adhere it to my Kraft card.  Then I have these letter from EK Success.  I put them on white card stock and cut them out as one word.

Then I used my mini staple gun from Tim Holtz to put the Baker's twine on as a frame.  This is Martha Stewart's baking twine.  On my 3rd go around with the twine I had to not staple it until I got back to the beginning because I wanted the same number of staples in each corner.  Then I went back and stapled the other corners.


Here's a close up of my sentiment.


Here's my card...

Until next time my friends...go get that cup of coffee!


Thursday, December 29, 2011

Kraft and Twine Card

Hello Everybody!

I am playing with all of my new fun things that I got at Christmas!  Plus I went to the scrapbook store and couldn't help myself!  But I did exercise some caution so I didn't come back home with way way more stuff--just a litte bit more stuff ;)

The card I have here I am entering into 3 challenges:

CAS-ual Fridays: CFC33 Create a clean and simple project using Kraft and Twine


Simon Says Stamp:  Anything goes!


Wee Memories:  WMC80 Anything Goes!


So here's my card...Scroll on down and I'll show you what I did!


Here is my blank Kraft canvas.


Here's my blank chipboard canvas. ;)  I painted them white (which I don't have a picture of but trust me, I painted them.)


Here is a little treat I got from my local scrapbook store.  Lime green twine by My Mind's Eye.  Fun!


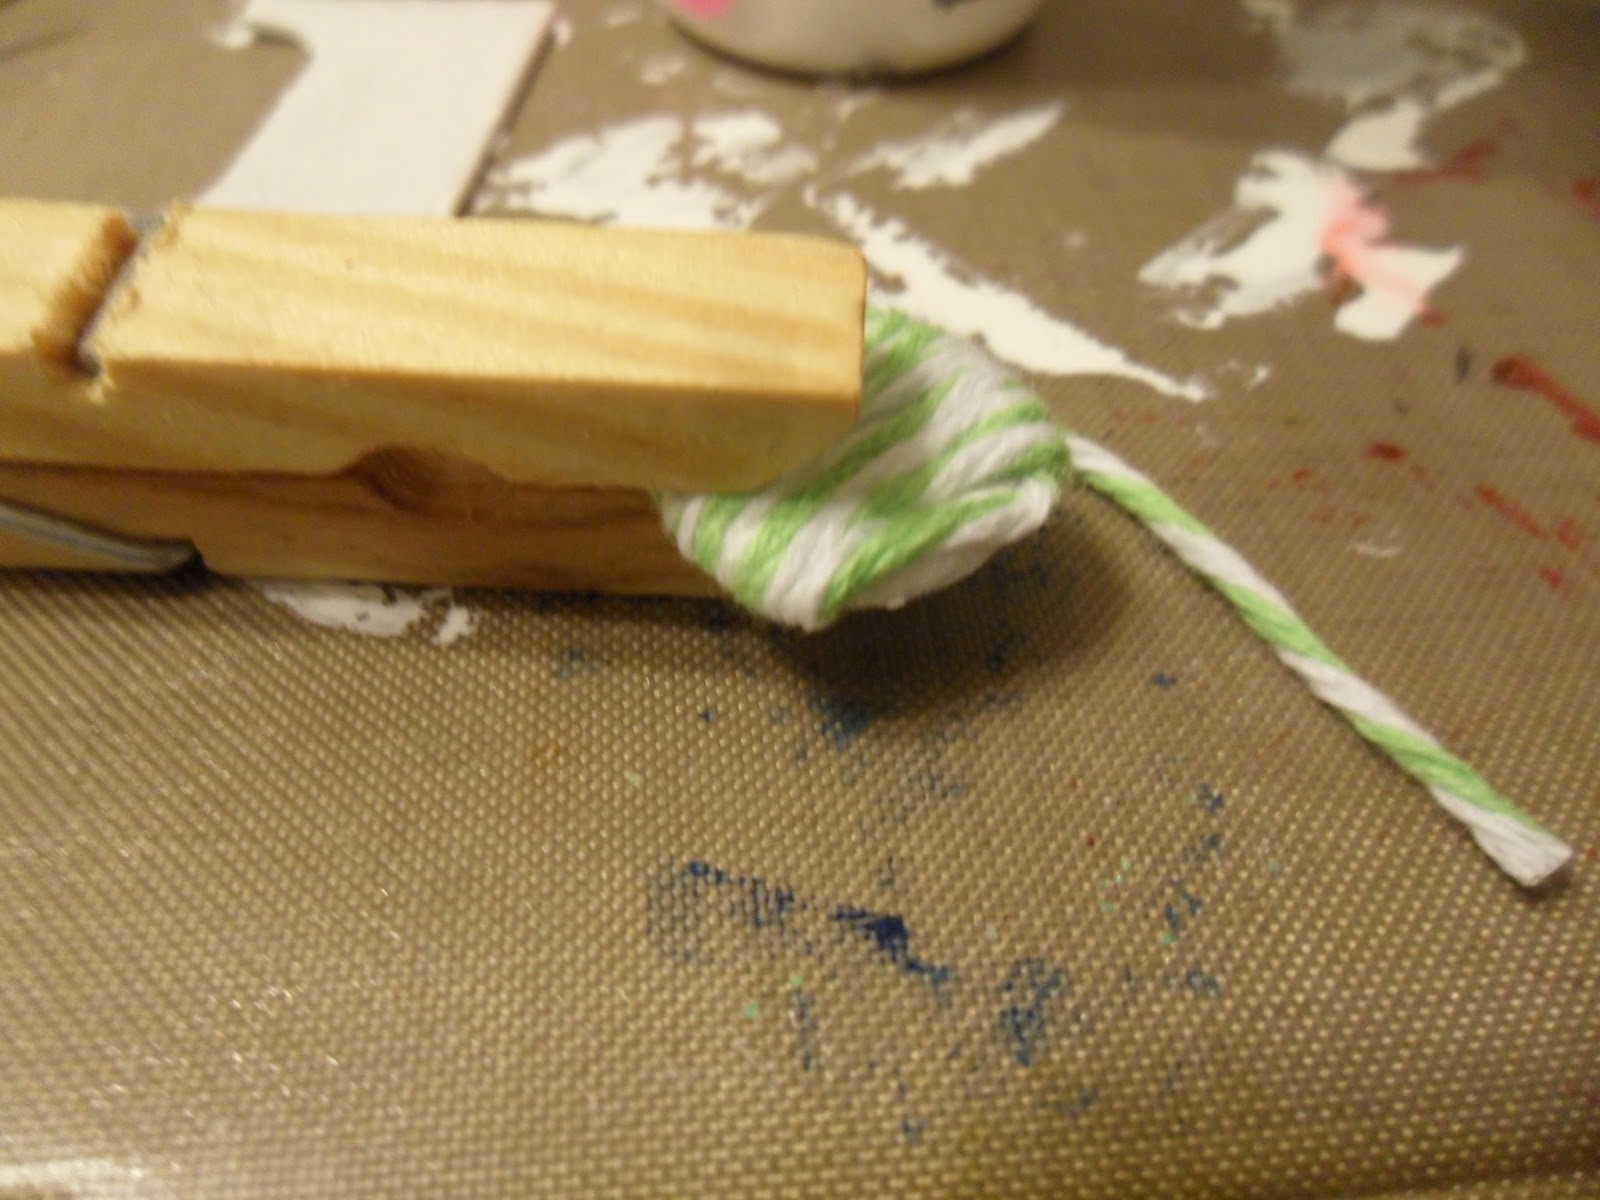
So after my chipboard letters dried, I wrapped the twine around them.  I used a little glue on the front and taped the back with the winding piece.  Here is the dot of the eye.  I used a clothes pin to help the glue dry.


Here is the back of the h.

Here's the front.

I adhered the letter with Glossy Accents to the Kraft card.  Then using a fine black pen I doodled a frame around the edges.

I have Martha Stewart twine-which I like-but I found the twine from My Mind's Eye to be a little thicker.  So I thought that was cool and I would tell you in case you are shopping around for twine.  :)

Until next time my friends...enjoy the last days of December...and 2011!

Monday, December 12, 2011

Joyeux Noel Card

Hello Everybody!

So I was looking through stuff (which is what I think most of my time is spent doing) ;) and I saw my Eiffel tower stamp.  And then it hit my like a ton of bricks.  How do you say Merry Christmas in French?  What did people do before Google?

So this is my card for the following challenges-if you want to play go check 'em out:


and Wee Memories: Challenge #79 Holiday


Here's my card...Scroll down and I'll show you what I did!


First I sprayed it with Smooch Spritz-a red one.  (There's no color listed on it.)  I put my actual stamp on it.  It creates the mask.  Then I was my stamp off.


Here is the Eiffel tower after the spray.


Then I use Versamark to stamp the tower into the space.  I use black embossing powder and a heat gun.


I added the Santa hat and Making Memories letters.  And I got to use an "x" how cool is that?

Until next time my friends...there may be some Eiffel tower cards--this was cool!  Oh!  And stay festive :)