Showing posts with label Halloween. Show all posts

Saturday, October 15, 2022

Halloween Party Pumpkin Terrarium

 Hello Friends!

October is just the best month! The weather is nicer and leaves are turning. Pumpkins and Halloween decorations are everywhere! 

Today I am happy to show you my pumpkin terrarium-where there is an awesome Halloween Party going on!  I am linking this to Simon Says Stamp challenge and that info is at the bottom of this post.

Here it is :)  I bought the pumpkin terrarium from Oriental Trading.  And I will be honest-I was scared at first LOL. I was afraid of having this cool pumpkin but not decorating it cool enough-silly I know. I got over myself LOL and once I started applying paint to the outside-it started to come together. 


I love Tim Holtz. And I compartmentalized made the costume party dies one night. I made three of each since I had the papers out and I know there is another project I want to do with the trio. This little dracula has a silver glitter outfit on because he's at this party :)  The skull and pumpkin in the middle are ideology and the gold witch hat is a charm from Prima I got last year.

I used purple reindeer moss and this brown moss to fill in the floor. There are a few of Tim rub-on's on the walls of the pumpkin.  Now let's talk about tomb stones--I cut these from the sizzix halloween vault series 2021 out of black cardstock. I used the grave texture paste from last year. Then I painted on empty tomb distress crayon (like wow it looked good) and then some peeled paint over some of the textured places. I got that idea from watching one of Tami Bastiaans you tube videos. 


I used a couple of paper dolls and I sometimes like to assign stories to things LOL. So the guy in the back with the face mask and bat wings isn't really supposed to be there. Hmmm....an imposter? 


Tiny lights for the win! I drilled a little hole so the battery pack is on the back and then I hot glued the lights to the ceiling for the pumpkin. Also in the top right corner there is a ghost bottom.  Also, I hot glued sewing thread and strung one of this year's ideology spiders.  I used a little lettuce alcohol ink on it's abdomen like Zoe from Tim's design team did (except she used pearls and I don't have those [yet])  :)


Here is the top of the ghost. :) He's hiding behind the leaves. These big metallic leaves are sort of bendable. I bought those a few years ago from a thrift store, and I'm so happy to finally use them!  Also I used some leaves you can get from either the dollar store or hobby store. And the sunflower is from dollar tree. 


This witch is from Tim's Toil and Trouble sizzix die cut set. I cut a second hat from orange glitter paper because---party!


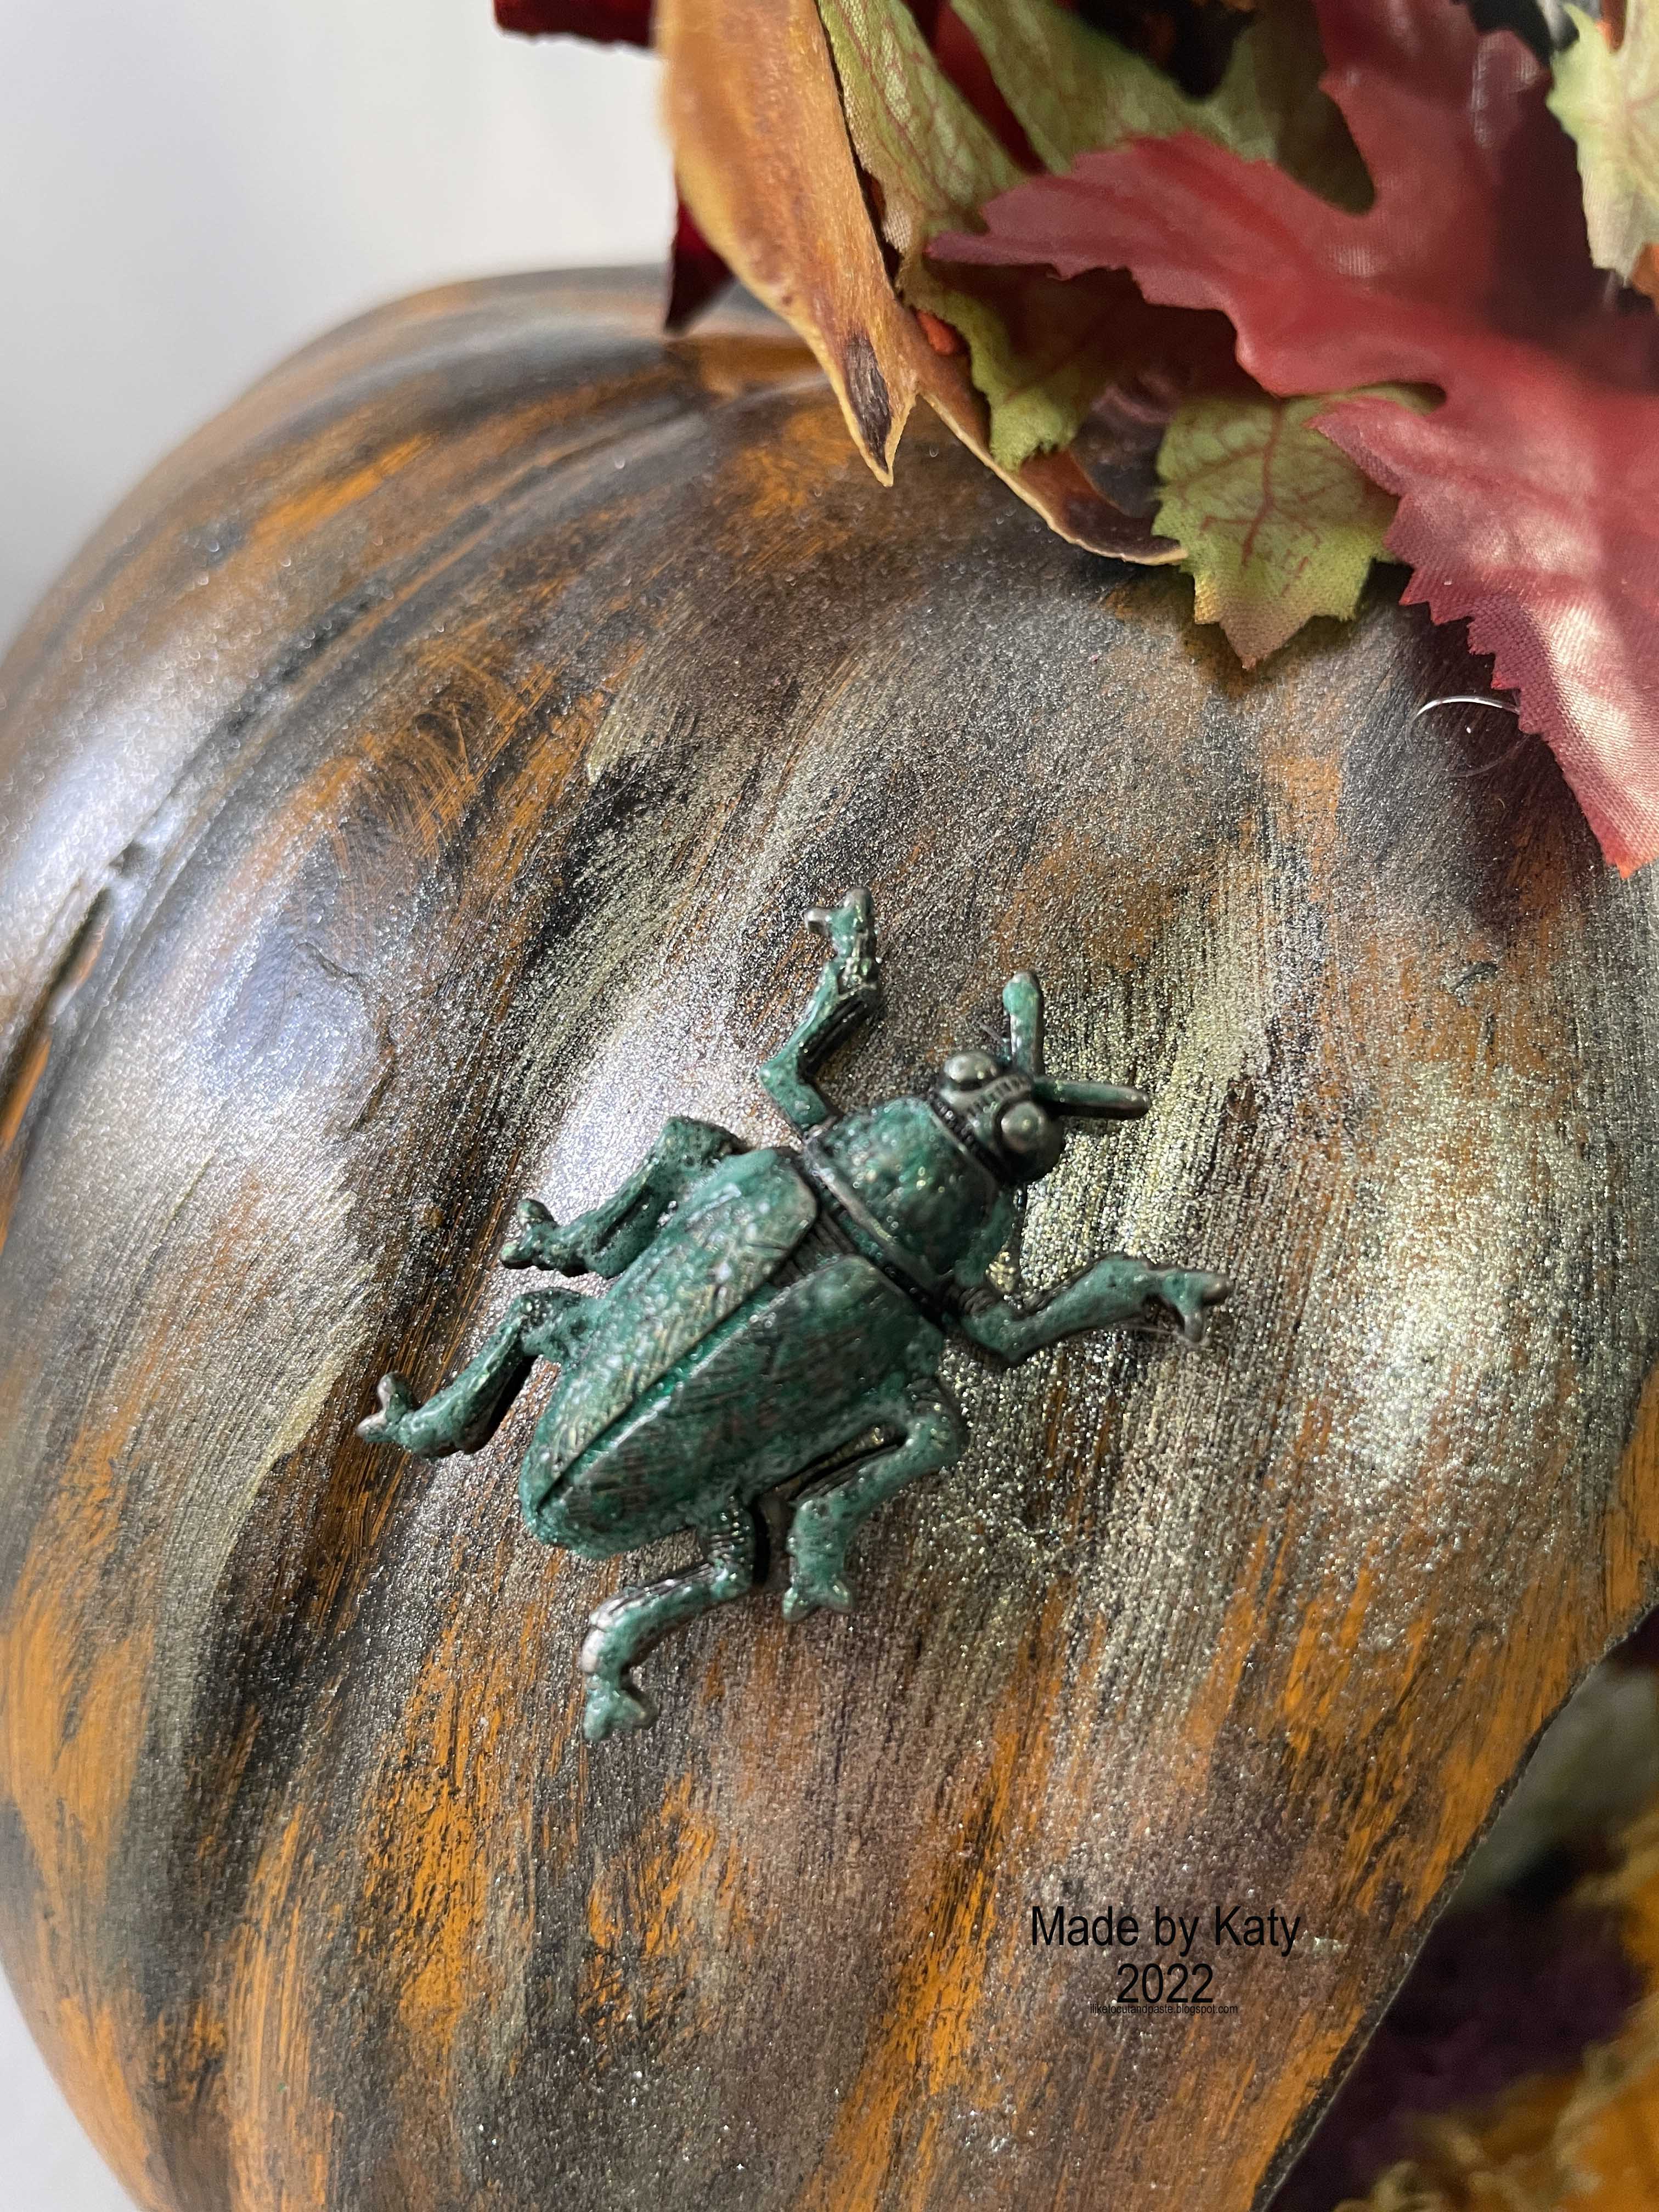
And lastly an entomology adornment-I used cracked pistachio on him and now he is this cool green color.  I painted the outside of the pumpkin first with black paint that I blotted as I went. I didn't want all of the orange to go away. And then I painted finnabair's sparks unicorn hair paint over it-and wow. I love it. :) 

So I totally forgot to take a before picture. I know-I was like what? So here is the before and the link to this is here at Oriental Trading


So just a few notes-I used hot glue to glue everyone down. I held them up until the glue dried which seemed longer then normal. The pumpkin is sort of a foam material so that might be why. I didn't glue down the moss. I didn't think it needed it. I also used die cut elements from Frightful Things (ghosts and jack o lanter).

I am linking this up to the challenge at Simon Says Stamp Monday Challenge-Fall Mood Board.
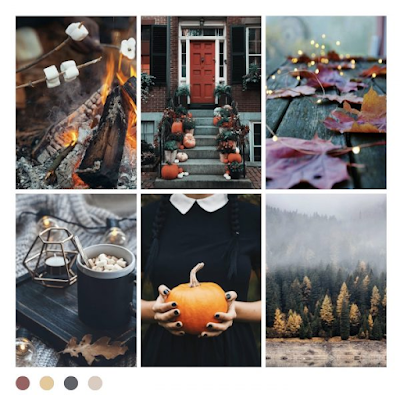

Pumpkins and the lights are totally inspiring from the mood board and used in my project. All of a sudden I want some hot chocolate. :) 

Here is a video of my project. :) 


Thank you for reading to the end. Have a great day friends! :)


Sunday, September 4, 2022

Happy Halloween Card

 Hello Friends!

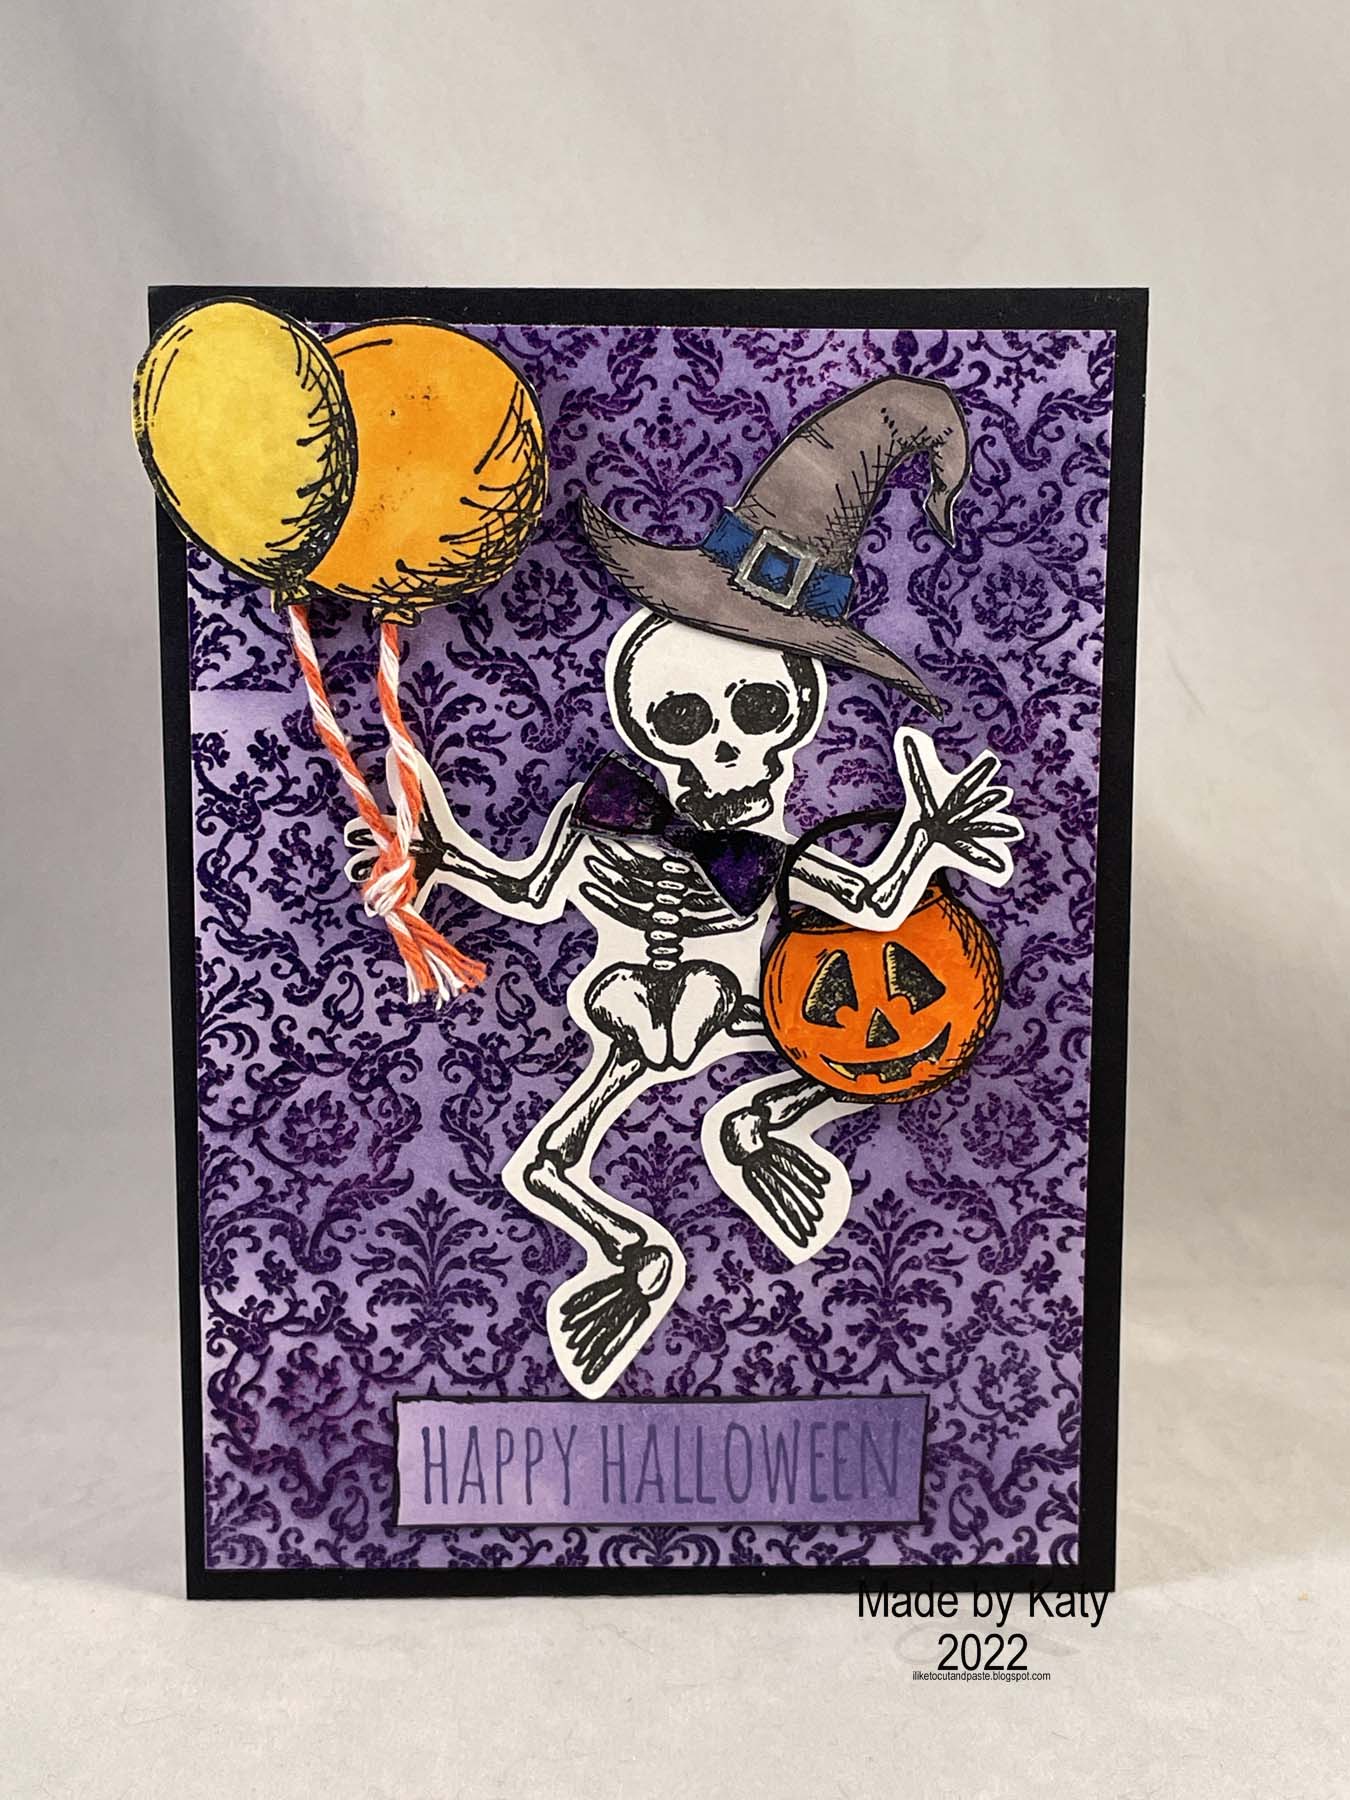
I was inspired by two challenges to make this card. The first is The Funkie Junkie Challenge: Stamped with Love using Tim Holtz stamps. The second is make your own background by Simon Says Stamp Monday Challenge.

Here's my card:


Here's a close up of most of the detail.


The background is CMS414 Tapestry-I used villianous potion embossing glaze and distress ink. 

The skeleton is from CMS437 Halloween Doodles.

CMS237 Crazy Things-Balloons (which I masked to get them together), hat, bow tie (colored with villianous potion embossing glaze), and pumpkin trick or treat container. I used copics and prismacolor markers for these things. 

CMS236 Crazy Talk is the sentiment (and my favorite sentiment stamp of all time.)

Some twine and pop dots were used for the balloons.

I am probably going to make this background again. There is something about the shine of the glaze that is just so pretty. :)

Thank you for stopping by! :)


Saturday, October 23, 2021

Spooky Halloween Card

 Hello Friends!

I love this card so much-LOL. I made it for my cousin and mailed it today so it will be a couple of days before I put it on instagram/fb so she will see it hopefully after she gets it. 

And the reason I am posting it here now is to make sure I link up to the challenge at Simon Says Stamp Monday Challenge: Spooky/Halloween.


Everything on this card is Tim Holtz except the background. That is from a gelli print I did a few weeks ago. One day I sat down and made a lot of gelli prints using white cardstock, pages from a book, and scrapbook paper that I know I won't use anywhere. I had a blast!  

Starting in the left corner and going across-the web stamp was stamped using the new villianous potion distress ink and then embossed with the same color glaze. Wow is all I can say. It's a fantastic purple! 

I made the collage with the ephemera and die cut ghost and the paper doll. I used collage medium on all of that-after I put a rubon eye on the spooky card. Then I went in with distress crayon! I used peeled paint and the white to highlight around the different cards. Wow is all I can say.   Collage medium and distress crayons are like best friends LOL.

Up at the top right are more rub ons. One is from an older everyday set and the other two (about halloween) are from a 2013 halloween rub on set. Yikes-that's been around a while. That set has a black and white set of rub ons.  

Then I added a bat from the colorize pumpkins die cut.  Then I took black soot distress and went around the whole card to create a little shadow. 

Thank you for stopping by! Happy Halloween! :)


Sunday, October 10, 2021

An Uninvited Guest

 Hello Everybody!

I am all about some Halloween right now! I made this 6X6 Magnetic canvas.

The inspiration for this canvas was the skull.  I made it using a Finnabair mould.  It's the largest skull.  I painted it with tim holtz spiced marmalade distress paint. Then I sprayed it with the tarnished brass distress mica spray to see what would happen. LOL It stuck on there! and then I used some black paint to highlight and tone down the skull.


I used stencil THMM128 so it had both skulls and that cross design. The stencil came with a halloween stamp set that is Tim's/Stampers Anonymous from Joann's.  I used a Golden light modeling paste.

I sprayed the canvas with the distress mica stains-flickering candle, jack o lantern, bubbling caudron, and hocus pocus. I didn't use gesso. I sort of went back and forth on this because I usually do but I liked the linen texture showing through.

When the mail came my order from Simon Says Stamp was delivered-Woo Hoo! and in it I had ordered the transparencies and that is where the bat wings came from.  I used the black mica flakes from Tim also. I love them! and then I used black micro beads from recollections.  I also die cut a leaf branch from the sizzix/ Tim Garden Greens 661206. I used the same one like maybe 6 or 7 times and cut it out of black cardstock.

Oh and that cute little scared ghost is from the Frightful Things die cut. This die cut set is seriously one of my favorites for Halloween.  I used a spring from Hampton to make him 3-D.


I am entering this Halloween canvas into the following challenges:


Crafter's Castle: Anything Goes #46 Theme fall and fall holidays

Thank you for stopping by! 


Thursday, September 16, 2021

Beware Vignette Box

 Hello Friends!

I made this creepy vignette box, and I am so excited to share it with you!  

This is the largest of the Tim Holtz Vignette Boxes. And this is a box topper that was sold in 2018. (Thankful for YouTube because I couldn't remember when I bought the covers.) After I decorated the inside I glued the panels down with collage medium.


From the top: I made this candles using Tim's directions from last year. And I painted them black. The skull is Ideology a few years ago. That is cheese cloth that I sprayed with black soot distress stain, hickory smoke oxide spray, and empty tomb mica spray. In between the candles and skull I added Tim's midnight mica flakes. Originally, I was thinking mirco beads and then I was like I have something cooler than that! :)


This is a Tim Holtz ghost die cut that I inked with a little peeled paint around the edges.


The background paper is from Tim's Region Beyond paper pack. I stamped bats on the this side of it. But the bats are actually from one of Tim's embossing folder. I used a Simon Hurley Stamp block-heated it and then took the impression of the embossing folder. So Cool!


On the inside sides of the box I applied Crypt grit paste. On this side is a die cut spider (the one from just the web and spider-Tim Holtz). I used some stickles to try to make it stand out a little. So it's just kind of creeping around back there LOL.


Here is the other side with the crypt paste.


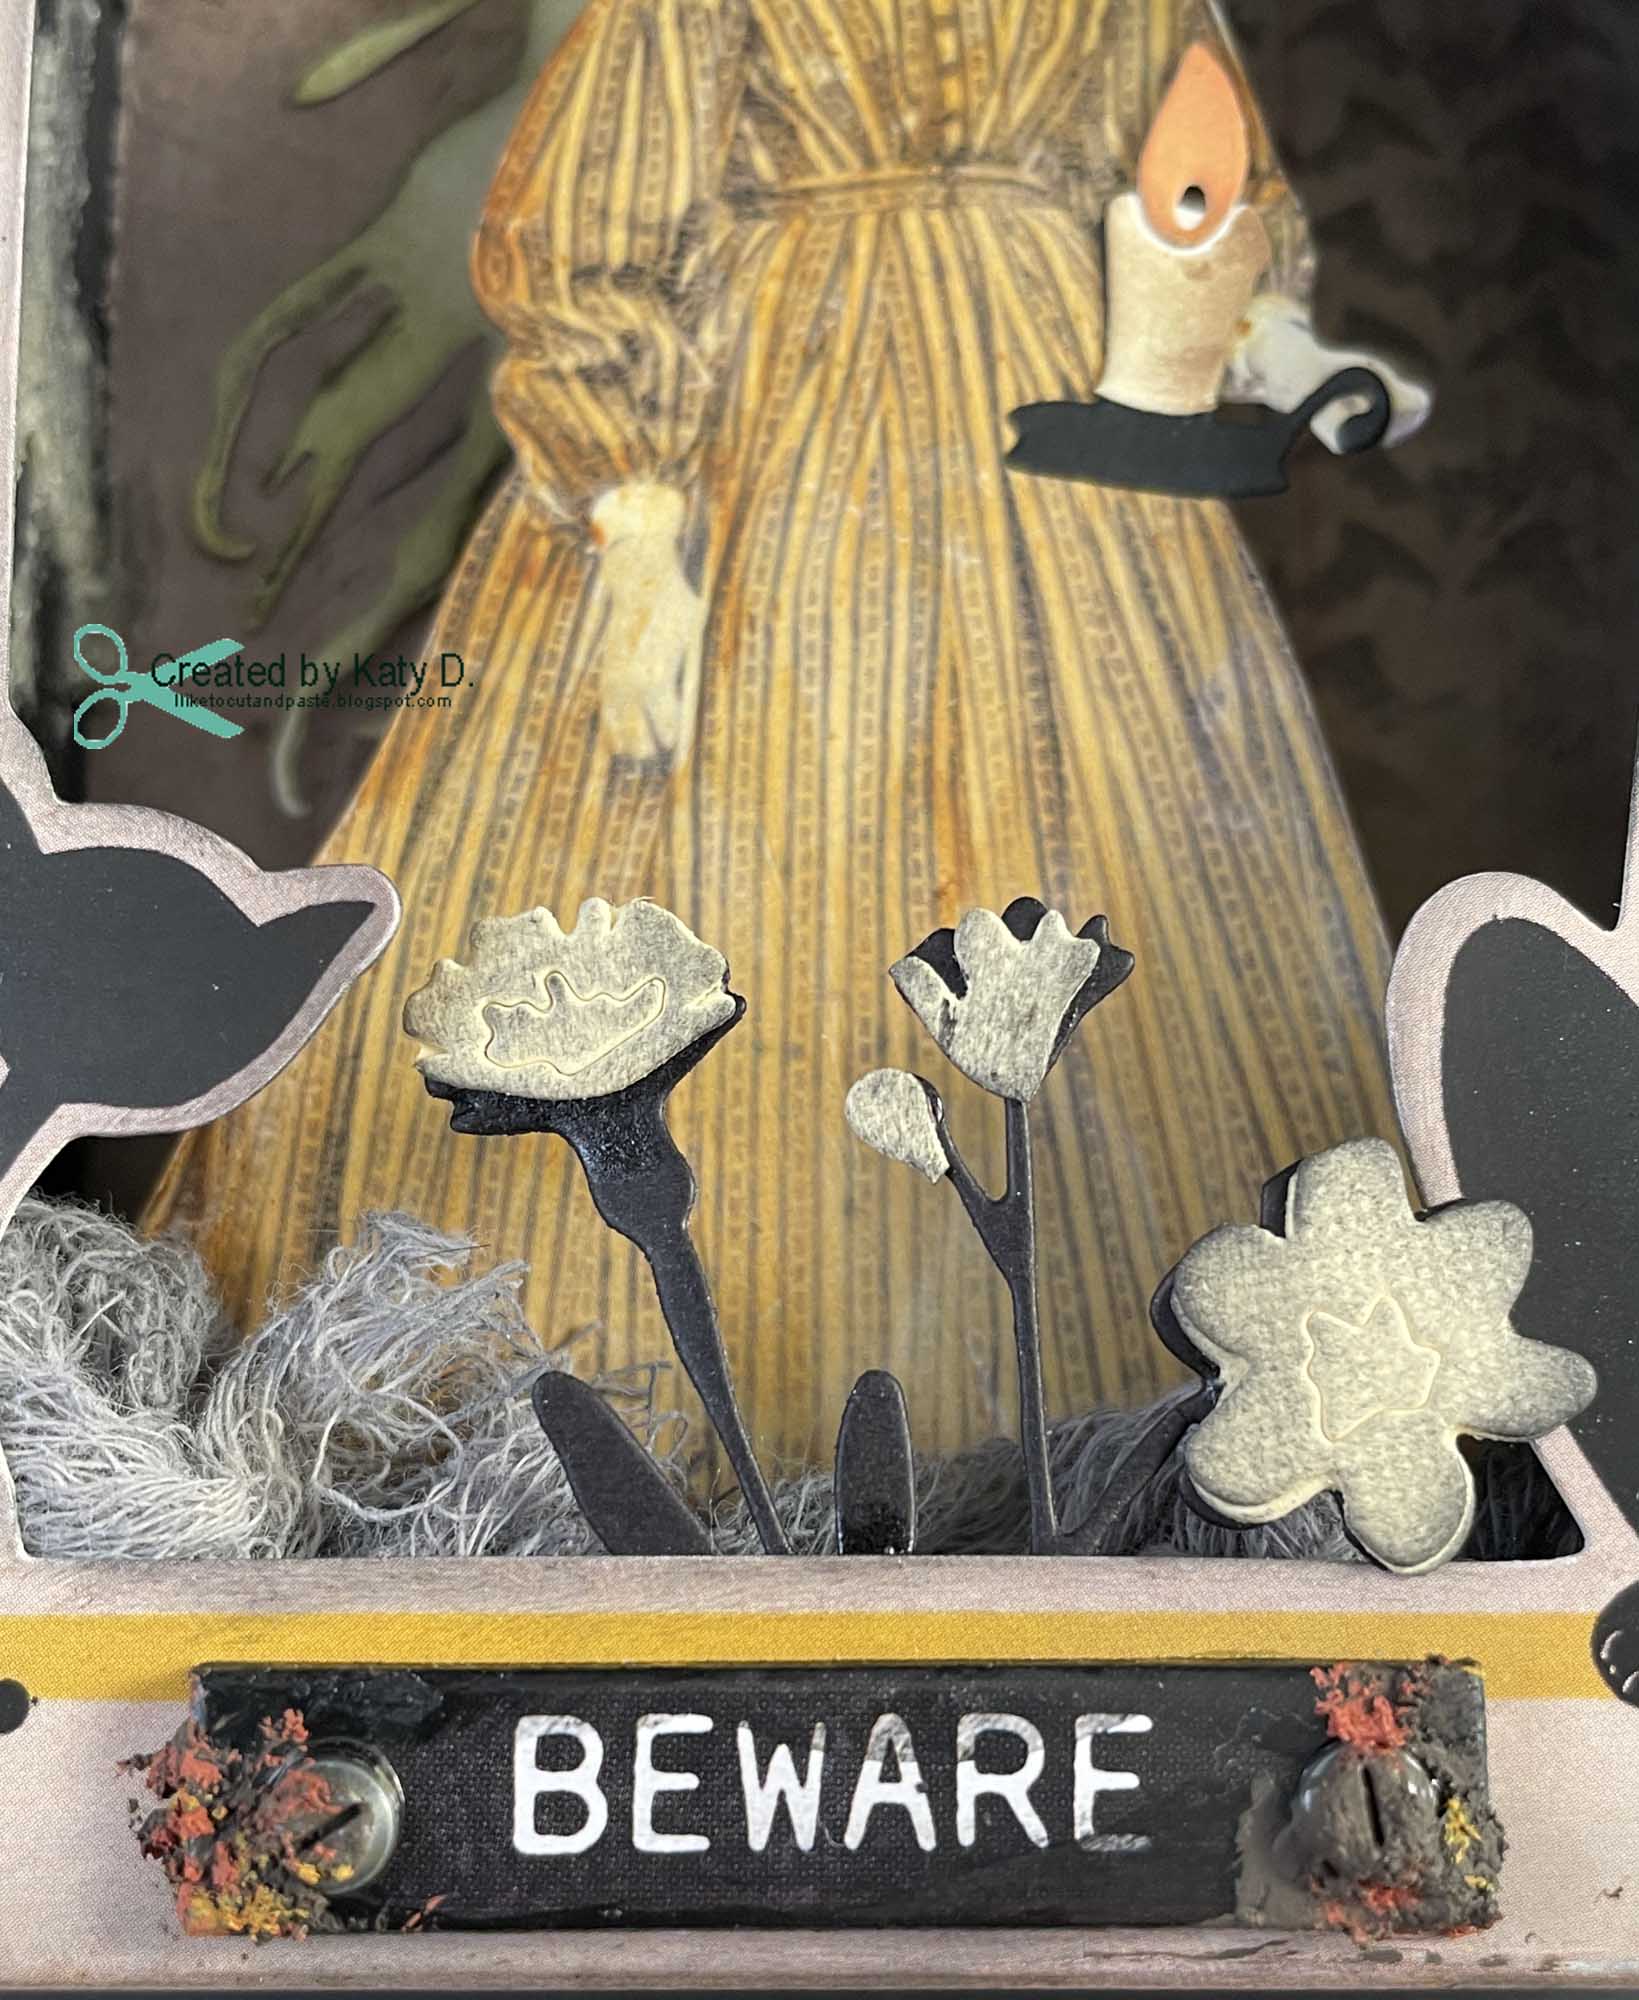
These flowers are from Funky Nature. I used some black soot distress ink on the yellow blooms to make them less bright and more spooky. The Paper Doll's dress is from a spiced marmalade distress crayon and a little water.  The candle die cut is from Tim's Frightful Things. 

There is also a Halloween Quote Chip and 2 hardware heads. The rust is from Finnabair. 


So this is cool.  Here is the finished box.


If you look you can see the paper doll's shadow. This is cool because it's like the candle is really working to create a shadow behind her. Eek! 


I am submitting this into the following challenge: 

TFJB Challenge: Creating Die-Na-Mite-use dies--Spider, Ghost, candlestick, and flowers

Thank you for stopping by today! :)


Thursday, October 1, 2020

Happy October!

 Hello Everybody!

Happy October! It just so happens that I love the month of October.  There's Fall and Halloween-it's all so fun! :)

So over at The Rainbow Card Challenge we have a new color challenge.  I hope you like it! It's slate:


I used various greys for my card.  I had dark and light grey paper.  I used some black soot distress ink around the edges of the dark grey panel.  

Everything here is Tim Holtz! Except the paper-it's craft smart from Michaels.  The bat embossing folder, the two monsters and bats die cuts, the sentiment, and I used weathered wood, pumice stone, and black soot distress inks. 

I did use pop dots on Dracula.  He levitates right?  LOL. :)


Making this card really has gotten me in the Halloween Spirit.  I am so excited! Although it will be the 2020 version of Halloween-that's ok :)

I'd like to enter this into the following challenges:


I hope you will join our Slate challenge.  Until next time my friends trick or treat! :)


Sunday, December 29, 2019

October Projects

Hello Friends!

October is one of my favorite months of the year.  I love Halloween and Fall!

And as I am looking at these pictures-I was a little busy.

I made this Edgar Allan Poe card for a friend of mine who loves him.  That is the great thing about card making-is how you can taylor a card to a specific like or interest.  I am also glad that Tim Holtz like Poe and has his pictures in the halloween papers I have bought. LOL!


I love vignettes or diaramas-whatever you want to call them.  I saw these two happy little ghosts at Hobby Lobby and then this came together.  


A couple of little spiders are hiding on top!


A birthday card for a wonderful friend of mine!  The butterfly is a Martha Stewart Stamp.  Some Tim Holtz goodies are in the cluster and some Queen and Company and maybe Recollection flowers.


This cute birthday card is stamped with Jane's Doodles flamingos and leaves.  The starts are from a Paige Evans stencil.  Distress ink fossilized amber and spiced marmalade.  I colored the images with Copics. 


Every now and then-I totally loose my mind and must make something for a holiday.  I don't know when it will happen-it just does.  I had borrowed some Halloween books from the library.  I had no idea they would be so full of inspiration and projects that were in my skill level.  LOL  So I bought canvas materia, cut pieces and hand sewn bags.  And I still have foam stamps from the times of Making Memories.  I am so glad I have them-because with some craft paint they were perfect for these bags!  The book that inspired this project was Artful Halloween by Susan Wasinger.  


I was totally obsessed with making these bags.  And you must see the next thing.


In a totally different book from the library called Felt-O-Ween I had to make these water bottle covers.  Then you toss a hoop-so it's a fun game for kids.

I hand sewed the pieces together.  And loved making them!  It took a while-I'm not going to lie.  But it was fun and worth it to make something different.


Thank you for stopping by.  I will create the November post tomorrow!  See you then! :)


Saturday, December 30, 2017

Catching Up Post

Hello Eveybody!

It's so crazy to think that this is the end of the month, isn't it?  December just flew by!  I just posted a card with a cute bus and reindeer--but before that I haven't posted since like November.  And before that there was a post in October. 

I promise that I have been crafting-but things have been so busy (I'm sure you understand) that I am doing good to take a picture and then I am onto the next thing.

So I wanted to show you guys what I have been making.  My pictures aren't fancy-I couldn't get many of my crafty projects into the photo box before they needed to be given out.  So you will see my Ranger mat-LOL  (Side note-Dear Ranger have you thought of making mats in different colors? Love ya!)

So let's start with Halloween.  This year I was in charge of my church's Trunk Or Treat.  This is one of my favorite events of the year.  People sign up and decorate their trunks and give out candy.  I wanted to make sure each trunk was recognized by the organizer of the event.  I wanted to be sure I thanked each person.  So I made these Halloween ribbons:


I made 30 of these ribbons-using my silhouette I made the circles and using my score pad I made rosettes.  That is a time consuming project-LOL  I love the ribbon part-glittery goodness that I bought at Hobby Lobby.  Those little halloween images are sequins.  And the thank you is cut out of paper from my Silhouette also.

I also made some cards that I barely was able to take pictures of before it was time to send them off-

This card was for my sweet friend who gave me these cool shape stamps and owl stamps from Close to My Heart.


This card was for a friend of our that had been involved in a horrible car accident.  It's a blessing she is still with us today.  I love this card because of the transparent paste and the TH paper doll.  The sentiment is also a Tim Holtz stamp-and I love that set of sentiments.


This was for my friend Danielle-her families dog passed away due to age.  No matter how old-it's never easy.  I am happy to say that they now have a new puppy.  :)


This card was for someone my husband works with who was retiring.  He asked if I could put an RV on the card.  Super cute die cuts from Silhouette!  I love how this turned out.  I love it when I can make a little scene on a card.  :) 


My friend Danielle also needed some Christmas teacher gifts.  I don't do a ton of vinyl projects but I made these for her per her request.  It was Pinterest inspired. 


Another friend of mine and I came up with a fun thing to do with our friends at church.  We had a tag making party.  We each made 6 tag designs-set up tables and had a great spread of food.  We couldn't have thrown such an awesome event without my friend Danielle and another friend of ours.  :)  My hubby helped put out food too-so it was a great group effort.  Here are my tags:

This tag was cut from the silhouette, has washi tape and the snowflake is silhouette.  I spritzed it with liquid Silver Pearls by Ranger to make it sparkly.


This was Pinterest inspired and Silhouette created.  People at the event glued the pieces on and punched a hole to put the twine through.  I had different colored "cups" to add variety.


Good ol' Silhouette.  To make the hats more original-I brought my Cuttlebug and taught people how to emboss.  There is a white hat base that everything glued onto.


Silhouette!  and then I used Red Stickles on the noses so our guests wouldn't have to worry about glitter glue drying.  They also assembled the parts using glue sticks.


The base of these tags and the singing kids are from Silhouette.  The background was this awesome tissue paper from Hobby Lobby.  You adhere the tissue paper on top of the tag and cut of the extra.  Then I had different sequins and gems so people could personalize their tags.


The tag cut out was Silhouette, the stamp is from Stampin Up and then I put gold ink around the sides with a Cat's Eye ink.  


Anytime I prepare something like this (which is not often) I always have a greater appreciation for people who develop classes and have to prep kits.  LOL-sometimes when you take a class you don't think about someone having to make or distribute pieces to so many kits.  

And we didn't get paid for this.  We donated the materials, food, and time.  It was a great time of fellowship.  And thanks be to God for giving us the idea and having it turn out great.  (I'm not gonna lie, we both were like what were we thinking?  But nothing to worry about when you give it to God.)  :)

Whew!  That's a lot--and I probably left a few things out.  Right now I'm working on a December Daily-just starting it actually.  LOL  Yeah I know what today's date is.  

Thank you for stopping by!  If you made it to the end of this crazy long post-please know you are much appreciated.  :)  Happy Crafting!  Happy New Year!  Happy Day! :)

Until next time my friends...stay crafty! 

Wednesday, October 4, 2017

Spooky Coaster Vignette

Hello Everybody!

I know that we are four days in to October-and I already feel behind!  I love the month of October so much!  Fall and Halloween!  Pumpkin this and the overall feel of October.  Ahhh such a wonderful month!

Over at Simon Says Stamp Monday Challenge the challenge this week is to walk on the Dark Side.  And they are using primarily Tim Holtz 😍 supplies.  So I got out my spooky Tim Holtz stuff and this coaster holder that I bought at the thrift store.  There were not coasters so I think it was like 99 cents.  Score!

So I turned it into a vignette box.  Check it out!

Here is the original coaster holder.


I painted it black.  And then measured out Tim's tissue paper for the background.  I stamped some circles in the background and embossed them with glow in the dark embossing powder (sparkle n sprinkle).  I also distressed it with black soot distress ink.


Here is the finished vignette box.


This is the cool yet scary mad scientist (stampers anonymous) colored with Copics.  I got the cool Tim skull in the right corner.


These spooky potions are on the left.  The brown bottle (7 gypsies) contains shaker things from Queen & Company.  And the potion coin in filled in with distress paint.  The other bottle is Tim's and contains loose glow in the dark embossing powder.


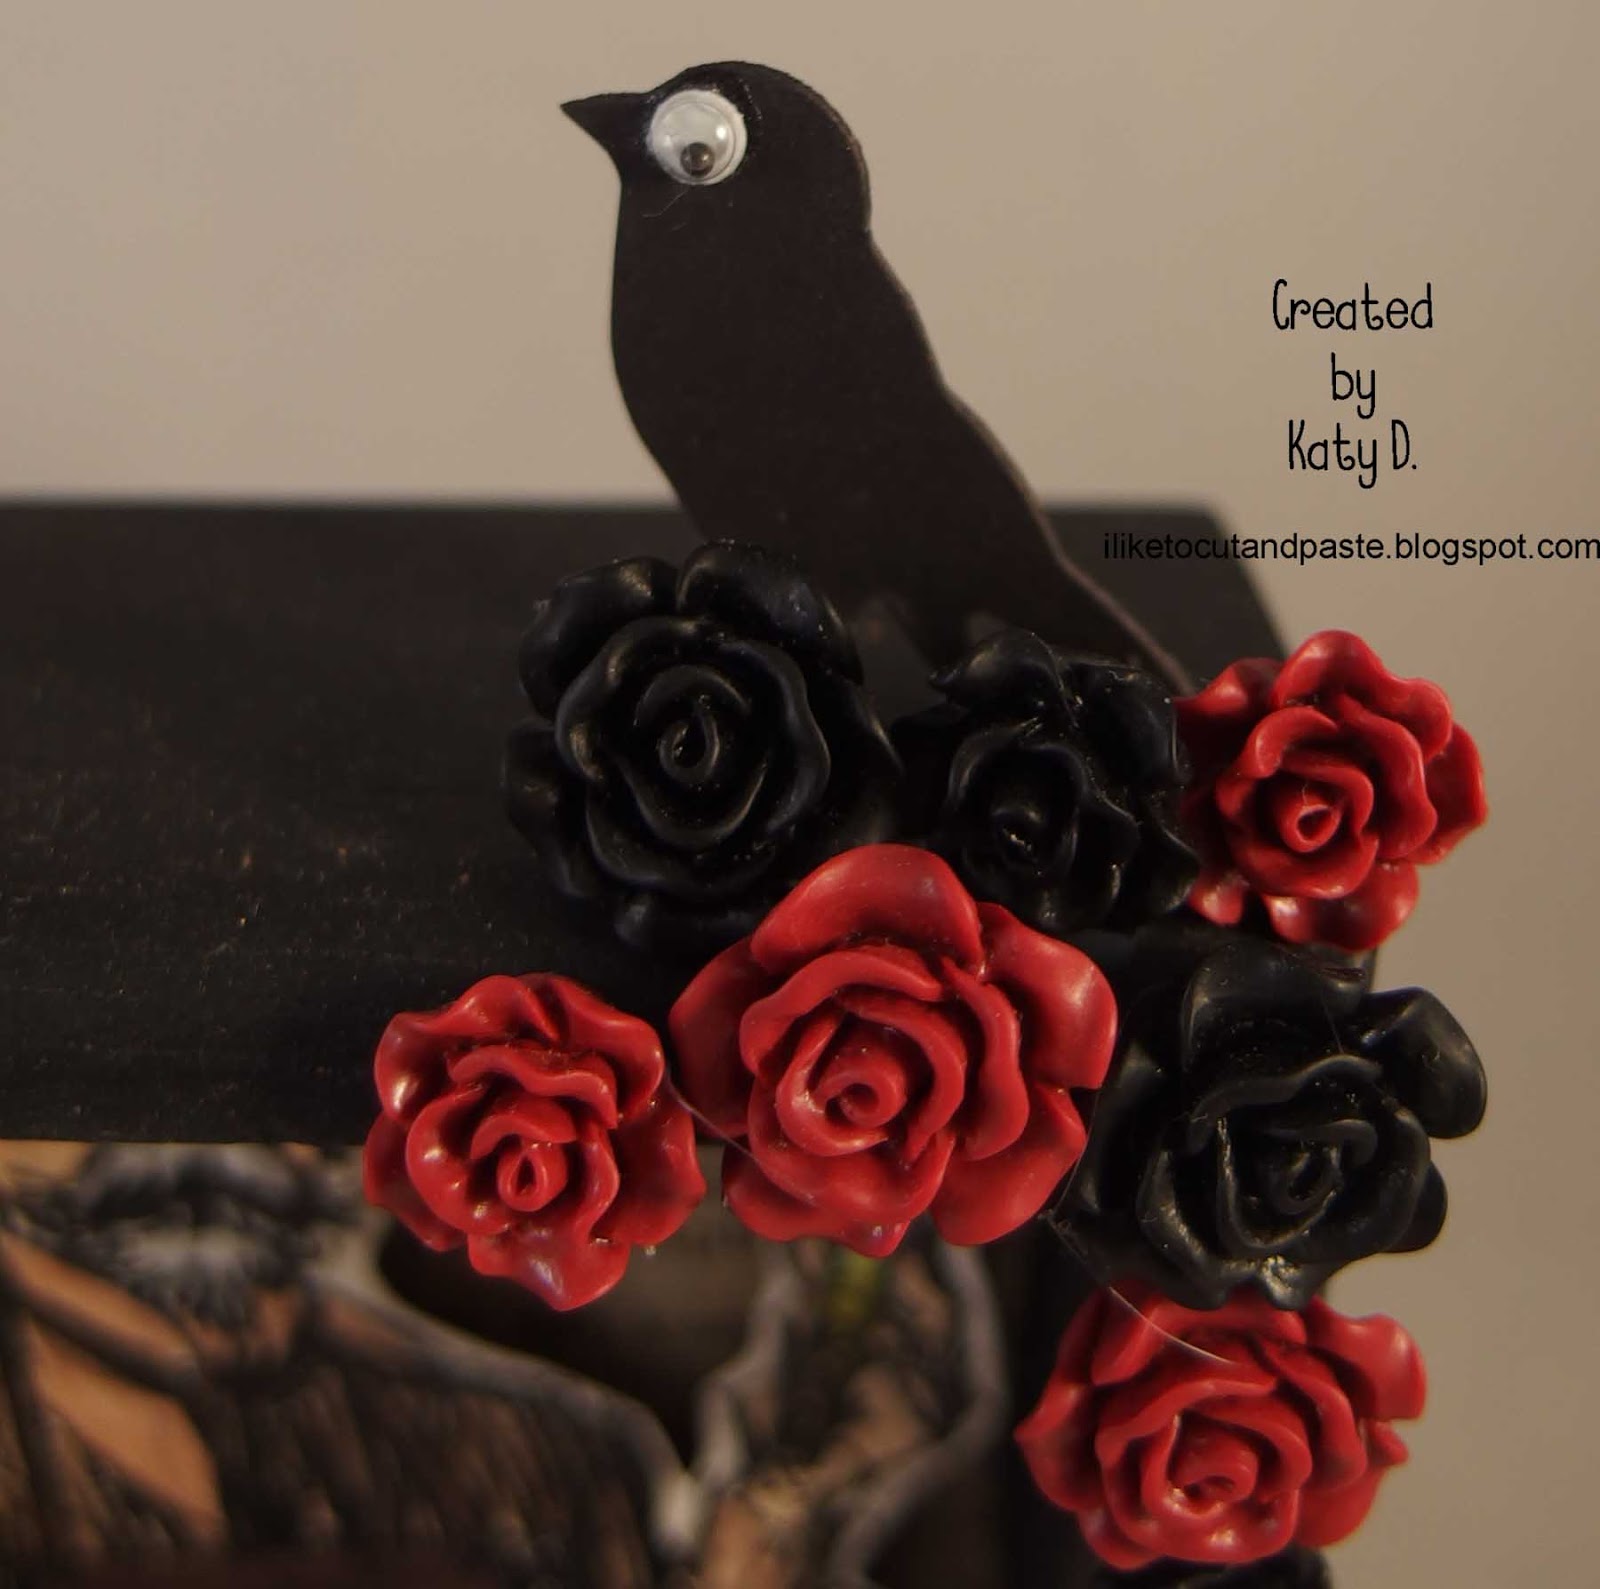
This cool bird is from Tim's mover and shaker die cuts.  And the cool resin flowers are Tim's.


This is an awesome Tim pumpkin-which is oranger when you buy them.  I used distress walnut ink to make it fit with the rest of the vingette.


And that's it everybody.  Thank you for stopping by today!  

Until next time....Make Halloween! :)