Showing posts with label Simon Says Stamp Monday Challenge. Show all posts

Saturday, February 24, 2024

Box of Dreams

 Hello Everybody!

Today I am sharing an altered box for the Monday Challenge at Simon Says Stamp: Not a Card.

I had a box/decoration from the Dollar Tree that I bought specifically to alter. 


The quote chip says Dream of Faraway Places and Daring Adventures. It was perfect for this scene. I love mushrooms right now. The mushrooms are from a die cut from Simon Says Stamp that I got at Christmas. I cut them from different pattern papers and then inked them with distress: scorched timber, salvaged patina and cracked pistachio. I used the various sizes and pop dotted a few. 

The paper dolls and wings are Tim Holtz. So is the quote chip. The Falling Stars die cut from Sizzix/Tim Holtz fit perfectly in the frame. I used distress sprays and oxides for the sky and grass on watercolor paper and then cut out the stars. I used a sparkly paper from DCWV for the background. Then I painted the paint chip and used grit paste. I added moss-I love a project using moss! :)


I used a yellow and a pink paint marker on each set of fairy wings.  I used Tim's thin tape trims around the edges of the box.


Here is the original frame. I took out hello. Then I painted it in black gesso. It measures 6.5 inches tall and 5 inches across.


Thank you for stopping by! :)

Thursday, April 9, 2020

Happy Quarantine O Ween

Hello Friends!

It feels like it has been awhile.  It seems like washing dishes, using dishes to make food, eating, and then starting the cycle over seems to be a bit time consuming.  LOL.  Don't forget putting away dishes!

On March 31st I had a celebration called Quarantine O'ween.  I had seen a meme on Facebook and thought it was hilarious.  I made cupcakes that my family enjoyed and it gave us something to look forward to.  Quarantine O ween was on a Tuesday.  On the Sunday before I had the idea to make cards and send them to some friends and family.  I made 16 cards.  

The germ was cut on my silhouette and the sentiment is from my printer.  I used stickles for that fun glittery effect.  And they backgrounds are different folders I have that I used with black cardstock.  I put the name company of the embossing folder under each card.

sizzix embossing folder

Darice


Cuttlebug

We R Memory Keepers

Tim Holtz Sizzix

We R Memory Keepers

Stampin Up

Carta Bella

Darice

This contributes to my Lenten Project-It is now 6-21/40.  

I would like to enter this set of cards into the following challenges:


Thank you for stopping by!  Stay safe and healthy friends!  Air hugs! :)

Saturday, March 21, 2020

Wish Birthday Card

Hello Friends!

I made this fun birthday card for a friend of mine who's birthday has passed.  It feels like years but I think I'm a little over a week late at this point.  I was going to give it to her in person-but we all know how seeing people in person is going (not so well!).


My friend had taken a picture with a moon backdrop.  And that's how I was inspired.  This is a clay mold from a Finnabair mold.  Side note: I love making clay molds!  I have all sorts of shapes.  I like to watch tv and just make them.  LOL.

The sentiment: vellum and black cardstock and a Tim Holtz die (Thank you Jennifer McGuire for the vellum idea!) and a Taylored Expressions strip die and stamp.

I used Iris Potion Sparks Prima art alchemy paint which is now one of my most favorite colors.  It's so shiny and fun.  Actually all of the sparks paints are-and I'm totally addicted.  The moon is painted with Ginger Magic.  The clock is a bit of green (fairy wings is the name of that sparks paint).


The clock is a little wooden clock.  I used a key in the middle.  I also used Old Silver Finnabair wax with a Paige Evans Star Stencil.  The pink stars were in my stash.

And I used micro beads to fill in.  Here is a close up.  They are around the moon too.  I'm still working on making my molds smooth on the back.  So here's the truth-when I glue them down there are gaps.  I used the micro beads to fill in these gaps.  I glued more micro beads in places to even out the micro beads look.


I am entering this card into the following challenges:

Simon Says Stamp Monday Challenge: Stencil Fun--the silver stars are made using a Paige Evans Stencil


Thank you for stopping by!  Until next time my friends--reach for the stars! :)


Wednesday, October 4, 2017

Spooky Coaster Vignette

Hello Everybody!

I know that we are four days in to October-and I already feel behind!  I love the month of October so much!  Fall and Halloween!  Pumpkin this and the overall feel of October.  Ahhh such a wonderful month!

Over at Simon Says Stamp Monday Challenge the challenge this week is to walk on the Dark Side.  And they are using primarily Tim Holtz 😍 supplies.  So I got out my spooky Tim Holtz stuff and this coaster holder that I bought at the thrift store.  There were not coasters so I think it was like 99 cents.  Score!

So I turned it into a vignette box.  Check it out!

Here is the original coaster holder.


I painted it black.  And then measured out Tim's tissue paper for the background.  I stamped some circles in the background and embossed them with glow in the dark embossing powder (sparkle n sprinkle).  I also distressed it with black soot distress ink.


Here is the finished vignette box.


This is the cool yet scary mad scientist (stampers anonymous) colored with Copics.  I got the cool Tim skull in the right corner.


These spooky potions are on the left.  The brown bottle (7 gypsies) contains shaker things from Queen & Company.  And the potion coin in filled in with distress paint.  The other bottle is Tim's and contains loose glow in the dark embossing powder.


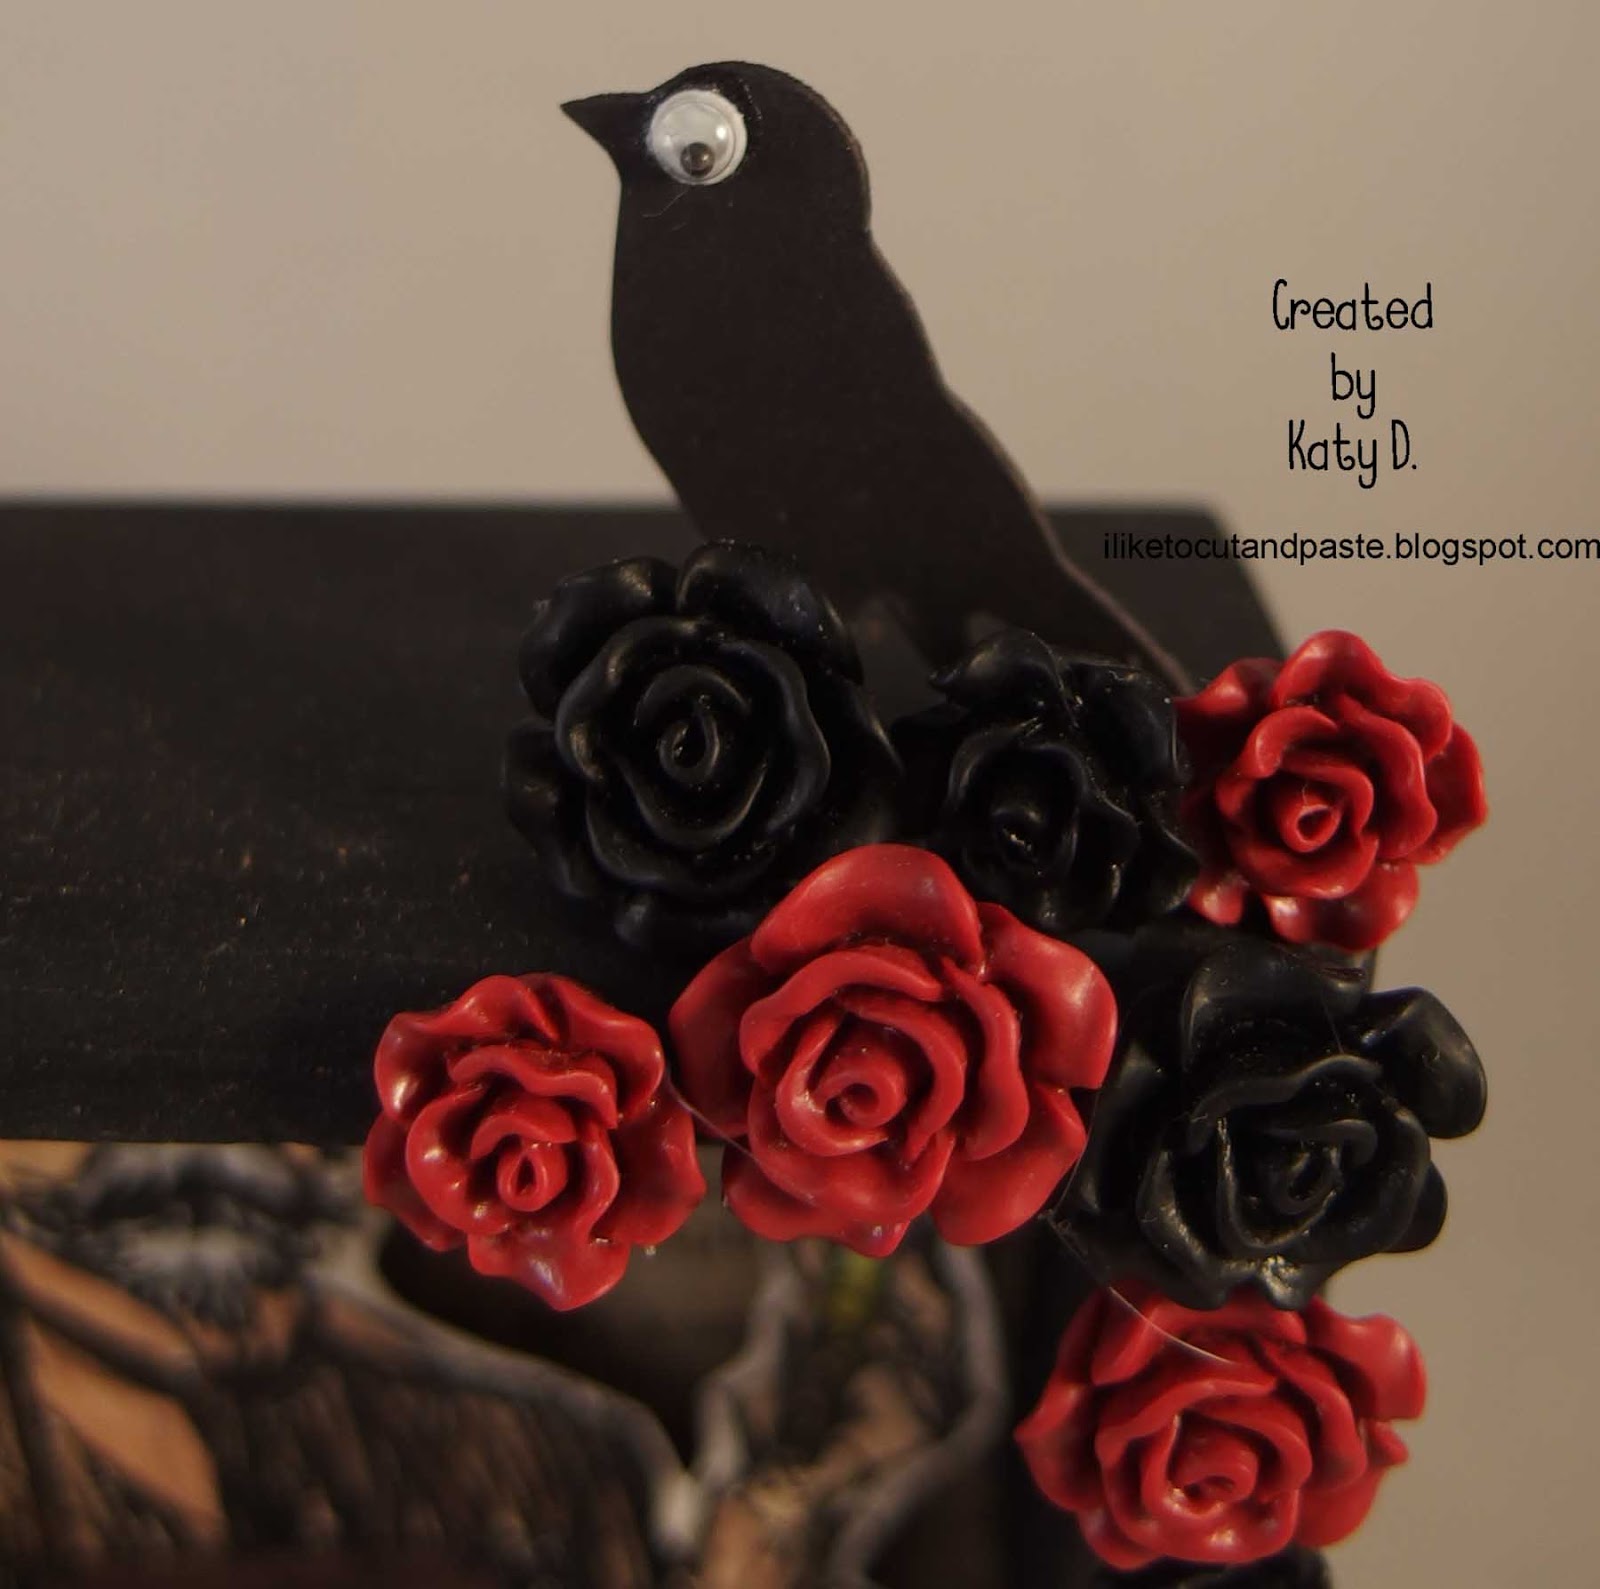
This cool bird is from Tim's mover and shaker die cuts.  And the cool resin flowers are Tim's.


This is an awesome Tim pumpkin-which is oranger when you buy them.  I used distress walnut ink to make it fit with the rest of the vingette.


And that's it everybody.  Thank you for stopping by today!  

Until next time....Make Halloween! :)

Thursday, September 28, 2017

Birdhouse Makeover

Hello Everybody!

I am so excited to share this project with y'all.  It's been awhile since I've made a project like this.  There's a lot of pictures so get ready!

I bought this birdhouse at the thrift store.


Here's the back.  I paid $2 for it.  Woot! Woot!  It's time for a makeover!


I'm not sure what direction I'm going to go in.  So I gesso it in case I decide to paint it.  And I took off those sad little butterflies that look like moths.  LOL ;)


So I decide not to paint it.  I am going to try to steampunk this birdhouse out!  I have foil tap paper.  But I'm curious to see if Aluminum Dryer Vent Tape will work because I don't have enough to cover my birdhouse and this is more readily available.


I use Ranger/Tim Holtz alcohol inks-grey and black on the aluminum tape.


Then I take the piece and run it through my embossing machine using a T.H. brick embossing folder.  So far so good.


I use this red pepper alcohol ink to make the bricks red.


That looks cool. :)  I peel off the adhesive back and mold it to the birdhouse.  It's already in strips because of how the tape comes-so the width is handy in this project.  I don't have to do a lot of trimming.


Here is the finished birdhouse.  Keep scrolling for side pictures and closeups. 


I used the same technique for the roof-but I used the "metal" embossing folder.  Still a Tim Holtz embossing folder.  I added these cool metal gears my husband got me one Christmas.  I think he bought them from Amazon.


Here is the back.  I couldn't figure out if I should do something on more on the back.  But it's the back-and except for y'all-who's going to see it? :)


This is the left side.  More cool gears.


This cool metal bow came from a Steampunk Show I went to.  I love it!  The house number is a Tim Holtz ideology thing.  Love! :)


The bird and metal flowers are Tim's.  There is a gear in the center of the left flower-it's from where my other gears came from.  And I used a Tim Holtz wire with a circle thing for the stem of the flower.  I had to use a white Faber-Castell marker to kind of highlight the metal pieces.  I used alcohol ink on them and everything was so dark.  The white sort of out lines the pieces and makes them pop.


Here's a closeup of the bricks.  I love how they came out, and they have a nice shine.


Thank you for stopping by.  :)

I am submitting this Steampunk Birdhouse into the following challenges:


Until next time my friends...keep that steam going! :)


Sunday, February 12, 2017

Steampunk Valentine

Hello Everybody!

I am so excited to show you the card I made using the Queen and Company Heart Throb kit with a Steampunk Flair!

First here is my card:

Here is another picture of it.


Here are the products that I used to create it:


Plus I used Q and C's heart die and a heart foam.

For the background I used the foil cardstock.  But it was too shiny-so I inked it up with black distress paint.

I 
I also inked up the heart foam for the shaker part.  I used the black distress paint for that as well.


I realized I had to do the inside too! :)  


For the heart shaker I used the foil cardstock.  I embossed the inside with gears and used the preserves and black distress inks.  I used the black distress ink for the heart outline as well.


Then I filled it with all of those wonderful things-microbeads and diamonds and a few sequins.  But there are 3 silver little gears in there also.  They came from this earring that I bought at a Steampunk show back in January.


I'm saving the other 2 gears. :)

Here is another picture of the heart.  


For the sentiment I used black and white cardstock.  I cut it out on the Silhouette and then made the background from there also.  I used the Ken Olivers liquid metals silver to make the sentiment sparkly.

Thank you for stopping by today!

I would like to link this up to the following:


Thank you for stopping by!  Until next time my friends-may love fill your heart! :)