Showing posts with label paper clay. Show all posts

Monday, July 11, 2022

Smile Canvas

 Hello Friends!

I am playing along with the challenge at The Funkie and Frilly Boutique Blog today. The challenge is called Stencil Mania and you are to use 3 stencils on a project. Funny story-I made a card (the post previous to this) using a stencil and a fun technique. I was all happy until I went back to make sure I had everything right-to find out that you need to use 3 stencils and not 1. LOLOL. So here is my project :) (And I'm glad I double checked!)


So I made this canvas board a long while ago. I guess I get distracted and this stays like this until now. (I have many other things started and not finished. I may have a problem.)  I painted it (with what I apologize I don't remember) and I used Finnabair stencils. They were probably new at the time and I just wanted to do something with them.


Here are the 2 stencils. (wait shouldn't there be a third? wait for it... ;) )
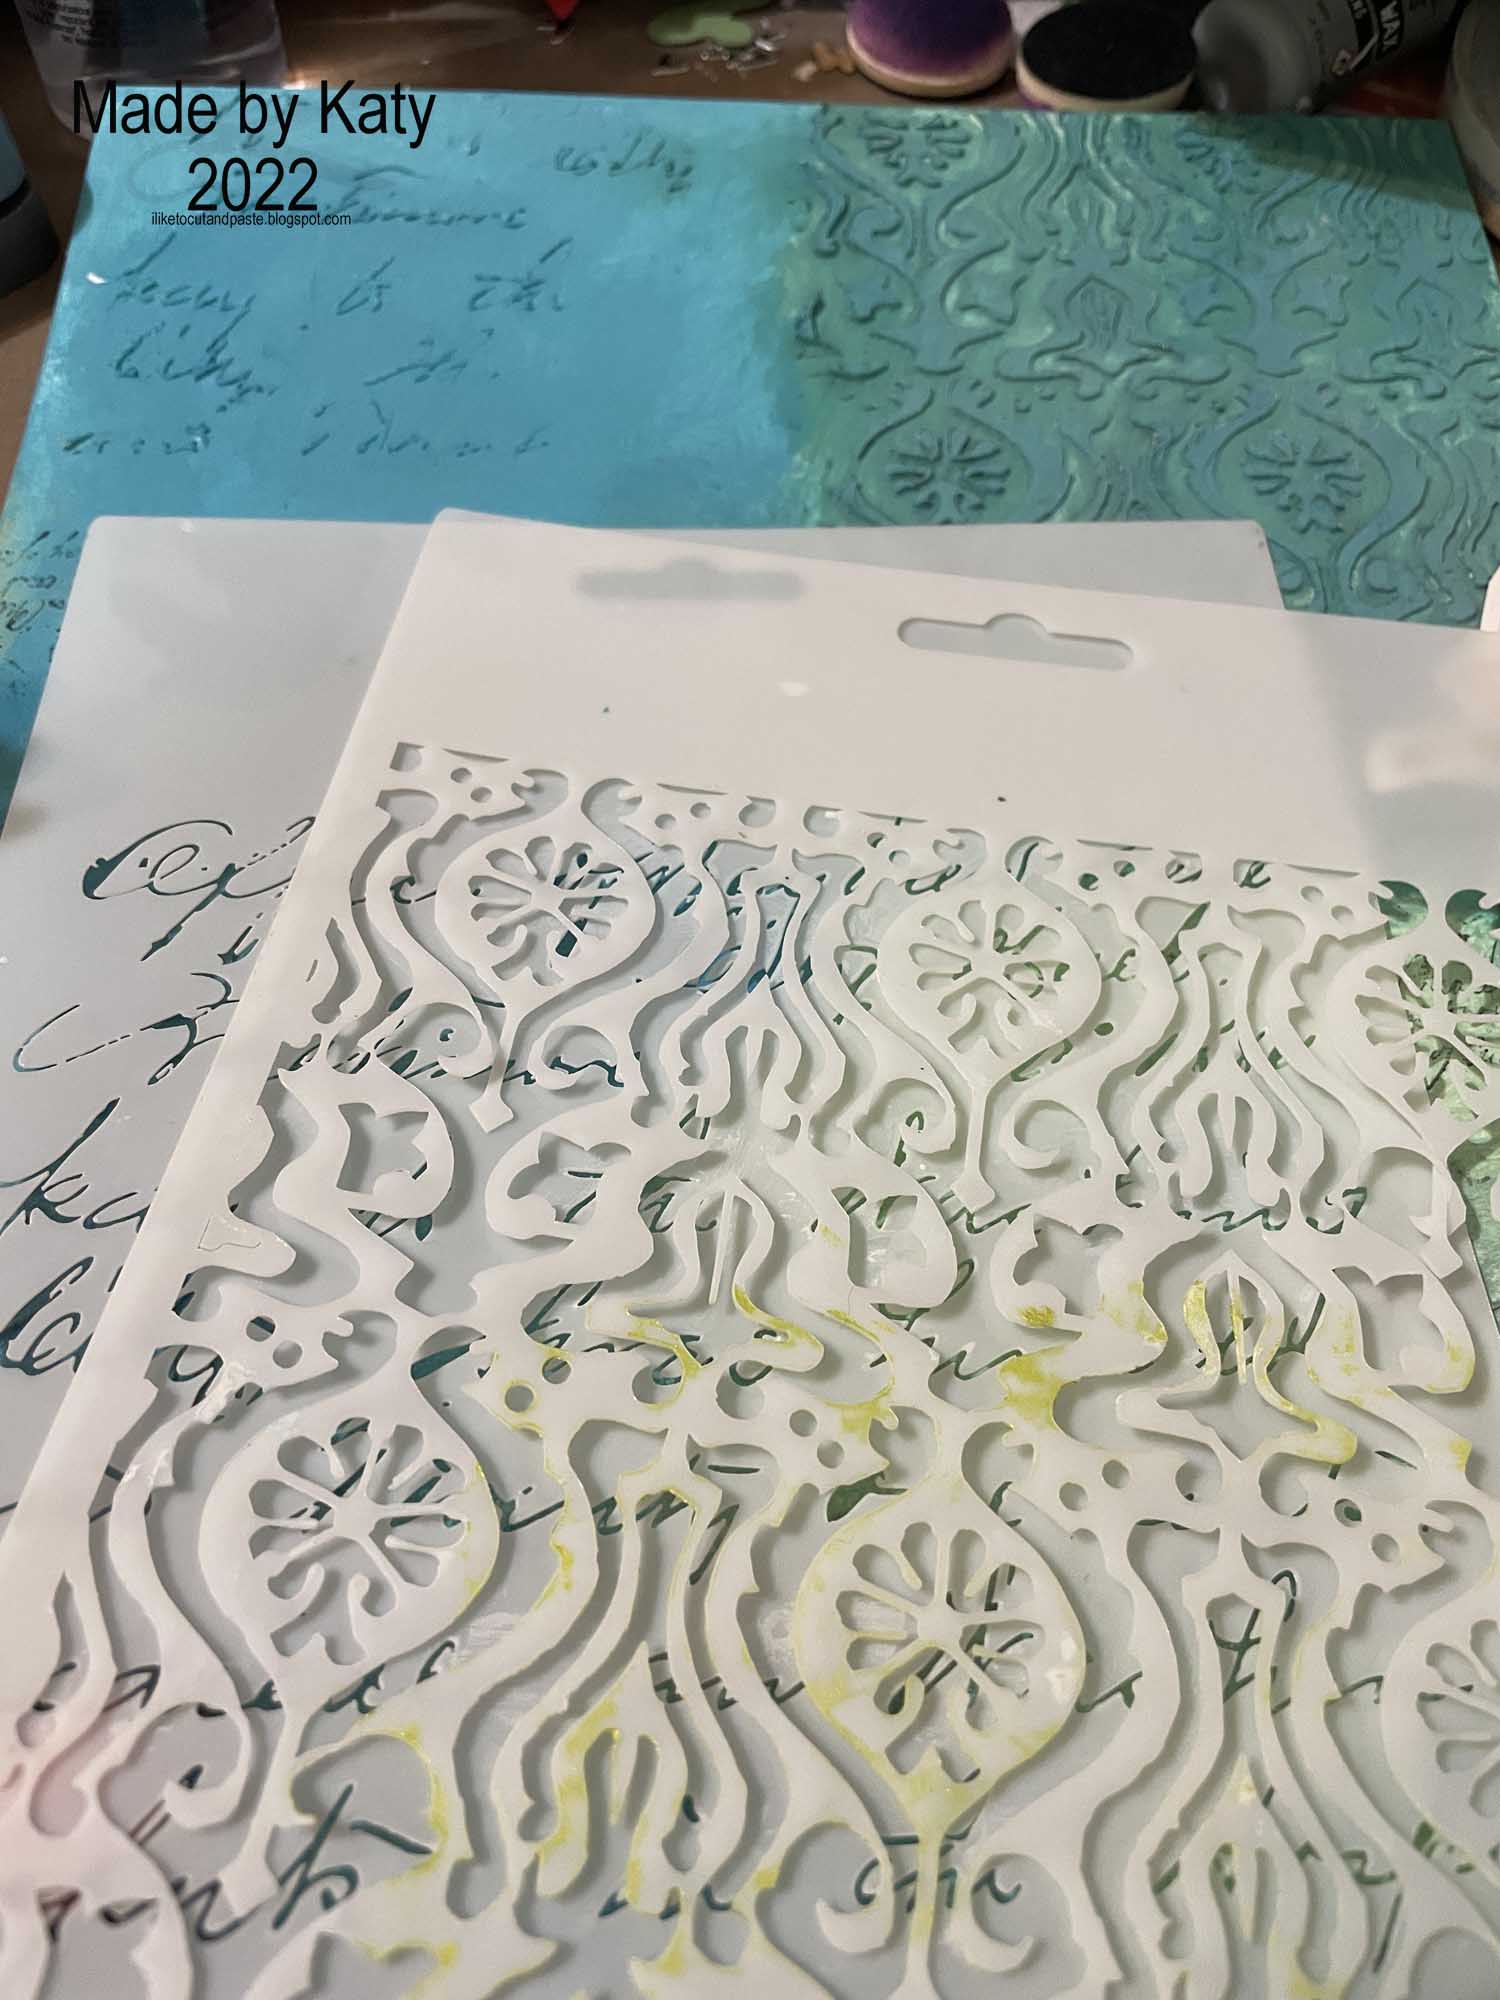

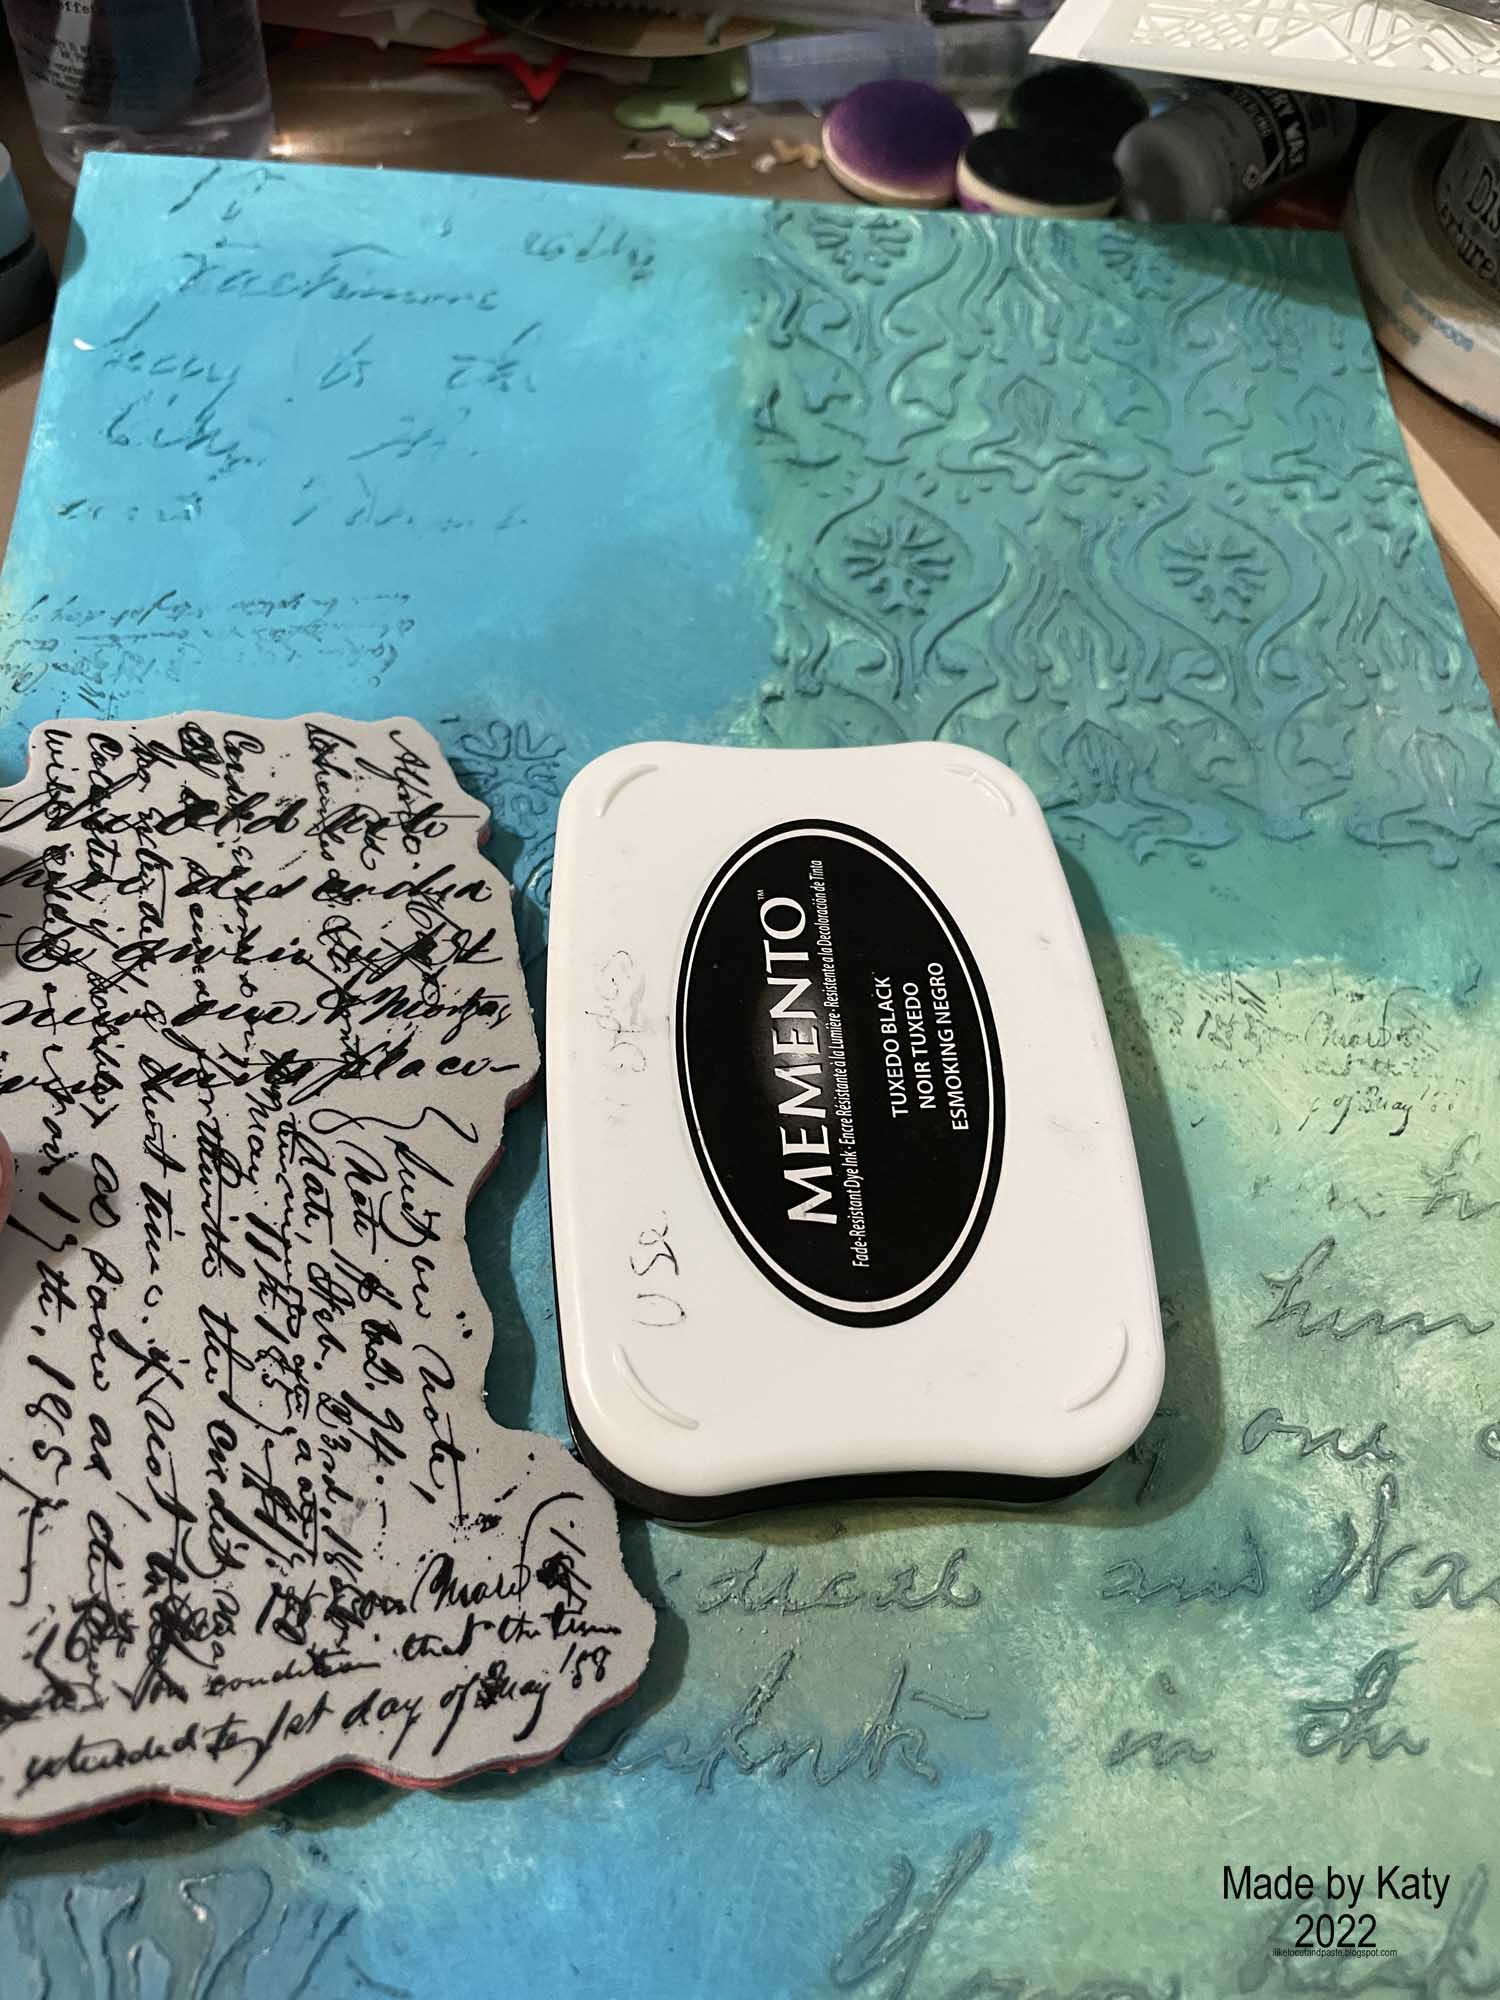
I also stamped a partial of this stamp in 3 areas, but 2 of those places were covered up. 

Here is the 3rd stencil. :)  Those are two clay bolts from a finnabair mold painted with raven black sparks paint.  Tim Holtz smile flash card-torn and inked with vintage photo.  And I think the paper with the words is a Tim Holtz snippet or something. (I have layers, ephemera, and snippets all in a bag so you know it's a little crazy in that dept)


This is a Paige Taylor Evans stencil and I used Peacock wax by Finnabair.


Here is the base. It's an artboard so it's thick but maybe not a thick as a thin canvas? I don't know.  These looked like possibilities when I bought them. So far 1 possibility so not bad :)  Oh and they measure 9 inches wide 12 inches tall.


So this is a little creative process here. I make the molds ahead of time. And I have a good many.  I love making them. :)  So this is me trying to figure it all out.


This lady and this whole piece here is a photo transfer from Finnabair. Like a big rub on in color. I just put it on a piece of cardstock and cut out the cardstock. I am sure they are meant to go in journals and stuff but my journal is small and I really just love this and thought it made a great centerpiece.


So here is how everything played out.  Gears, clocks, postage stamp, and an ornate metal piece.  I used these paper (I guess) ball like things and painted them purple to anchor all of the pieces. And I painted everything with a sparks finnabair paint. Some I rubbed a little wax on like the big clock-vintage gold. Oh and I highlighted parts of the background with Unicorn's Hair (one of my faves).


For the construction I used craft foam to lift some of the pieces. Like the camera girl got 4 pieces and then the pink clock 3 and the square stamp 2.  This is how I layered them-and I used hot glue-between the craft foam layers and the gears, clocks, etc.  The paper balls-I used glossy accents and a pin to move around the glue a little bit.  For the smile piece I used zip dry because I find that it doesn't wrinkle paper. I love this glue for banners also :)


And here is the finished piece again. Thank you for stopping by! :)


Wednesday, June 22, 2022

Use Your Wings Card

 Hello Everybody!

Happy Summer so far! I created this card for a graduation-I am a little late-but better late than never!  So this is for my cousin :) Yay! And it's not a traditional cap and gown but I think that's ok.


I used:

Tim Holtz Silver Cardstock (background)
Sticky Sheet
Finnabair Fine Metallic Flakes-Dublin
Air Dry Clay and Mould from Finnabair for the butterfly
Tim Holtz Quote Chip
Tim Holtz Sterling Foundry Wax
Finnabair Peacock Wax
Brads

So I was watching a Sizzix video and Pete talked about using metallic flakes with an adhesive sheet-and that is what I did for the pretty green/blue/silver panel. He embosses his but I couldn't. At least not this time around-I just thought it was gorgeous. I also sealed it with modge podge so it doesn't rub off too bad if someone touches it.

The clay butterfly-I just directed applied the foundry wax-little by little and as I rewatched Tim's video so I did it correctly).  When the butterfly was all silver I then added the peacock wax over the highlights.

I used my crop-a-dile to make holes in the quote chip and I put some brads to make it look more finished since I didn't ink it or anything.

I used glossy accents to glue the butterfly and chip quote.

I am linking this to The Funkie Junkie Boutique Challenge Blog: Stuck in the Middle.  The butterfly and sentiment are in the middle :)

Thank you for stopping by!


Sunday, March 6, 2022

Limited Edition Mixed Media

 Hello Friends!

I am so excited to share with you this 6X6 Canvas Magnet that is all sorts of grungy fun!


I love love love mixed media and knew I had to participate in this challenge. Also, I watch Ana from Finnabair do a live stream on her new products and I was totally inspired to make something. She had these canvases that had some clay pieces and they were showcasing her new waxes-but they easy looking to make. So I knew I wanted to make something like that and this evolved from it.

This is what I started with: the 3-d gear folder from Tim Holtz/Sizzix, Ranger foil sheets, and the canvas magnet itself. The canvas magnet is a thin canvas that has a magnetic backing. Look at how shiny that embossed foil is!


Then I painted it black and once dry I scuffed it up with steel wool.


This is a foundry number from Tim Holtz and I edged the outside of it with black paint and wound up wire through the holes. When it gets glued down I actually glue it on top of 2 pieces of craft foam to give it dimension.  Underneath this is a Tim quote chip that I also edge with black paint. It it thick on it's own so I glue it straight to the canvas.


I used metal gears for depth. But I wasn't feeling the copper color so I painted them black.


The main centerpiece with the gears and the gentleman are clay pieces. I used finnabair and stamperia molds. On the  main gear I added some paper stones and microc beads.


Here is the canvas-now it's time for Finnabair waxes! 


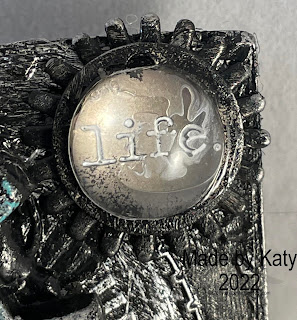
This is so cool to me-lol. It's a gear painted black with a word coin from Tim Holtz (I used distress picket fence to make life pop.) Then I put a Finnabair Melange on top and it made the word life bigger. The glossy accents seemed to have dried weird but that's ok. 


Here are all of the colors of waxes that I used on gears. Old silver is just a favorite-what can I say?  :)


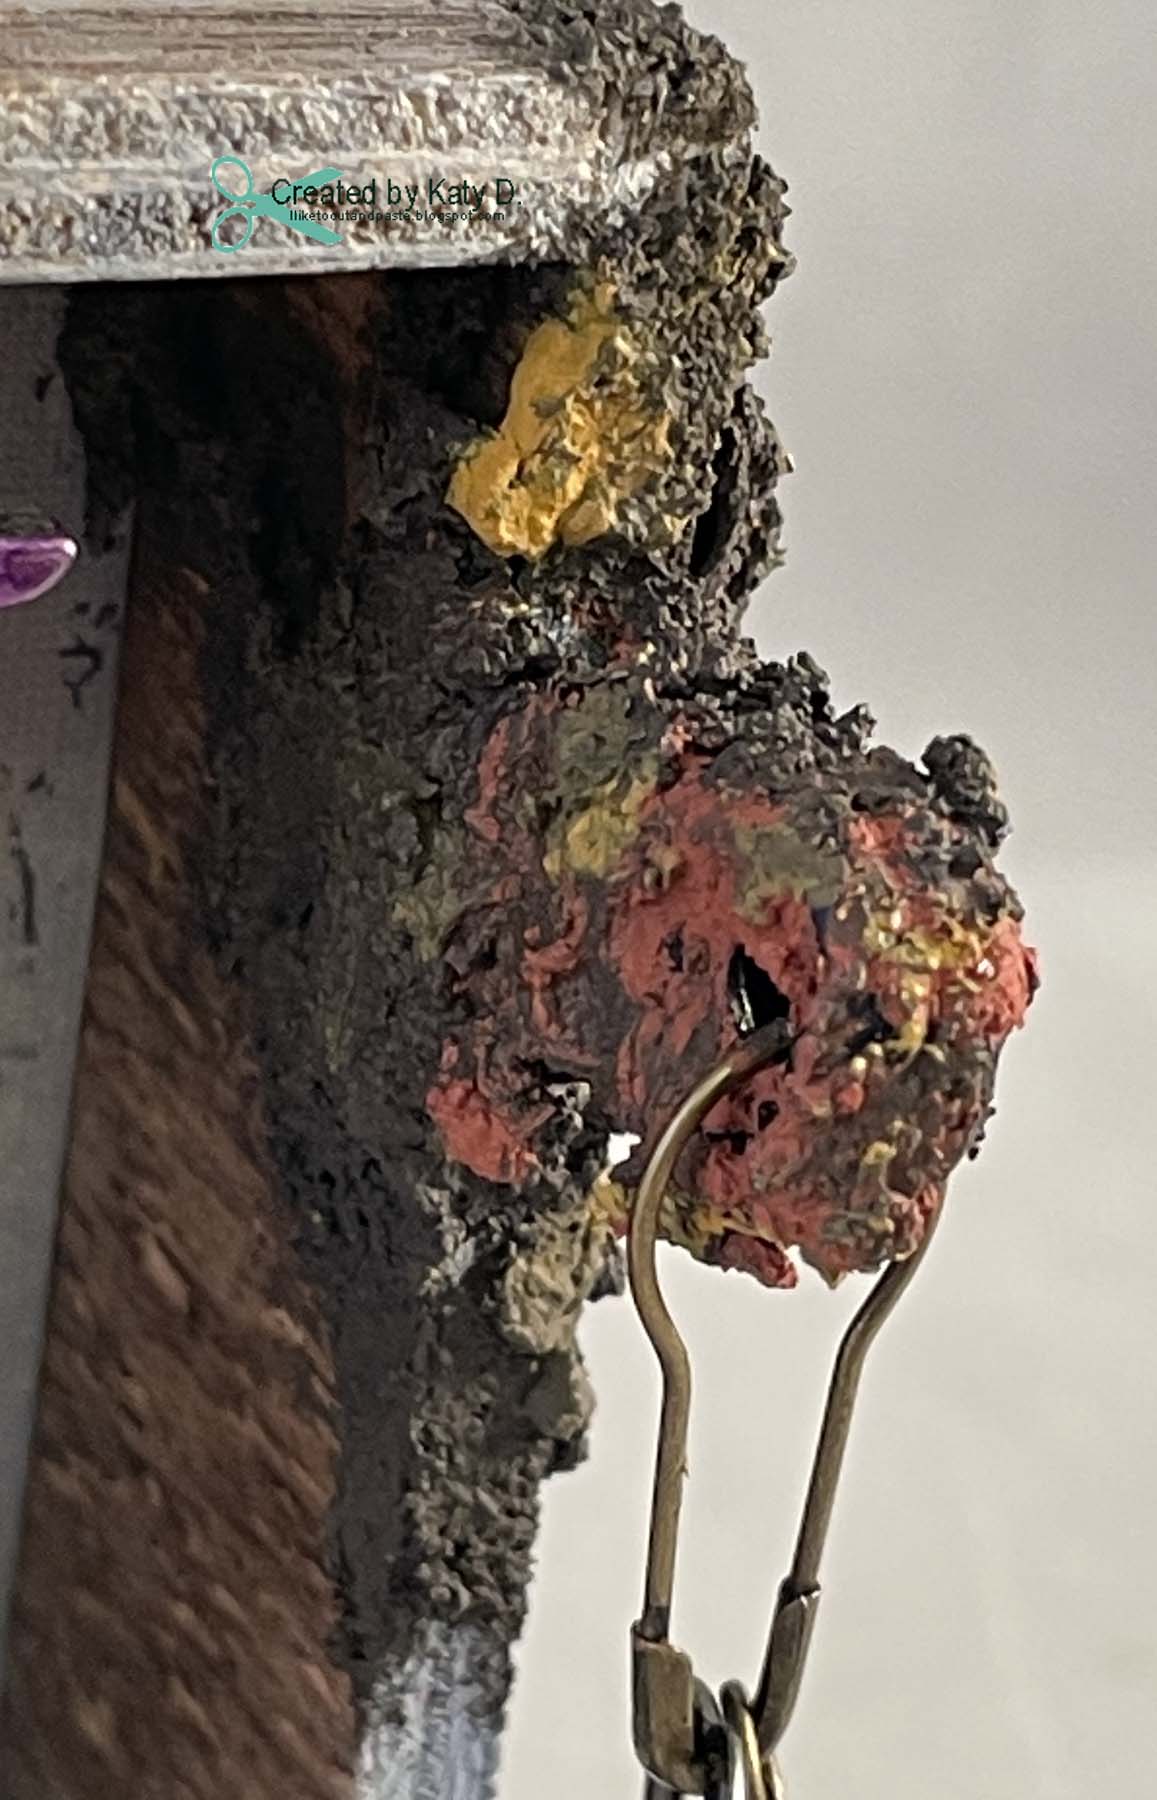
Here's a side view of my project.


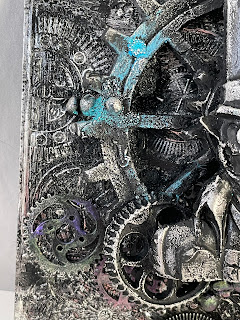
Here's a close up of the gears and area "painted" with the Finnabiar wax.


Looks like there's a little patina on the big gear :)


And here is a picture of the finished canvas. It was awesome to make a steam punk project again-it's been a little while ;)

                                               
Thank you for stoppin by! :)


Sunday, October 10, 2021

An Uninvited Guest

 Hello Everybody!

I am all about some Halloween right now! I made this 6X6 Magnetic canvas.

The inspiration for this canvas was the skull.  I made it using a Finnabair mould.  It's the largest skull.  I painted it with tim holtz spiced marmalade distress paint. Then I sprayed it with the tarnished brass distress mica spray to see what would happen. LOL It stuck on there! and then I used some black paint to highlight and tone down the skull.


I used stencil THMM128 so it had both skulls and that cross design. The stencil came with a halloween stamp set that is Tim's/Stampers Anonymous from Joann's.  I used a Golden light modeling paste.

I sprayed the canvas with the distress mica stains-flickering candle, jack o lantern, bubbling caudron, and hocus pocus. I didn't use gesso. I sort of went back and forth on this because I usually do but I liked the linen texture showing through.

When the mail came my order from Simon Says Stamp was delivered-Woo Hoo! and in it I had ordered the transparencies and that is where the bat wings came from.  I used the black mica flakes from Tim also. I love them! and then I used black micro beads from recollections.  I also die cut a leaf branch from the sizzix/ Tim Garden Greens 661206. I used the same one like maybe 6 or 7 times and cut it out of black cardstock.

Oh and that cute little scared ghost is from the Frightful Things die cut. This die cut set is seriously one of my favorites for Halloween.  I used a spring from Hampton to make him 3-D.


I am entering this Halloween canvas into the following challenges:


Crafter's Castle: Anything Goes #46 Theme fall and fall holidays

Thank you for stopping by! 


Tuesday, May 4, 2021

Vintage-y Birthday Card

 Hello Friends!

I made this fun card for a friend of mine. She's got a an awesome heart and loves Jesus-so the sentiment is perfect. 

Here's the card:

I stamped images on the cardstock paper and used walnut stain around the edges. The frame is so cool. It's a Tim Holtz frame that I added Finnabair rust pastes too. The inside is a ephemera from Tim Holtz. There are some flowers there that are Tim's also. 


This metal sentiment is a Tim Holtz thing as well. 


And lastly, this paper doll is Tim Holtz. However the cross she is holding is from a mold I bought from Michaels and painted with sparks paint from finnabair. I love this paint! :)


I am submitting this into the Simon Says Stamp Monday Challenge: Feminine. 

Thanks for stopping by! :)


Monday, May 3, 2021

Summer Time Mixed Media Canvas

 Hello Everybody!

I love summertime! So to kick it off a little early I made this 4 x 4 (inches) canvas.


The trees are paper clay and a Finnabair mold. I painted them with golden paints and used a finnabair vintage gold was to highlight. 

On the canvas is finnabair patina paste/paint. I glue shells and a sand dollar and painted them with different finnabair sparks paint. It is so pretty! It's translucent so you don't loose the shell like with an opaque paint. I filled in the spaces with silver micro beads. On the island I used a sand and glue product from a company called muddpuddles. And some word stickers from Tim Holtz-upon a shore. 


I am entering this into the following challenge:

Crafter's Castle: May 2021 Anything Goes

Thank you for stopping by! :)

Tuesday, April 13, 2021

Orchid Vignette Box

 Hello Friends!

I am so excited to share a cool vignette box that I made for a friend of mine. :)  My friends loves and takes care of orchids-so I had to make sure I incorporated that into this box. It was a thank you from me to her. Sometimes cards just aren't enough ;)

So here is the vignette box:


I made these orchids using a silhouette design store file and wilted violet and wild honey distress oxide inks. The leaves are from a tim holtz funky floral die cut set and I trimmed the leaves to look like this. I did a little paper shaping, also.  I used a botanical rub on on from tim holtz in the background.


This is an adornment metal charm from tim holtz. I made it purple with alcohol ink.  And the dreamer of dreams is another rub on from a different set. 


There's another picture of the orchids because I love how they turned out. They are in a little tim holtz jar (corked vials) and I glued the stem to the side of the jar to keep the orchids from moving around.


The background is a tim holtz wallpaper that I colored with vintage photo and broken china distress oxide. The bird is clay and made from a mod podge mold. I painted it with a finnabair sparks paint-butterfly spells.


Rust! I love to create rust! I used finnabairs 3 paint/paste rust effects. This is over a clip thing that has a whole in it. Originally, it was an orange clip from Making Memories. Then I painted black gesso over it and clipped it to the side. I made the rust happen and used extra jump rings for the time coin and antique gem- both are tim holtz.


Here's a side view.  I sprayed stormy sky distress oxide spray onto the box so it has a blue tint.


Look at that rust!


Another view.  The paper doll is from tim holtz.


This is the 2nd smallest vignette box that Tim sells. I also added antique glass glitter from Melissa Francis along the corner on the left and the bottom.  I feel that I need more glitter in my life and used it here. :)


I am submitting this cool vignette box into the following challenges:

Path of Positivity Challenge: #90 Smile/Laugh This is a thank  you for my friend for helping me. I know she will smile when she sees the orchids. :)

Use Your Stuff: #420 Spring Easter

Thank you for stopping by! :)

Sunday, March 21, 2021

My Love for Finnabair

 Hello Everybody!

This is an origin story-LOL. I was going through my pictures-and I realized that this is a project that I haven't posted anywhere. Not on my blog or Insta or FB. And I don't know how it happened but it's important for me to post it.  Wait--I made this project in January 2020 (I checked the date on the unedited pictures.)   LOL then things got busy and then there was a pandemic. 

It really did start my love for Finnabair moulds and waxes. So I was watching YouTube and watched Ann from Finnabair do an altered tin project. You can see it here. I was really inspired and thought-hey I can do that. 

Some how I had started making a few moulds. I had faces from sculpey.

So I got a mint tin. (Look there's two-but still to this day one still is in it's original state lol.)


I painted the whole thing in black gesso. I followed the video with what supplies I had.


I made this using a Tim Holtz sticker word. Maybe I had the Melange art pebbles already? I don't know but I was excited when she show how to make this. I adhered fine glitter behind the word.


Here is the bottom part started. There is the sculpey face and some little bit I put in the tin. That is silver paint not wax on the moon face.


Painted black gesso over everything that I knew would be permanent.


Here's the front of the tin.


Here it is now. This is some sort of mesh  that I adhered to the front of the tin.


I had a Finnabair paint-one of the opal magic. I painted blue first and then highlighted with the opal magic paint. There's my create art pebble.  I also started to add some fun glitter.


Now here is the front. It's possible I had a silver wax but I kind of think that was silver paint at the time.


And here is the inside. I also added some silver star sequins.  And I have loved Finnabair ever since. :) 


Thank you for stopping by!