Thursday, October 13, 2011

Halloween Project--Entry for Paper Bag Challenge

Hello Everybody! 

Happy Friday to you!

Today's project is going to be a little different than normal.  I am doing a Blog Challenge for the first time!  It is for Lessology which is totally a cool blog.  The challenge was to use a brown paper bag and use an upcycled item.  Go check it out!  It's really cool to see how other people interpret the Challenge.

Here is my finished project...a trifold picture display with a hidden pocket on the side.  First, I'll show you how I made the ghost, and then how I made the whole thing.


My upcycled item is the ghost.  I love the ghost!  This is how I made him...

I took a Target plastic bag (which I think works better than others because of the material it is made from)...


...and cut out a square about 3x3 or 4x4, I just kind of eyeballed it.


I draped it over my thumb (like a ghost) to make sure the size was correct.


I cut the handle part of my bag and made it into a ball.


Then I covered the ball with the ghost square and twisted the "neck" part of it.  I tied a piece of white floss around it to keep the shape, and clipped close to the knot.  I shaped the flowy part of the ghost and added googly eyes.


OK!  Now to make the display, I take my lunch bag and measure it out.  I fold my bag into 3 sections.  I put the measurements on the bag because I am going to cover them up.  The first thing I cut is a piece of black cardstock so that the back will be covered.


As I match up my cardstock, I use my bone folder to make clean folds.


Here's one of the flaps before....

Now after...

Here's what my adhesive looks like (I like old school photo splits.)


All 3 back sides are covered and adhered.


However, I didn't cut my piece big enough, so I took some black paint and went over the exposed bag. 

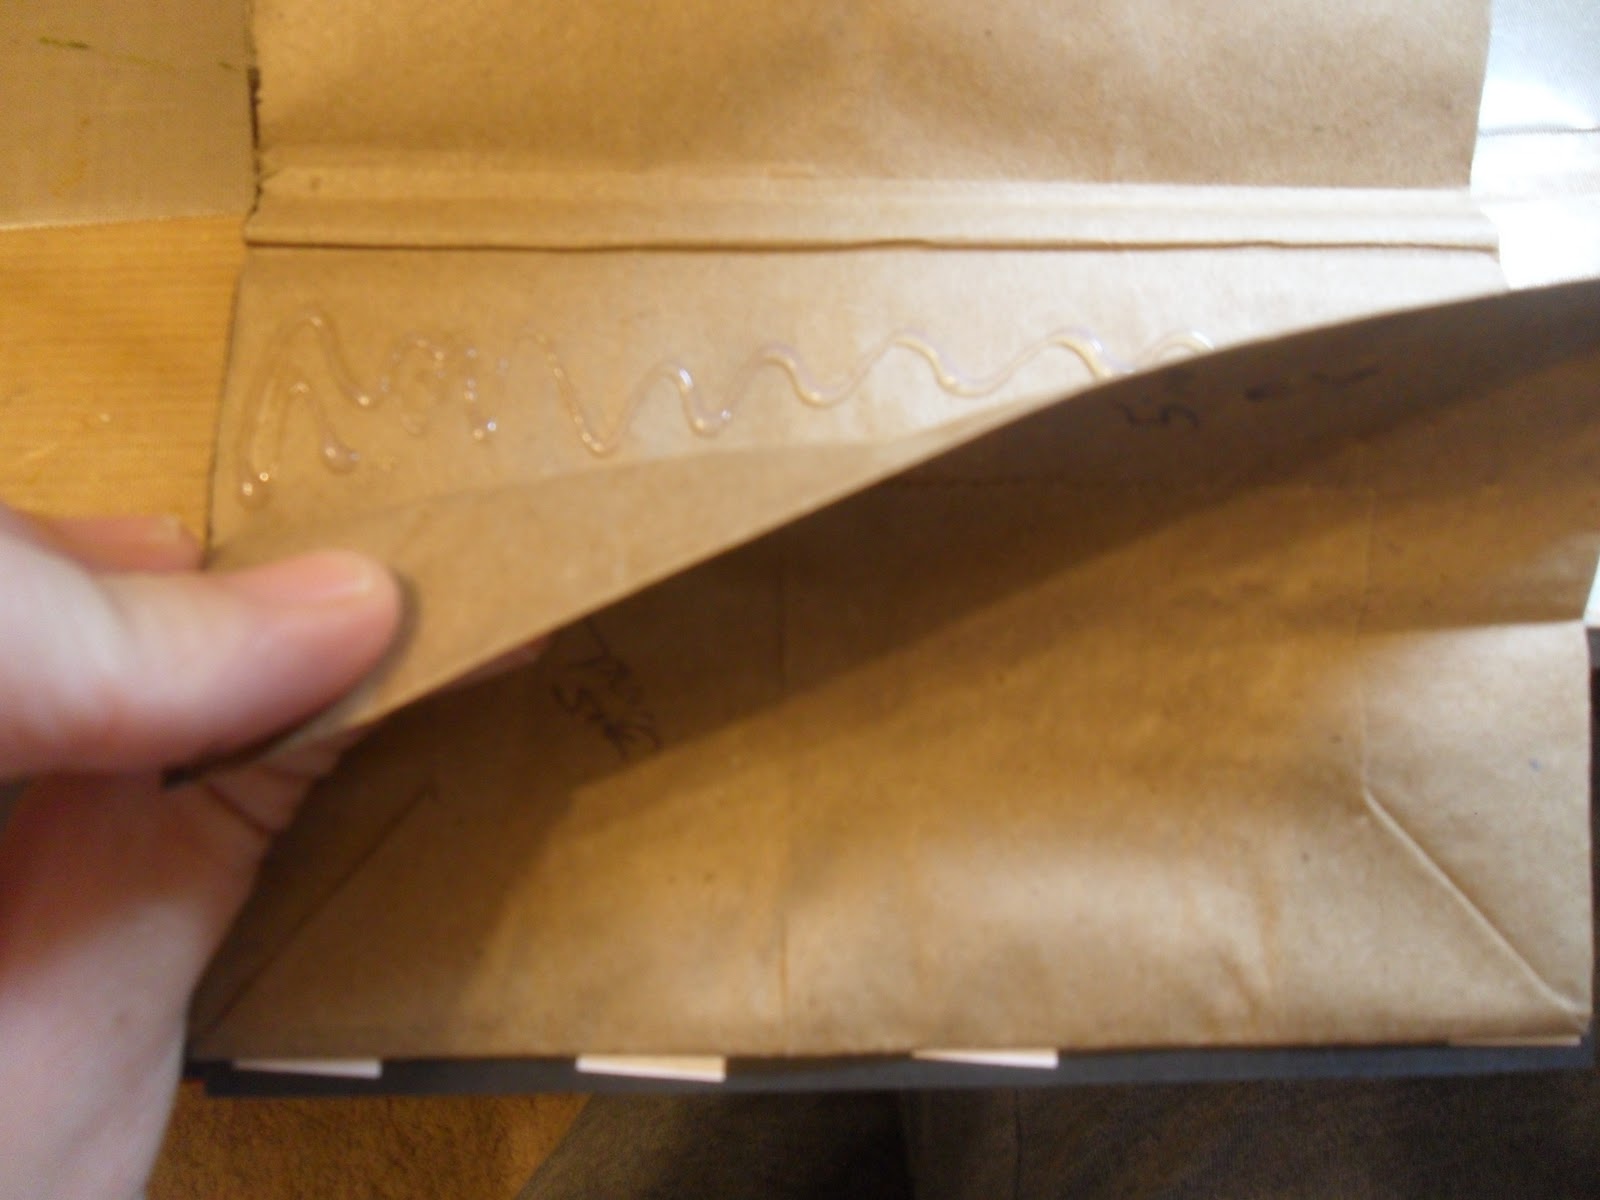
Using Glossy Accents, I glued the top parts of the bag to the cardstock.


Also, I glued the bag flap down.  However, there is the opening of the bag which is on the side when "standing."  Leave this alone because it will hold things later.

So one of the things I got for my birthday was a set of Martha Stewart spider web punches.  I punched out black cardstock using the straight and corner punches.


Very cool!

I adhere my border to the paper bag side (which is now the front side) using red line tape.


Here is how one side looks.

Spider webs finished!

I cut a piece of patterned paper to cover the rest of the inside of the paper bag.  I thought about doing each pattern differently, which you can totally do, but for me I chose one piece to fit in there.  For me I wanted to make sure I had cohesion.  I am entering my first contest after all!


I adhere the patterned paper and keep a black border so I cut off the excess.


Now the fun part begins ;)

I cut a 31 out of black cardstock from my new Cricut cartridge, Boys will be Boys.  But I liked the negative better than the positive, so I'm using that.


I put candy corn paper behind the empty 31.


From these EK Success stickers I added "st" to the side of the one.


Now believe it or not, these are paper punch out letters that I bought at Joann's for $1 a long time ago.  Yay!  I found 3 of these letters a new home! 


These letters go behind the 31 square so this is what the back looks like.  I put them on with Scotch tape.


Here is the front...

So I put the Oct 31st in the middle center.  I put 3 pictures on my display.  One of them I mounted on black cardstock.

 I added my upcycled ghost to the left hand top corner.  I put a spider on the right side.  The bat and glitter cat you see came from the foamies package I bought at Target a few days ago.  I added googly eyes to make them more fun.  Plus my husband loves googly eyes...so why not?

Now for the secret compartment!  Because this is a brown baggy, the opening is natural.  I put a tag there (cut from Cricut-George) so you could see the opening.  I made a couple of tags so I can put the journaling on them.

I added a cute Stampin' Up spider (from a set of old Halloween stamps) to one of my tags.  I added fun yarn to the tags.

 Here I have the tags sticking out a little so somebody would know they are there.


And here they are gone.  So you can display the tags either way.  If you were giving this as a gift you could put a gift card in there. 

This was such a fun project to do!  Until next time my friends...stay innovative!


Tuesday, October 11, 2011

Tidbit Tuesday-Martha Punches (on Thursday today!)

Hello Everybody!

Wow it's been a busy couple of days!  Firstly, I added blogs I recently visit to the side.  Each one is different and cool so take a look!

My birthday was a few days ago, and I got so many fun scrapbooking things!  I got a couple of Cricut cartridges, different color Alcohol Inks, Copic Markers, some Sew Easy accessories, and a Martha Stewart Halloween Punch.

The Martha Stewart Spider Web Punch is so cool.  It has a corner punch so the web is seamless should it need to go around a corner.


Here is an example of what it looks like punched out.  I am very excited about the possibilities with this.  Be sure to stop by Friday for my very cool project featuring these spider webs!  Until next time my friends...stay punchy!

Thursday, October 6, 2011

Halloween cards on a Budget!

Hello Everybody!

I am so excited to say that I made 2 cards from 1 packet of my fabulous Target find from Tuesday.  Let's get started!

The first card I use my normal card base, scissors, and glue (dry glue--photo splits).  I'm telling you this because I thought, what if I didn't have stamps or punches or a bunch of different scrappy things.  So the first card is just paper and the basic of the basics...

Included in the pack is plain black paper.  I cut it to the size of my card.  I use dry glue because this is not a thick paper and wet glue may cause the paper to buckle.


I started cutting words out of this cool paper.  I started from the bottom, that way I can use the rest of the paper in a different project.


I cut out the squares with Halloween icons from this paper.  I cut from the left here...the icons are different in each column.  I didn't start from the bottom because some of the icons are cut off. 


I adhere the squares along the top and bottom of my card.  The squares are 2 toned from the paper, and I keep them that way. 

Now I add the words that I cut out.  I cut my photo splits in half so the adhesive is hidden.  The inside is blank.  If you have a Happy Halloween stamp put it on the inside or hand write it. 


My next card I used some of the things I already have.  I cut the spider paper to the size of my card.  This paper came from the first set of papers where the words and icons came from.


I have this "yarn" stuff.  I don't know what it's called because I've had it for a long time and don't have the label for it anymore.  But what I do with it is easy.  I just wind it around my finger a few times.


I made a little ball.

I get my red line sheet adhesive out and cut a small circle out of it.  Taking the backing off of the sheet, I place the circle in the middle of the card.


Then I take off the top part of the circle to expose the sticky adhesive.  I put the little ball of yarn on top of that and try to hide the end of the yarn on the underside where the adhesive is.

I add googly eyes to the ball using Ranger's Glossy Accents (a wet glue).  You may can use glue dots too, you just want to make sure the eyes stick to the texture of the yarn ball.  This is going to be a spider (as if you didn't already know)!  Then I cut eight "legs" out, trying to keep them about the same size.


With the Glossy Accents I make a thin glue line with the joint for the spider leg.  Then I carefully put down 1 of the short pieces of yarn on the glue.

All done!  One thing to keep in mind is the bulk of the spider body.  You may want to put it in a larger envelope so it will arrive safely to its destination.  A substitution would be to use regular black yarn, and you could add glitter to it to make it snazzy!  Until next time my friends....stay spooky!

Tuesday, October 4, 2011

Tidbit Tuesday--New Halloween Supplies

Hello Everybody!

I have been very good about not buying any new stuff---but yesterday that changed!  I went to Target, and they had Halloween scrapbooking stuff in their $1 bins at the front of the store.  SHRIEK!  They have paper, stickers, foamies, and stamps.  Go now!

I got 3 packets of different paper, 2 have 12 sheets, and 1 packets has 8 sheets.  That is still less than 10 cents a sheet!  Awesome.  The stickers were $2--I splurged!  So my whole "kit" cost $6. Shh...don't tell my husband ;)

Stop back on Friday to see a creative project using my new goodies!  Until next time...stay thrifty my friends!

Friday, September 30, 2011

Time for Halloween!

Hello Everybody!

October hasn't even started, and it is a busy month!  There's Breast Cancer Awareness, Oktoberfest, Halloween, and I don't even know what else!  Whew!  Well I have held off going Halloween shopping until Oct. 1st.  Then woohoo!  Here I come :)  So to start off my love for Halloween here is a card using the Tuesday Tidbit technique...

Here is my big o' mess of orange yarn.  I have had this so long, I can't even remember where it came from, but I'm glad I have it for this project!


On Tuesday I used wet glue, but today I am going to use the red line sheet.  It's tacky on both sides.  Very tacky!


Using my 2 1/2 inch circle hole punch, I sort of cut a hole in the red line sheet.  Scissors help me free my circle!

I peel off one side of covering so one side of adhesive is facing up.


I start my orange yarn piece.


And I start the circle shape with my yarn.


Lookin' good.  This can be somewhat challenging, trying to keep all sides even and your hand out of the glue!

It's almost done!  Because there was more of the adhesive circle and the top, I took my yarn (without cutting) half way down, brought it back up halfway, came back across the circle and did one more circle with the yarn to complete it.  (I hope that made sense!)


I tried to stick the end piece kind of back into the circle so it isn't hanging out loosely.  All done...Now what?


Get out those black scraps!  Time to make this jack o' lantern a face!


To make the stem I used raffia.  We probably all have this at our houses!  This is just green, and you seen how much I have!  I cut off maybe an inch or so, and don't unravel it.  We want to keep it wound up.  Put it to the side.
Next I took black card stock measured to fit my card and adhered it to my card.  Then I took a piece of Halloween ribbon and went up about a quarter or so from the bottom.  The ribbons came from Hobby Lobby, part of their Paper Studio line.  I adhere the piece of ribbon.


OK, so now I carefully remove the back of my pumpkin.  Here is what the back side looks like.  Pretty cool!

Now I put the raffia stem to the back of the circle, making sure some if it peaks from the top.  This should be enough to keep the stem on because the next step is to put the whole pumpkin on the card. 


I added a sentiment in the right space of the card to give it some balance.  You could very easily just stick in the center of the card and do with the sentiment on the front.  Let me know if you make one of these!  Until next time my friends...enjoy Autumn!
Tuesday, September 27, 2011

Sunshine for your Tidbit Tuesday

Hello Everybody! 

I hope you are having a good week so far!  Fall is on it's way...but before I get the leaves and Halloween stamps out...here's one last look at some sunshine!  (Until spring of course right!?)

First I get out some light blue card stock.  This measures about 3.5X5.5.  I got this from my scrap box, so look there first!  Sky paper would also look good.


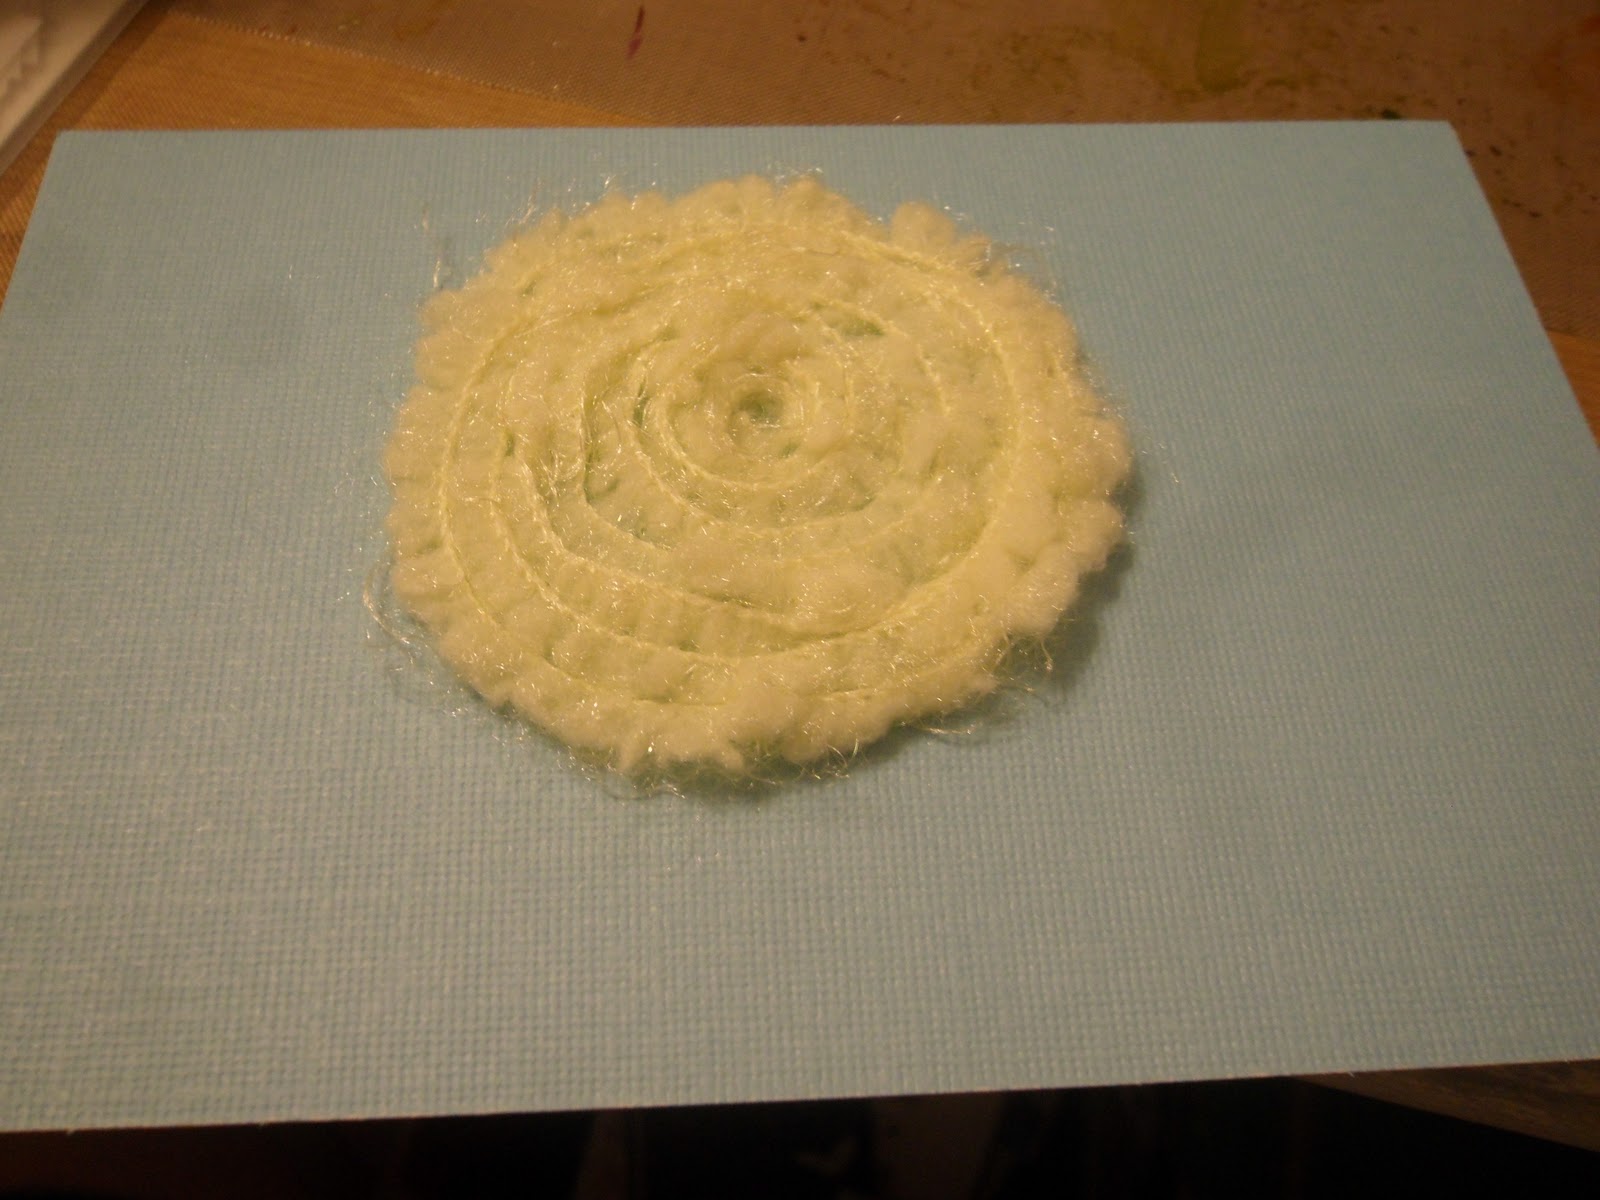
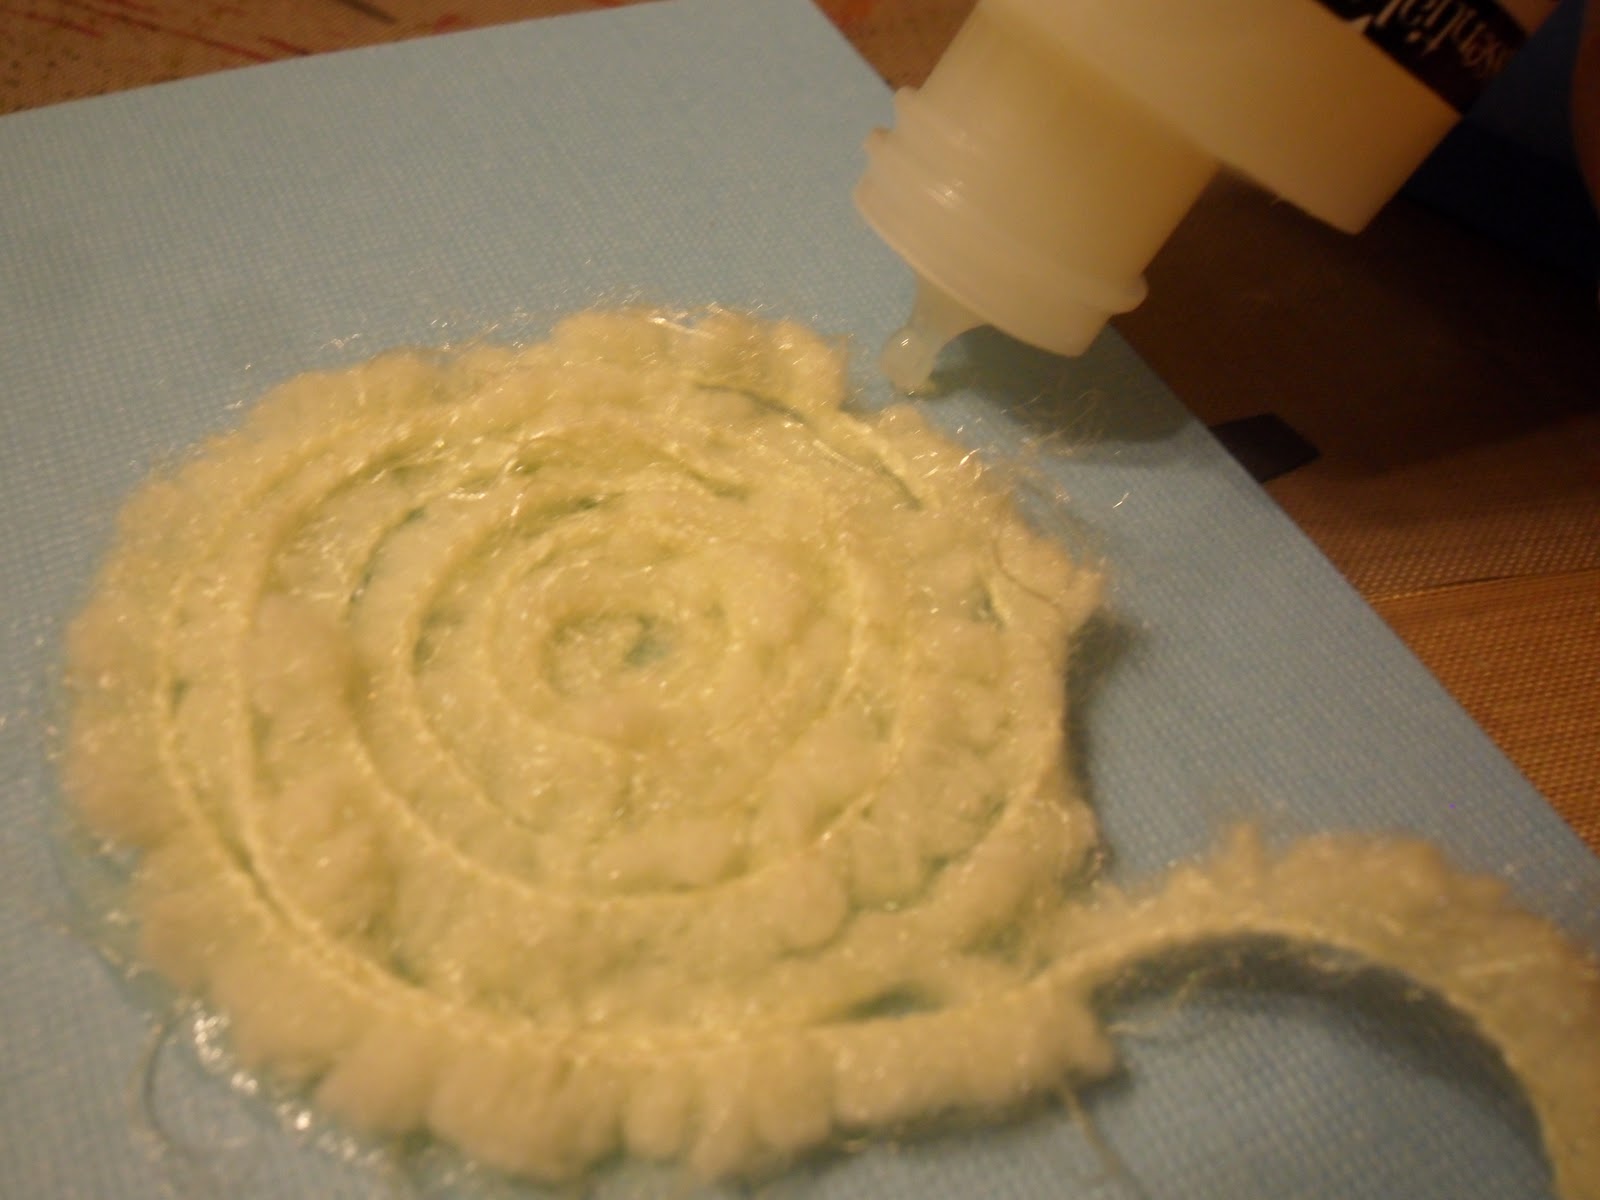
Then I start in the center with some glue.  I am using Glossy Accents, but if you have a different liquid glue, that should work, too.  You want it to dry clear.  I start making a circle.
 

Here is my circle complete and pretty filled in.  Don't go too crazy.  You can also add as you go along so if you aren't sure how big.  Start small and then add glue to the circle.


I start my yarn.  This is a baby yarn so it is pretty soft.  I must have gotten it on sale because I don't knit or crochet...(though I've tried!)


I am adding glue because my circle was bigger in some spots.  So this is to even out my sunshine.


 The main circle is done.


Then I add glue lines and start applying the sunshine lines.  I put the edge of the line to the main circle and lay the yarn on the glue going away from it.  Then I cut the yarn.


Here's the finished sunshine.  It's ready for a page or card.


 Here's another picture of it in the light.  You could blend yarn colors to.  This is a lot of fun, and maybe the kids would like to do it too!  Until next time my friends, stay sunny :)