Friday, September 23, 2011

Vellum Quotations

Hello Everybody!

Are you ready for the weekend?  Are you going to do some scrappin'?  I always hope I am!

I am always working on a couple of albums at a time.  Sometimes if I get stumped on one, then I put it away and start on a different theme, pictures, etc.  One of my favorite albums that I work on is....My Favorite Pictures album.

It's an 8x8 album.  I can scrap my favorite picture quickly but there is plenty of space on the page to use embellishments and whatever else!

So as I am gathering up my supplies for the next page in my album, I run across these...

 A big o' stack of vellum quotations.  I probably bought these 5 plus years ago.  I think I must've thought scrapbooking was coming to an end, and I must buy everything!  (you would think that to if you saw some of my stuff!  ha ha!)  So I want to use one of the quotations...but put a modern spin on it...let's see what you think!

Here is my page.  Pretty simply.  I started it a few weeks ago, got busy and now I am coming back to it. 

The Happiness Is...  is the vellum piece which isn't secured.  Most adhesive shows through the back, so generally they are put on with brads or stickers.


Instead of the traditional way, I'm going to use my Sew Easy tool.  I start the holes in the paper and go into the vellum.  I do this to anchor the vellum to the paper, so they are connected.


Here is what the backside looks like starting off.  I am going to tape the ends down, rather than knotting it. 

I sew it.  My favorite part :)  The lines are a little crooked, but that's ok!  I'm not a machine!


Here is my finished page.  I dated it on the side of the matted photo.  Yay!  One vellum quote down, 5 more books of quotations to go!  ;)

Until next time my friends!

Tuesday, September 20, 2011

Tidbit Tuesday--Memory Thread

Hello Everybody!

I was shopping at Joann's over the weekend and came across Memory Thread.  I had seen it in the Paper Wishes catalog and no where else.  Partly, the Memory Thread is located in the embroidery section of the store, and I usually head straight for the scrapbooking section!


You can coil it around a pencil.  I just made a few coils around my finger just to see how it would respond.  So far it stays pretty good.  Seems like it would be fun to decorate pumpkins with it (since I bought green). 

In the Paper Wishes catalog they used it around Christmas ornaments, so that seems like a fun idea as well.  Leave a comment and tell me what other ideas you have for this!  (Even if it's in a different color!)  Until next time my friends!

Thursday, September 15, 2011

It's Time for a Birthday!

Hello Everybody!

I hope everyone has had a great week!  It has flown by...where is September?  We are half way through already!

So I don't have Tuesday's card ready.  I am not sure if I like it.  Crazy huh?  So I will keep looking at it blankly until I can figure out something to do with it. 

Until then I do have a great Friday project!  It's my sister birthday so of course I have to make her a card!

Get out your alcohol inks and some stamps and let's get started!
The technique I am going to use for part of my card comes from Tim Holtz at:


He's got some other great videos on how to so check 'em out!

I used a piece of glossy photo paper.  This is different than what Tim uses.  This is what I had on hand.


Alcohol inks--check  Keyboard Can Duster--check  Look at those splatters!


I liked how this turned out, but I want my sentiment to go on the card, and that purple is too dark.  So I do another one.  On the one below I use less air and drop the ink on the paper and move the paper around (in the air) to move the droplets.  I added a few drops of the mixing solution to get colors to blend and move in different directions.


Remember my clock stamp set?  It's back!  Time to celebrate!!  I was impressed with the clarity of my stamps on the glossy paper.  Also, I used Staz On ink so it will dry on the glossy surface.  Not all stamp pads will.


I probably should have stopped here, but there are gears on the stamp sheet!


Here's the finished card on the outside.


On the inside I put a rub-on on (?) and left all 4 "happy birthday" lines intact.  I stamped a flourish on the side, because you know what?  I didn't place my sentiment in the middle.  Then my flourish came out lighter than I would have liked it, but I am going to leave it.  If I try to go back over it, I will just double the image and that to me is worse.  It's serendipity...and I just go with it!  Until next my friends, take some time to celebrate!


Tuesday, September 13, 2011

Tidbit Tuesday--Scraps and Layers!

Hello Everybody!

Do you have scraps?  I have scraps--and lots of them!  So get them out and let's make a background for a card. 

I have a beige piece that I put on my card.  It doesn't quite cover my card, but that's OK.   


I cover the exposed card with a scrap that has writing on it.


I add the green striped scrap to the left side.  No cutting for this one!


I added the polka dots, then the pink flowers, and then lastly the diamond patterned paper.  My background is done!  Now for the "centerpiece."  Come back on Friday to see the finished project!  Until next time...used up those scraps!

Friday, September 9, 2011

Cool Timepiece Clock Card

Hello Everybody! 

Grandparents Day is on Sunday.  Personally, I was racing against the clock (no pun intended, I promise!) to get this card done.  

I start with a piece of old Cosmo Cricket paper (or at least that's what I think it is.)  It has sort of a vintage cloud feel but when I cut it to fit my card it's just a cool background.


From my cool box of goodies, a clock stamp set from Hot off the Press.  I liked it when I bought it, but I loved it after using it!  It has the phrase "time to celebrate" which helped me to get the concept for this card. 

Here I am just testing out one of the stamps.  This is a great back ground stamp.  I used this a couple of times on the card.  Start with light colors and go to dark as you layer stamps on top of one another. 


I'm using Ranger's Distress Inks for stamping.


This set has so many different types a clocks.  It's so fun to chose the Coo Coo clock!


This is a deep blue color.  So I stamped it once on a scratch sheet, and I will use the second printing of the stamp on my card.


My card is almost done!  I had stamped the phrase on a piece of canvas ribbon, but it was ugly.  So ugly I couldn't even take a picture of it.


So I added this beige lace...

And cool stickers for my sentiment.  The stickers came from some I bought from Target a loooong time ago and the "celebrate" pebble letters came from Joann's house brand.

Remember friends to tell the ones you love that you love them!  Whether it's Grandparents Day or not!  Until next time my friends...get out those stamps!

Tuesday, September 6, 2011

Flowers, Shimmers, and a Card!--One Special Tidbit Tuesday

Hello Everybody!

I hope everybody had a good Labor Day yesterday!  And if you had to work, hopefully you didn't have to work to hard!

Remember that box of cool goodies?  Well I bought a pack of Prima flowers that are plain.  I like to call them "naked" but they won't be for long!  This is how they come--a very cool cylinder container.


Here is a close up... 

This is so fun!  I didn't even realize how much fun this next part was.  I bought a Twinkling H20 from one of my favorite craft stores when they had them on sale.  I had heard about them, so when they are discounted, why not?  Then I receive Cardmaking and Papercraft magazine from the UK in the mail.  They send free goodies with each magazine.  I've gotten stamps and papers, but this time I got a set of 4 shimmers.  I looked to see who made them, but they just have the magazine's name on them.  So supplies gathered--shimmers, paintbrush, and some water.


It is love at first brushstroke!  So shimmery!


Here is my flower completed.  I know you can't see the shimmer--but trust me, it's there!  The shimmer looks just like what it does in the package.


Here I try my free shimmer of pink.  I love it, too!  I can't stop!


Some of you may remember when they sold little paper flowers in cute jars.  I have not used up all of my flowers, so I dig out a pink one.  Awesome!  What a way to liven up things I already have!


Here is a blurry closeup.  My apologies for that...but you can see the shine on the top of the flower. 


So it doesn't work on transparencies.  That's OK.  It does work on white ric rac!  Look how pretty!
Since it is like a water paint, you will need to wait for it to dry before using it in a project.


Told you I couldn't stop!

Usually, this would be the end of our Tuesday Tidbit--but there's more!  Here is what I did with my cool flowers...I made a card!

This is a little trick I use when I have to match paper a certain way.  Here it doesn't matter because this is just plain light green cardstock, but I have put patterns on upside down plenty of times!

The top of the card is the crease so I have the adhesive on the back side of my colored cardstock and match the two together.


My card will include my painted ric rac.  However, there is a problem.  I don't have enough to fit the width of my card!  No fear my friends!  I measure the ric rac out as if it is all one color to fit the card.  Then I cut my piece in half.


I put my pretty ends on each side of the card.  The middle has the white, and that is where my flowers will be going.  (Or "centerpiece" that would go there.)  So this white part will be hidden, and no one will know it is even there!  Unless they are reading my blog today, and I'm OK with that!  :)

This is a great technique for when you are shy of ribbon and you must have this ribbon!  Cut it in half and where it "meets" is where your embellishment will go to hide the shortage!  Brilliant I say!!

I glued this down with 1/8 red line tape.


Ahh...the funnest part!  Picking out the flower centers!  I used pearls from Making Memories, Kaiserscrapbook, and Creative Imaginations.  I used glue dots to adhere them to my flowers.


I used VersaMark ink and stamped "thank you" on the corner.  I then used the embossing powder, same as last week, to do a heat embossed sentiment.  The powder is from Sparkle n Sprinkle, and it is called Peanut Butter.  And it is so delicious!!

Also, I took gold ink and inked the borders of the card to give it a little definition.  So much sparkle!


Finished!  The more I look at this card, I wish I was sending it to myself!  Oh well!  Until next time friends...stay sparkly!

Friday, September 2, 2011

Colorful Thank You Card

Hello Everybody! 

I can't believe it is September already!  Well, I'm not yet ready to get out the browns and reds or pumpkins for that matter.  Today I'm making a colorful Thank You card.

A while back I bought a 12X12 scrap pad by K and C company named Brenda Walton.  Then the store must have been having a sale because I bought a matching mat book and a tag book.  It's awesome if you can get matching paper and pieces because it just makes it quicker to match paper.  When paper matching happens quickly, then you have more time for embellishments and pictures!


I chose the paper for my card background and a corresponding tag.  The lantern is already printed on the tag and it makes me happy. 


Because the tag is what I like to call "the centerpiece" of my card, I ink the edges of it with a black ink to make it stand out.


The next step involves embossing, so you need a heat gun, VersaMark, and embossing powder.  A hair dryer is not a replacement for a heat gun.  You will have a big mess on your hands!  Or the floor rather ;)

I take my sentiment, in this case thank you, and put VersaMark on it and stamp it on the tag.


In my tray I sprinkle a semi transparent embossing powder from a company called Sparkle N Sprinkle, over the "thank you."  The color is peanut butter.  Love it!

I got this powder from a booth that they set up at the Scrapbook Expo.  They have some awesome powders, glitters, and stamps.  Check out the places I go to see their website!


Next I use the heat gun to melt the powder.  This is such a cool part...it's like magic!  Do notice that I removed my pink tray.  The tray is not heat resistant.  And I know this because I warped mine by heat embossing.


Pretty!

Here's a close up...

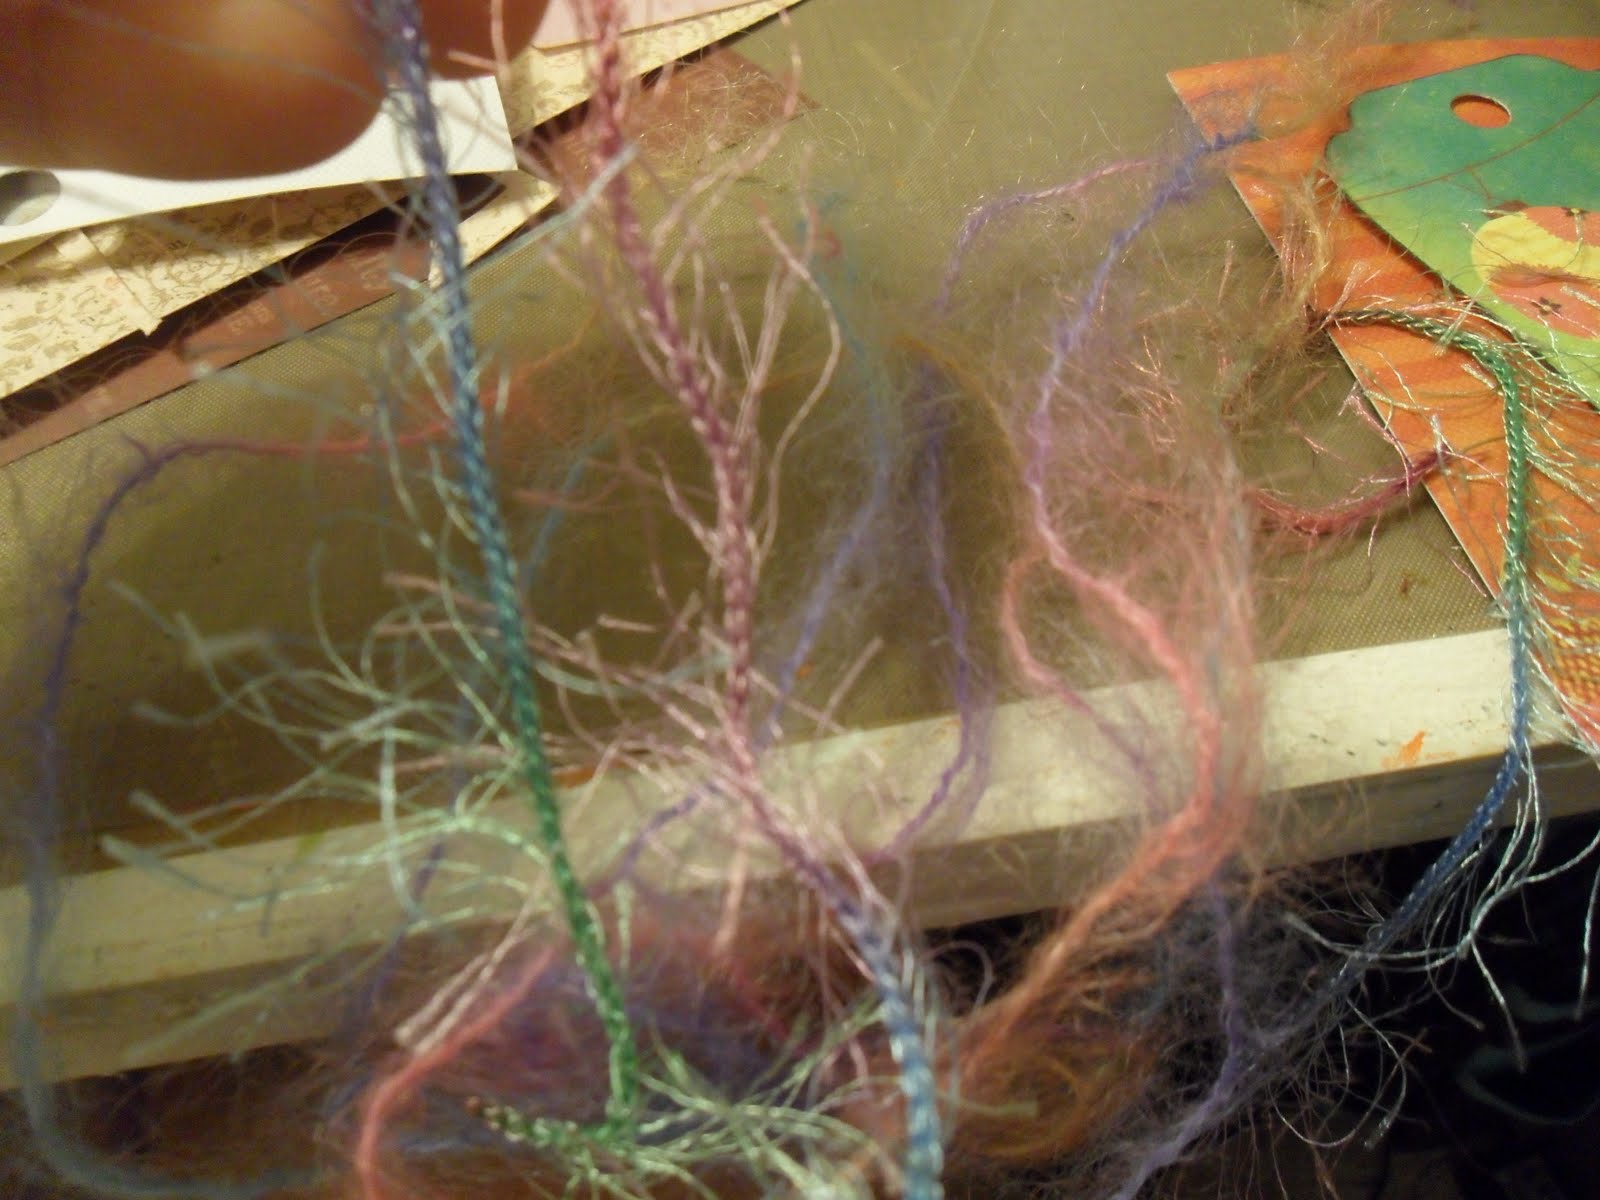
Since this is a tag, we need either ribbons or fibers...And since it's still summer I am going to put the colored woolly fibers back where they go.


On the inside I stamp "you're #1."  This stamp is one of the $1 stamps found at the register, and it was in a package for Father's Day.  Versatility!


Sometimes when I eyeball things, I get it right.  Sometimes I don't.  In this case I am a little too far right.  And it bugs me.  So I found this plastic arrow that I trimmed to fit next to my stamped sentiment.  Plus, it gives it a little life.  The arrow is from Queen & Co.


Here is the finished card.  Not very time consuming when your papers match!  Until next time...stay coordinated my friends! :)