Hello Everybody!
Creativity is hard work! I am working on a Christmas page, but it isn't done yet. You'll get to see it soon...but until then get out your alcohol inks and aluminum foil!
So I was getting out my metal embellishments from Making Memorials from years ago, and I realized that I had alcohol inks to color them. I didn't have the inks when I bought them. These light weight metal shapes have been hanging out in my container for awhile!
You can see below the different shapes. Nevermind that reindeer, that's a brad, but I can't find his red nose at the moment.

You can get alcohol inks at you chain craft stores, online, and some scrapbook stores. I also have the blending solution which helps the inks blend into each other. The inks work best on glossy paper, metal or plastic (like the Tim Holtz fragments). I use photo paper when I use the inks on glossy paper. Transperancies are great also!
I chose the ornaments.

I directly applied the ink to the metal piece. This is a messy process. I have a craft mat underneath.

I want a vibrant color so I applied only the alochol ink and swirl it around to cover the silver metal.

I did the orange background the same way--applied orange alochol ink and swirled it around. If you wanted to lighten the color you would add alchol ink and swirl around. This is not an exact process--which is what is nice about it. You can play with it until you get the desired effect.


Since I don't have a finished project, and I had the inks out--I couldn't just stop at the Christmas ornament. Pictured below is regular household aluminum foil.

Foil is awesome because it's maleable. Here I emboss it.


Here is the finished embossed piece of foil. It has stress lines though. This can be good or bad depending on what you are doing. For me--right now it's bad. I wanted a clean emboss. So I take a different piece of foil and emboss it using a different embossing folder.
*Side note-I did emboss this piece in a different folder to see if the stress lines would come out. They were faint along with the swirls. Pretty cool. So try re-embossing to see what different combinations of effects you can do!

This is cool all by itself. But let's add some color! I just put the alchol ink on directly.

Swirl!

Here I add a few drops of alocohol blending solution. This is a large area to cover, so the solution will help spread it.

Now I am adding green to the piece.
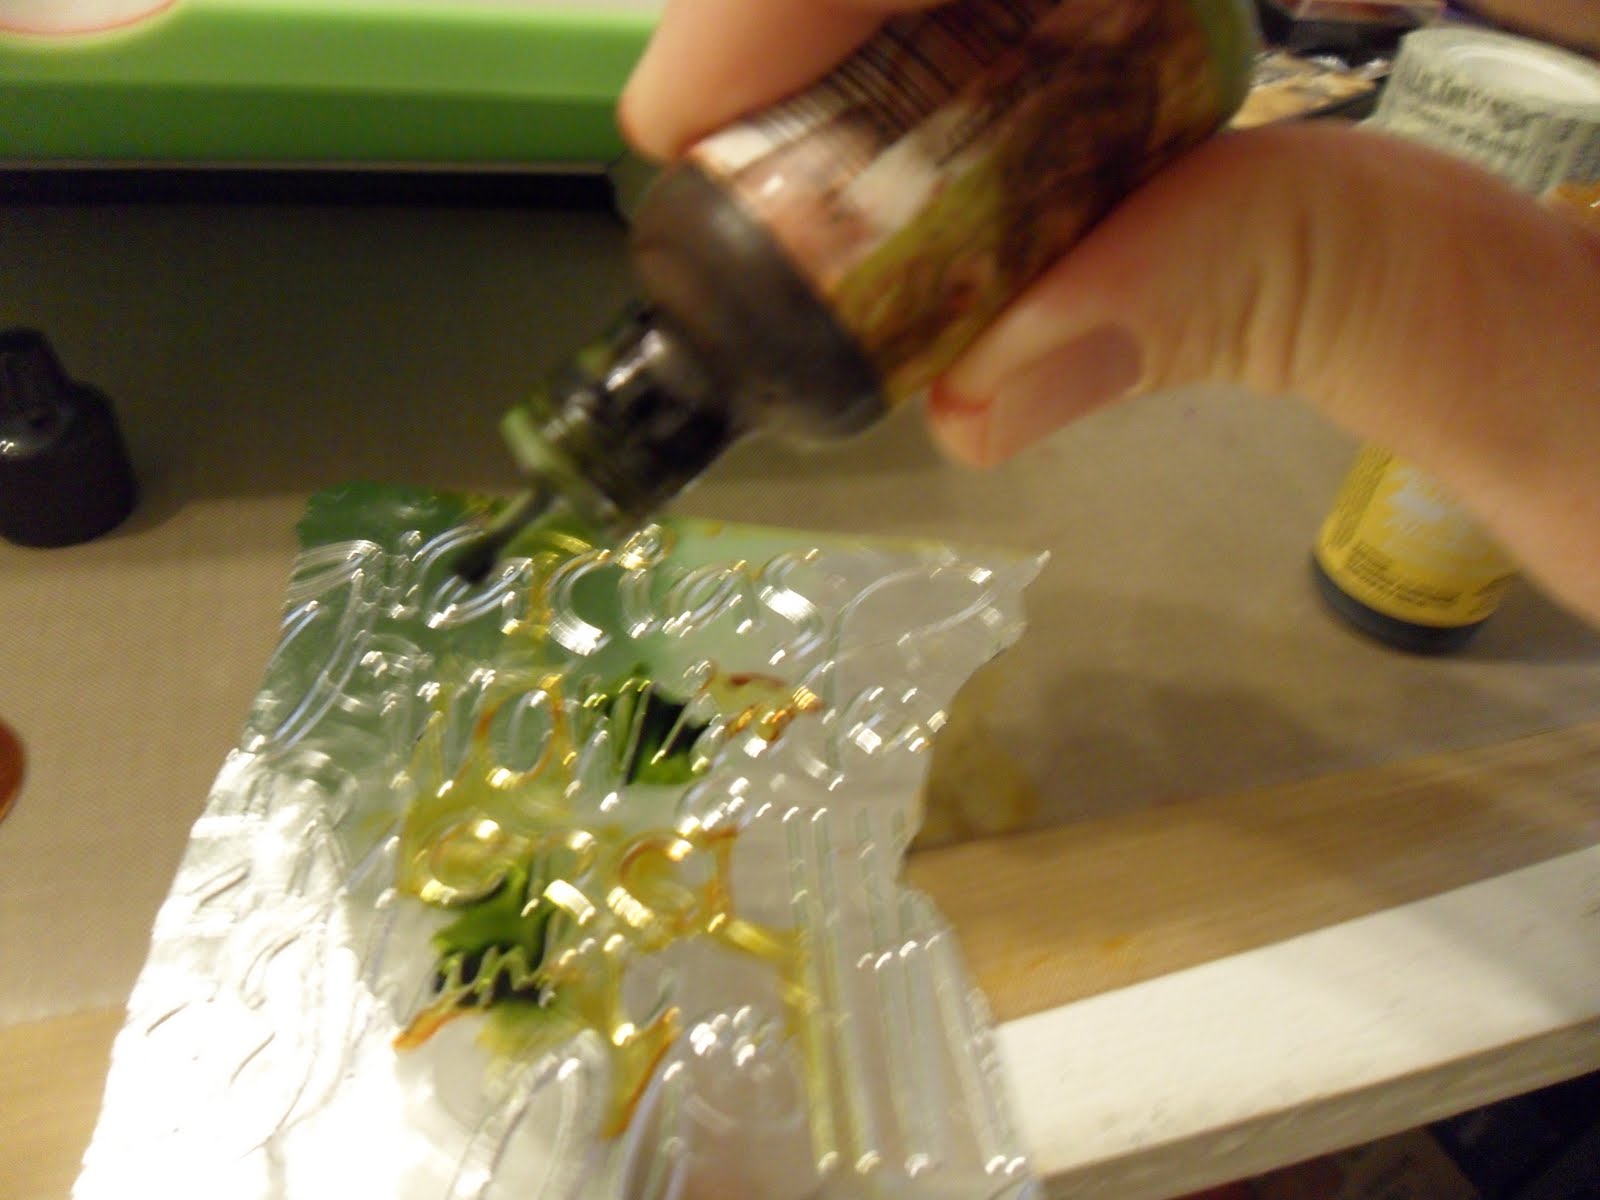

The darker places are where the ink is gathering. I have a foam applicator by Ranger Inks to help distribute the ink.

I can now cut out Merci and use it on a card or project. The ink dries nicely. Since it is foil, you do need to use caution when applying it to your project because it can bend or tear easily.
I wanted to illustrate the foam brush a little better here. The "Gr" is silver.

I apply the ink directly to my foam applicator.

Blot.

Here you can see the green ink applied. Beautiful!

Thanks for stopping by! Until next time...
Pictures don't do this technique justice. I love when my wife creates things with this effect. They always look really cool an unique.
ReplyDelete